- ASP.NET MVC
- Getting Started
- Configuring your MVC Application
- Adding NuGet Packages to your App
- Adding Controls
- Client-Side Support
- Globalization
- Working with Controls
- Styling
- ASP.NET MVC Samples
- Release History
Drag and Drop
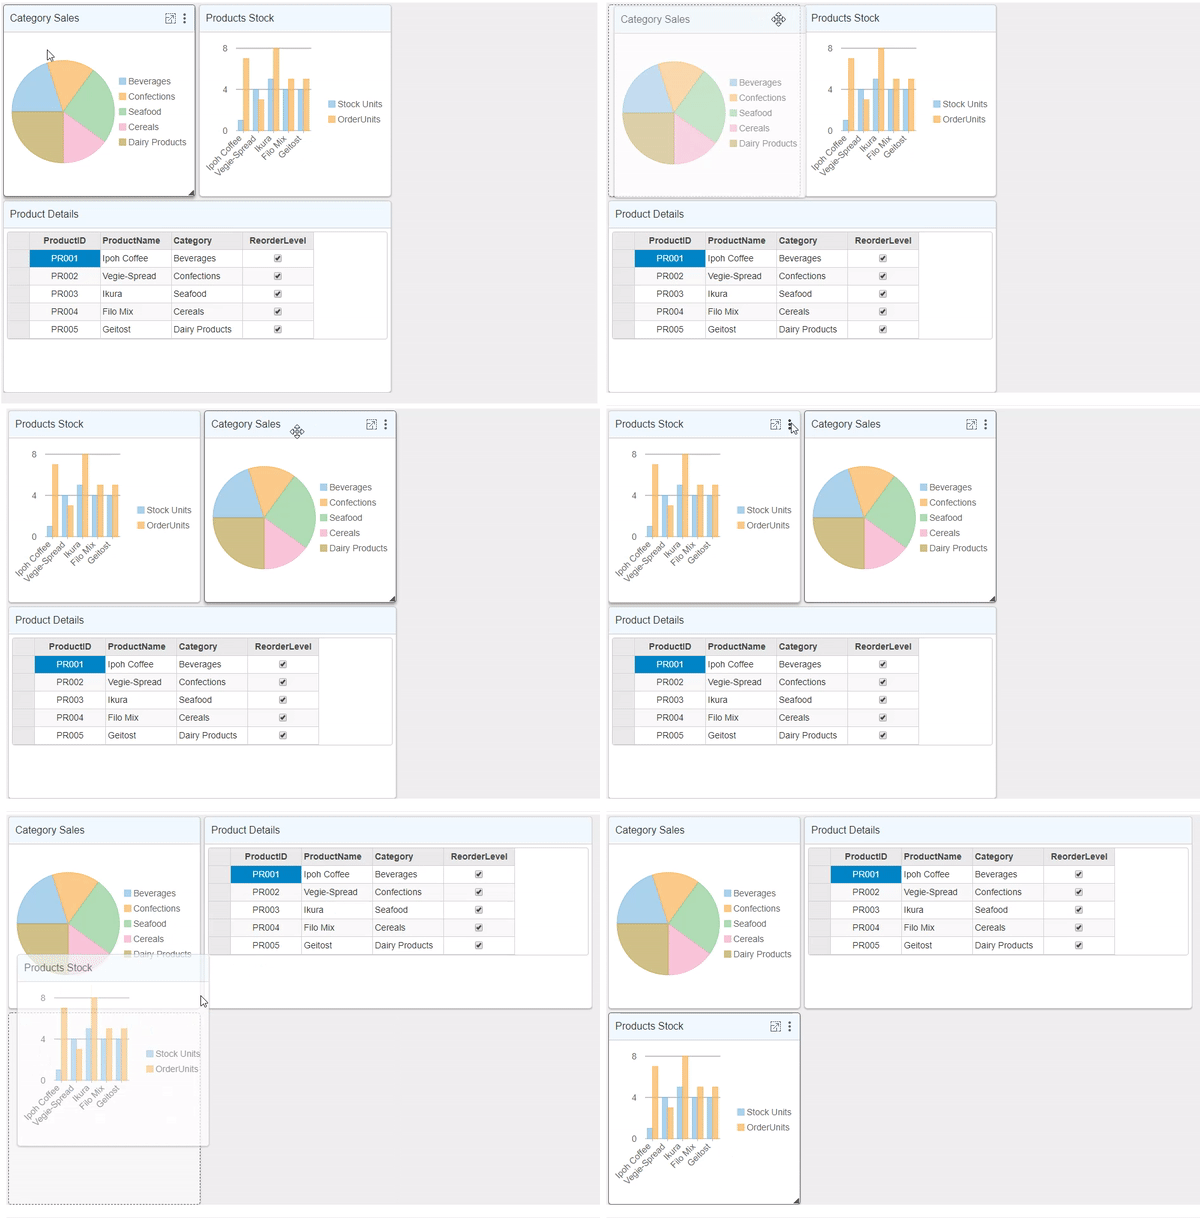
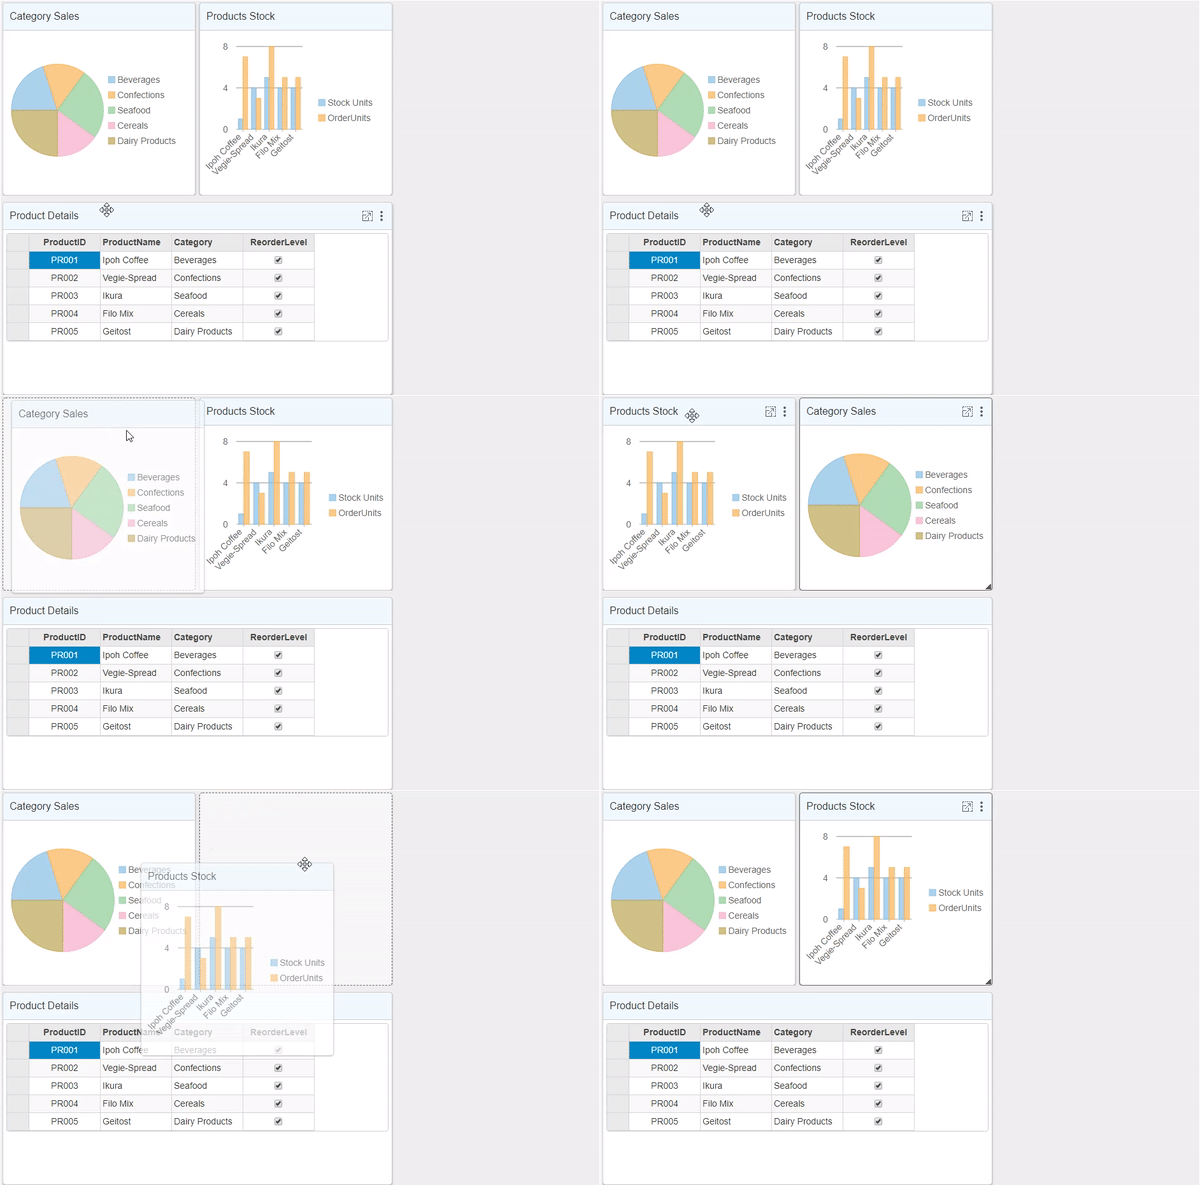
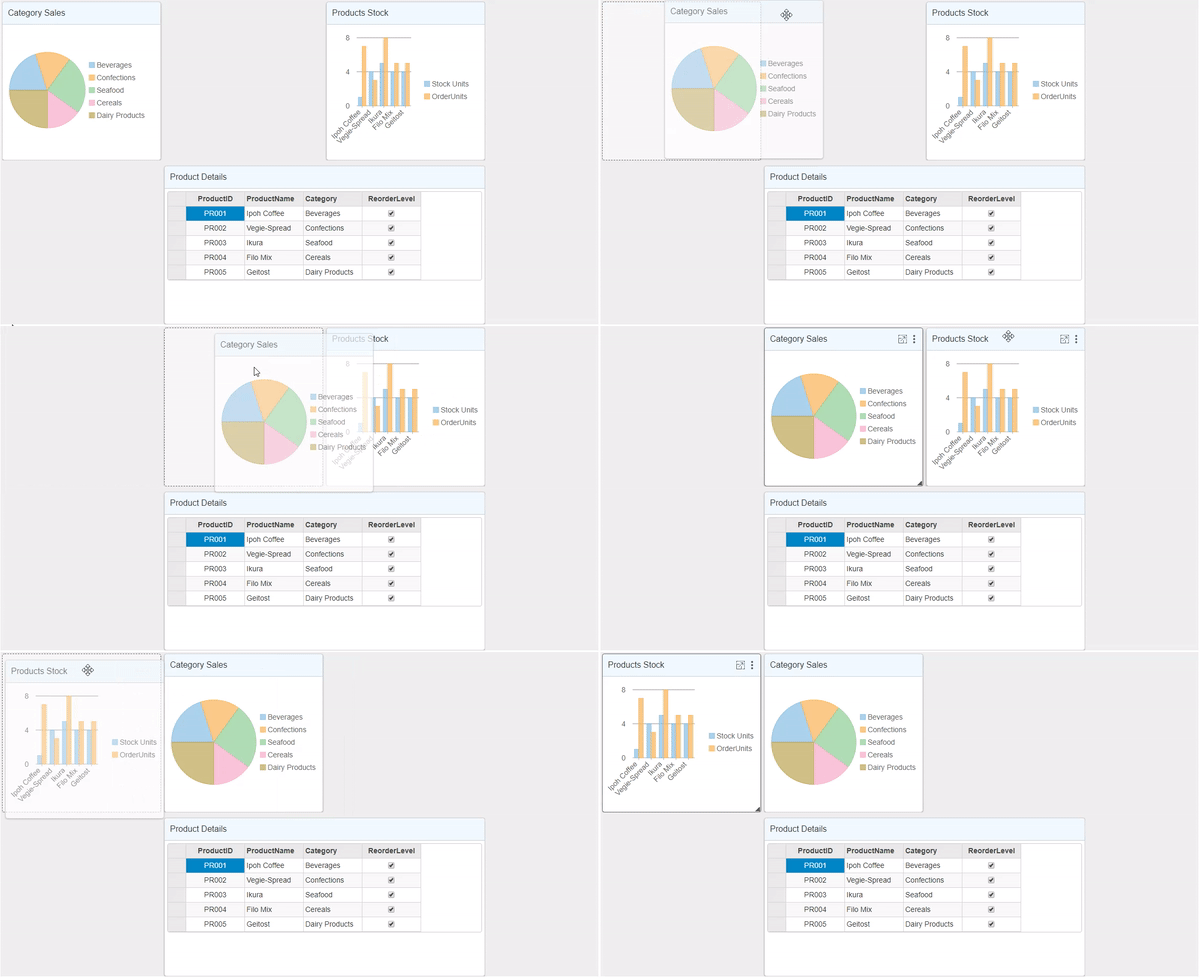
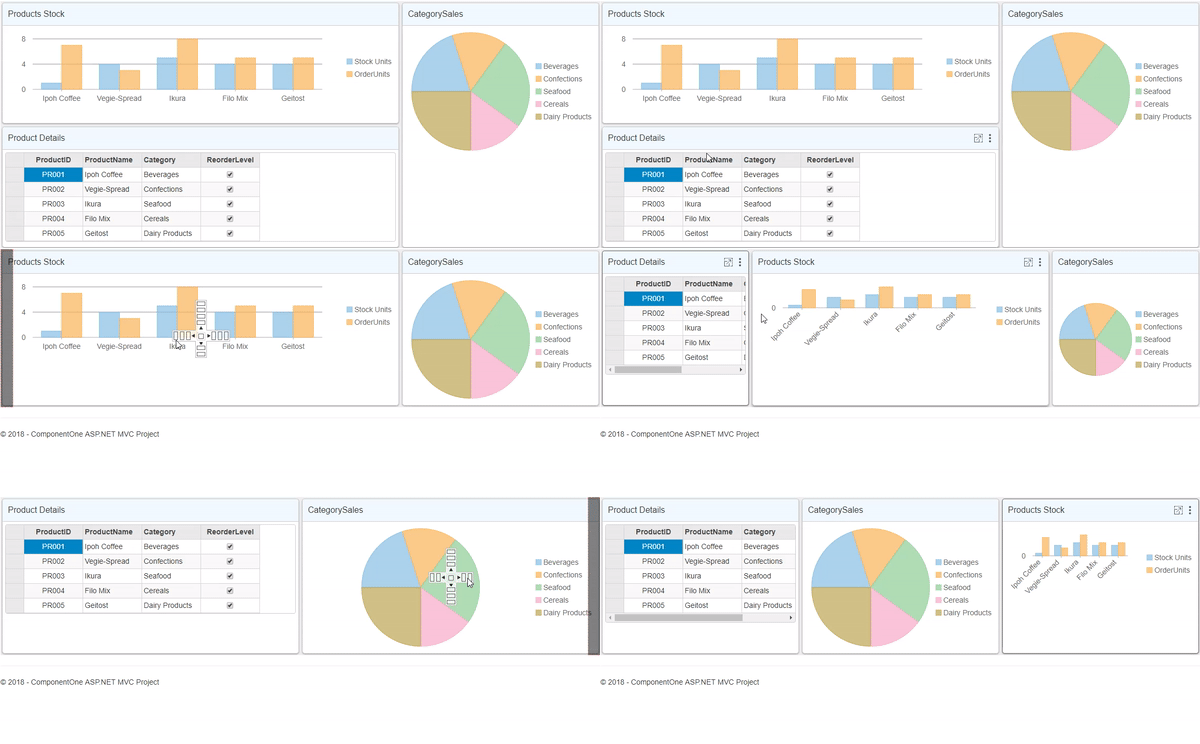
DashboardLayout supports drag drop operation of the tiles. On performing drag drop operation, the manner in which tiles reposition themselves differ for every layout. You can drag and drop a tile using two methods, using crosshair icon and tool-icon. The crosshair appears when you hover the mouse over the tile header. This tool lets you drag and drop a tile to another position on the DashboardLayout control. As an alternative, you can use the tool-icon to perform the drag drop operation by holding the cursor on the tool-icon.
Drag and Drop in Flow Layout
In flow layout, when a tile is dragged, all the remaining tiles reposition themselves in the flow direction set for the layout.

Drag and Drop in Auto Grid Layout
In auto grid layout, when you drag a tile, the dragged tile replaces its position with another tile in its cell.

Drag and Drop in Manual Grid Layout
In manual grid layout, when you drag a tile, the dragged tile replaces its position with another tile in the same row or column.

Drag and Drop in Split Layout
In split layout, when you drag a tile, it shifts to the other panel in the mouse navigation path and all the other tiles change their positions as well.

By default, in the DashboardLayout control drag and drop operation is enabled. However, in case you want to disable drag and operations, you can make use of AllowDrag property provided by the DashboardLayout class.
//Disable the drag and drop operation for the tiles.
.AllowDrag(false)


