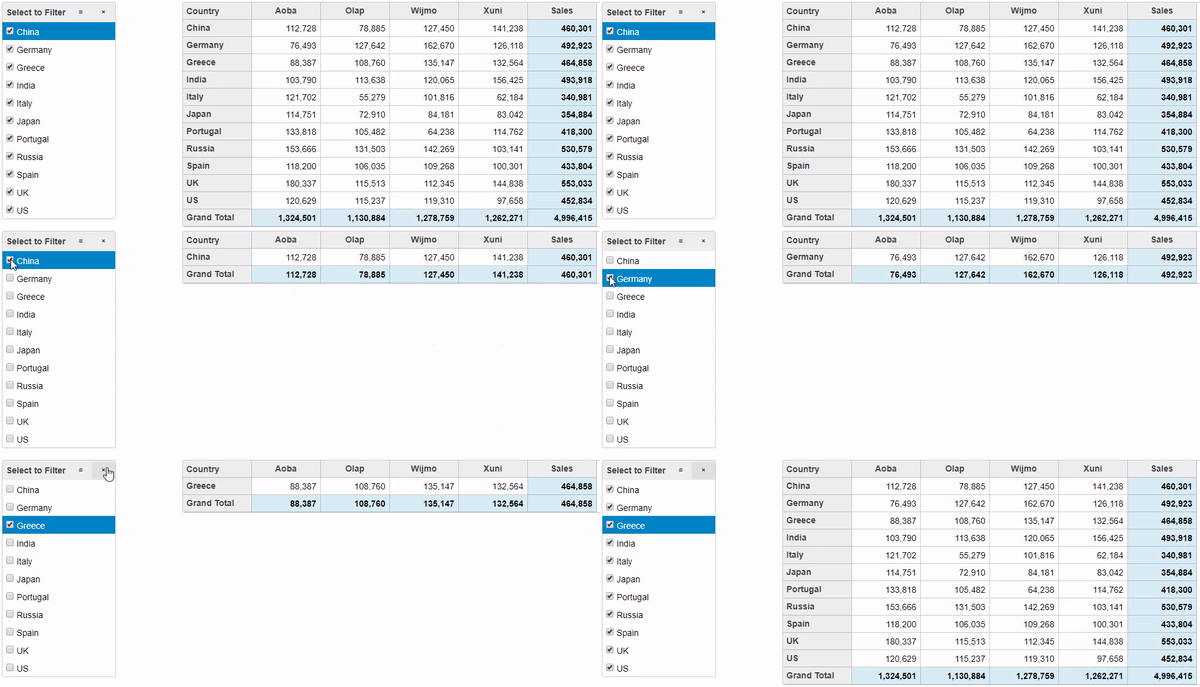
OLAP Slicer allows users to filter data based on values and indicates the current filtering state, which makes it easy to understand what's shown in filtered PivotGrid and PivotChart controls.
The Slicer control provides a quick way to edit filters applied to PivotField objects. It provides buttons the user can click to filter data based on values and indicates the current filtering state, which makes it easy to understand what is shown in filtered PivotGrid and PivotChart controls.
Complete the following steps to filter data in the OLAP control using the slicer.
The following image shows how OLAP control appears in the browser after completing the above steps:

Create a new MVC application using the ComponentOne or VisualStudio templates. For more information about creating an MVC application, see Configuring your MVC Application topic.
Create a new class inside the Models folder to create a data source for the OLAP control.
ProductData.cs). For more information about how to add a new model, see Adding controls.Create a Controller and View for OLAP control and follow the below steps to initialize an OLAP control.
Add a new Controller
OlapController).OlapController.Index().| Razor |
Copy Code
|
|---|---|
@model IEnumerable<ProductData> <c1-pivot-engine id="indexEngine"> <c1-items-source source-collection="Model"></c1-items-source> <c1-view-field-collection c1-property="RowFields" items="Country"></c1-view-field-collection> <c1-view-field-collection c1-property="ColumnFields" items="Product"></c1-view-field-collection> <c1-view-field-collection c1-property="ValueFields" items="Sales"></c1-view-field-collection> </c1-pivot-engine> <div class="row"> <div class="col-sm-3 col-md-3"> <c1-slicer id="slicer" pivot-engine-id="indexEngine" show-header="true" field="Country" show-checkboxes="true"> </c1-slicer> </div> <div class="col-sm-9 col-md-9"> <c1-pivot-grid id="indexGrid" items-source-id="indexEngine"></c1-pivot-grid> </div> </div> |
|