- Introduction
- Report Readers
-
Report Authors
- Standalone Designer
- WebDesigner
- Report Types
- Report Controls
- Report Wizard
- Data Binding
-
Design Reports
-
Design Page/RDLX Reports
- Layout
- Report Dialog
- Master Report (RDLX Report)
- Layers
- Expressions
- Data Visualizers
- Filters
- Groups
- Interactivity
- Scripts
- Report Appearance
-
Tutorials: Report Controls in Page/RDLX Reports
- TableofContent Control for Navigation
- BandedList Data Region for Free-form Bands
- Bullet Control to Visualize Sales against Target
- CheckBox Control
- OverflowPlaceholder Control for Columnar Reports
- InputField Control for Editable PDFs
- Line Control for Freehand Forms
- List Control for Hierarchical Relationships
- Table Data Region for a Tabular Report
- Shape Control for Enhanced Report Appearance
- Image Control
- Container Control for Enhanced Report Appearance
- FormattedText Control for Mail Merge
- Subreport Control for a Master-Detail Report
- Sparkline Control
- Tablix Data Region
- TextBox Control
- Map Data Region
- Tutorials: Page/RDLX Report Scenarios
- Design Section Reports
-
Design Page/RDLX Reports
- DevOps
- Developers
- Samples
- Troubleshooting
TableofContent Control for Navigation
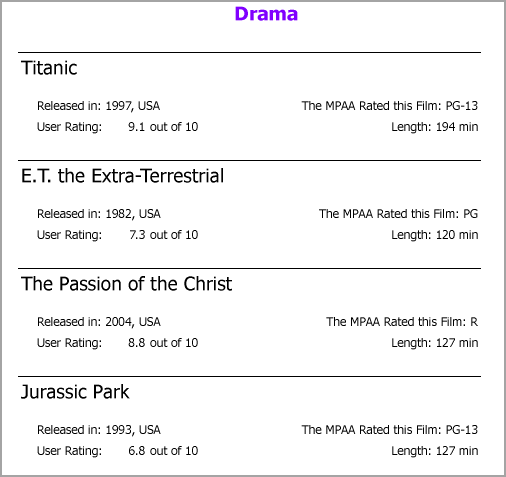
Let us add a Table of Contents to the following report. Note that this report is similar to the 'MoviesCatalog.rdlx' report available with samples on GitHub. The report contains nested List data regions to display the hierarchy in report. The parent list is grouped based on 'GenreName'. The child list is grouped based on the 'Title' and displays other information.
HeadingLevel property
You can define a hierarchical structure for your report using the Heading Level property of the TextBox control. If a TextBox is set to Heading Level 1 and another TextBox at a different level to Heading Level 2, the entries in Heading Level 2 are clubbed under the Heading Level 1 entry in the Table of Contents. The headings are auto-numbered.
- Drag and drop the TableOfContents control on top of the report, below the report title. Grab its corner and adjust its size.
- With the TableOfContents control selected, in the Properties window, click the Levels property to open the LevelDesigner Collection Editor.
- Select the Level1 (to display [GenreName]) in the Table of Contents and set the following properties:
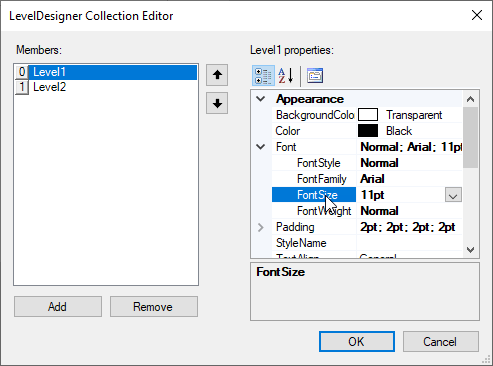
- FontSize: 11pt
- FillCharacter: "-" (a dash)
- DisplayFillCharacter: True
- Click +Add item to add the Level2 (to display [Title]) to the Table of Contents and set the following properties:
- Padding > Left: 5pt
- FillCharacter: "." (a dot)
- DisplayFillCharacter: True
- From the Report Explorer, select Report, and from the Properties window, go to the DocumentMap property.
- Expand the DocumentMap property and click the ellipses next to Levels (Collection) property.
- In the DocumentMapLevelDesigner Collection Editor, that appears, select:
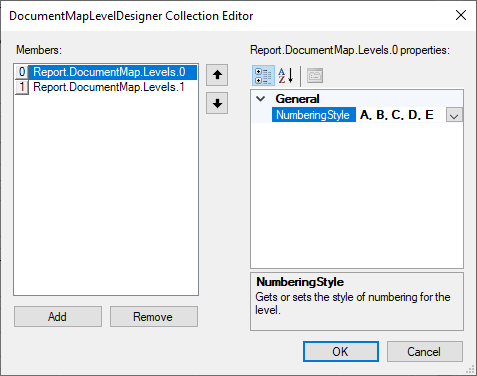
Report.DocumentMap.Levels.0 and set NumberingStyle to 'A, B, C, D, E'
Report.DocumentMap.Levels.1 and set NumberingStyle to '1, 2, 3, 4, 5' - Click OK to close the collection editor.
- Set the DocumentMap > Source property to 'Headings Only'.
- Now, select the Textbox with the Value property set to =Fields!GenreName.Value and, in the Properties window, set its HeadingLevel property to 'Heading 1' from the drop-down list.
- Select the Textbox with the Value property set to =Fields!Title.Value and, in the Properties window, set its HeadingLevel property to 'Heading 2' from the drop-down list.
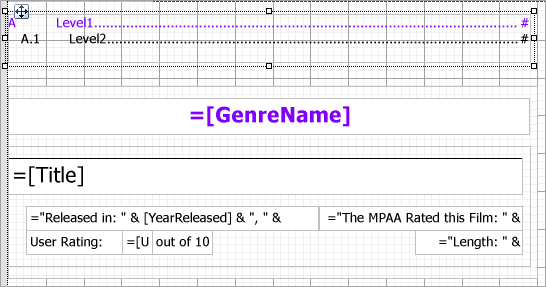
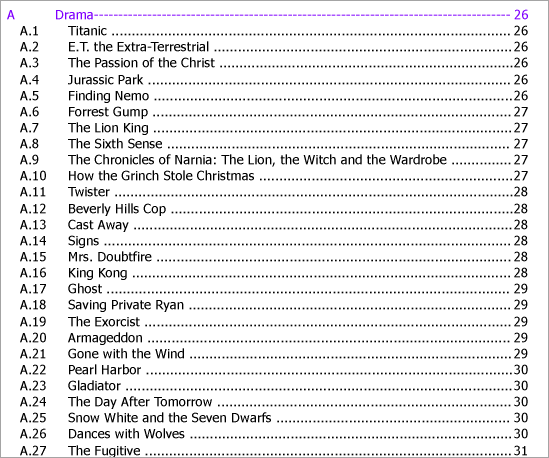
- Preview the report. Here's how the table will look like. Click the TOC item to jump to the desired page.
Label Property
By setting the Label property of the report controls or the report sections, you can show a hierarchical structure based on the parent-child relationship between the controls in the Document Map. For example, if the Label property of the List data region is set and a TextBox control is placed inside the List data region, the TextBox label appears nested inside the List data region label, thereby displaying a hierarchical structure.
- Drag-drop the TableOfContents control on top of the report. Grab its corner and adjust its size.
- Follow steps 2-8 in the Using HeadingLevel property section above for setting properties of levels in Table of Contents.
- Set the DocumentMap > Source property to 'Labels Only'.
- Select the List1 data region and set its Label property to =Fields!Genre.Value to have it displayed in the Level1 of the Table of Contents.
- Similarly, select the List2 data region and set its Label property to =Fields!Title.Value to have it displayed in the Level2 of the Table of Contents.
- Preview the report.
type=note
Note: The Table of Contents mapped using labels are not numbered.


