
Configuring Web API Data Source
If you selected the JSON API data source in the Web API section, the next screen of the report wizard allows you to connect your report to data provided by a web service via an HTTP request. This type of data source is particularly useful when working with RESTful APIs or other web-based services. The following sections describe the connection settings in detail.
Fixed and Dynamic Settings
Connection settings can either be fixed or dynamic:
- Fixed Settings: These are hard-coded values that remain constant and can only be modified at design-time.
- Dynamic Settings: These allow you to supply values programmatically or interactively, giving more flexibility during runtime or when different users view the report.
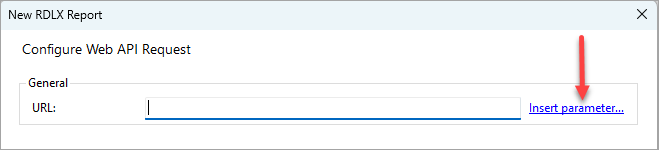
To make a setting dynamic, click the Parameter... or Insert parameter... link near the setting name:
This will open the Parameters dialog:
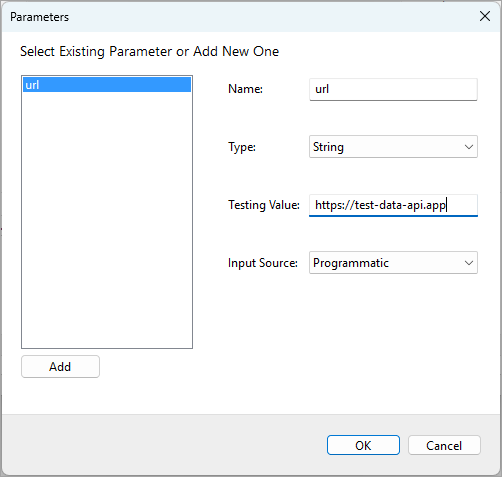
Here, you can re-use an existing parameter or create a new one by clicking the Add button. The following properties can be configured:
Name: The parameter name used as a reference in the connection settings. You’ll need this name to supply its value via code if you choose to do so.
Type: The data type of the parameter. You can select from Boolean, DateTime, Integer, Float, and String.
Testing Value: The value used at design-time to test the connection.
Input Source: Choose Programmatic to supply the parameter values via your application code, or Interactive to allow report readers to provide the parameter values.
When you can click the OK button and the reference to the selected parameter will be inserted in the connection setting, for example, the URL will be set to .
Advantages of Dynamic Settings
Dynamic settings offer flexibility, especially in environments where connection details might change or where different users require different settings. For example, you might want to use different URLs depending on the current environment.
Configuring JSON API Connection
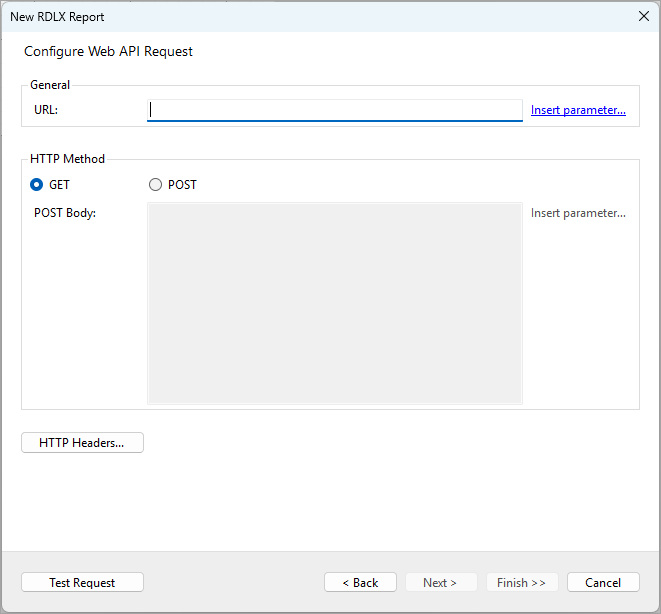
General Settings
- URL: Enter the full URL of the Web API endpoint that will provide the data for your report. You can make the entire URL, or part of it, dynamic by using the Insert parameter... link as described above.
HTTP Method
Select the HTTP method to be used for the API request. The available options are:
- GET: This method is used to retrieve data from the API. It is the default and most commonly used method for data sources.
- POST: This method is used to send data to the server, along with the request. When this option is selected, the POST Body field becomes available.
- POST Body: If the POST method is selected, this field is used to specify the content of the HTTP request body. You can make the entire POST Body, or part of it, dynamic by using the Insert parameter... link as described above.
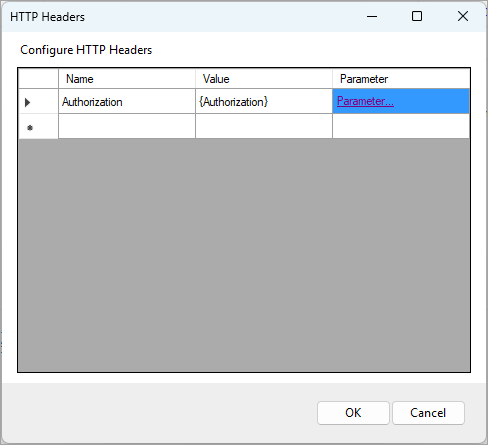
HTTP Headers:
Click on the HTTP Headers... button to add custom headers to the API request. This might include headers for authentication (e.g., Bearer tokens), content type (e.g., application/json), or other necessary metadata required by the API. You can make the header value dynamic by using the Parameter link as described above.
Test the API Request
Before finalizing the configuration, it's important to test the API request to ensure it is functioning as expected. Click the Test Request button and check the message in the popup dialog. If the request was configured correctly, the message will look like this:
If the request was not configured properly, the error message will be displayed, and you can click the Details >> button for more information:
Proceeding to Next Steps
Once you have configured the connection, click Next > to proceed to the Configure JSON Queries step of the report wizard.