
Configuring Page Settings
The Configure Page Settings page of the Report Wizard allows you to define the paper size, orientation, and layout for your report.
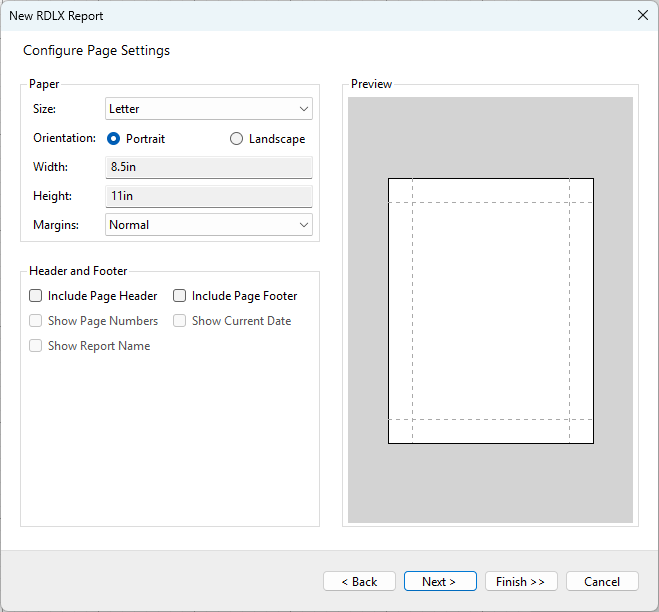
The available options are:
Paper
- Size: You can choose one of the pre-defined paper sizes, such as Letter or A4 or select the Custom option that allows you to specify the width and height of the paper manually.
- Orientation: Select either Portrait or Landscape orientation, depending on how you want the content to be laid out on the page. This option is disabled for the Custom size.
- Width and Height: These fields automatically update based on the selected paper size and orientation. You can also manually set them for the Custom size.
- Margins: Use the dropdown to select the margin size. Options include Normal, Narrow, Moderate, and None.
Header and Footer
You can choose to include a Page Header and/or Page Footer by checking the corresponding boxes.
Additional options include:
Show Page Numbers: Displays page numbers on each page footer or header.
Show Current Date: Adds the current date to the page header or footer.
Show Report Name: Displays the report name in the footer or header.
Preview
On the right side of the page, you will see a Preview pane that provides a visual representation of the current settings. This preview updates automatically as you make changes.
After configuring your page settings, click Next > to proceed with the Configuring Data Source step, or Finish >> to finalize your settings and generate an empty report with the selected page settings. If you need to make changes, you can click < Back to return to the previous step or Cancel to exit the wizard.