
Creating a Custom Date Picker using C1DropDown
This topic provides you a walkthrough to creating a custom date picker using the C1DropDown control. For this, you begin by creating an iOS application, and initializing a C1DropDown, a C1Calendar control, and a C1MaskedTextField control. To create a date picker, you need to set the Header property to the object of the MaskedTextField and DropDown property to the object of the C1Calendar class.
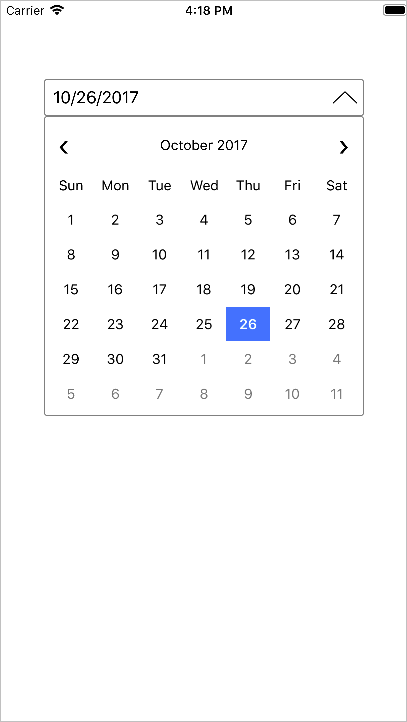
The image below shows how a custom date picker created using the C1DropDown appears.
Add the following code to your ViewController to display the control.
public static C1MaskedTextField maskedField;
public C1Calendar calendar;
public static C1DropDown d;
public C1DropDown DropDown;
public override void ViewDidLoad()
{
    base.ViewDidLoad();
    DropDown.DropDownHeight = 300;
    DropDown.DropDownWidth = DropDown.Frame.Size.Width;
    DropDown.DropDownMode = DropDownMode.ForceBelow;
    DropDown.IsAnimated = true;
    C1MaskedTextField maskedField = new C1MaskedTextField();
    maskedField.Mask = "00/00/0000";
    maskedField.BackgroundColor = UIColor.Clear;
    maskedField.BorderStyle = UITextBorderStyle.None;
    DropDown.Header = maskedField;
    C1Calendar calendar = new C1Calendar();
    calendar.SelectionChanged += (object sender, CalendarSelectionChangedEventArgs e) =>
    {
        DateTime dateTime = calendar.SelectedDates[0];
        string strDate = dateTime.ToString("MM-dd-yyyy");
        maskedField.Text = strDate;
    };
    DropDown.DropDown = calendar;
    this.View.Add(DropDown);
}