
Quick Start
This quick start will guide you through the steps of adding FlexViewer control to the application, binding it with a document source, i.e., GcPdf, and loading the PDF in the FlexViewer control.
type=note
Note: To use GcPdf as the document source for your application, you need to install GcPdf NuGet package to add the GcPdf references to your application.
To achieve it, follow these steps:
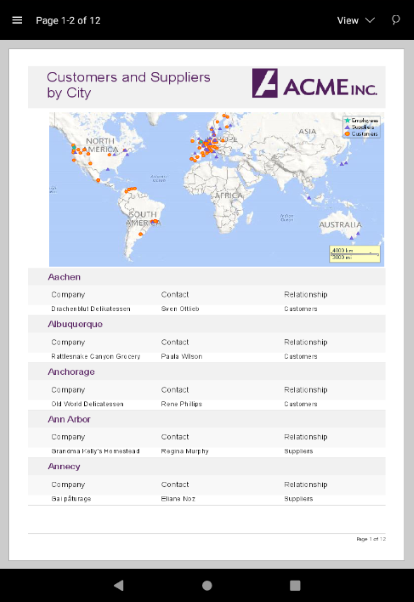
The following image shows how the FlexViewer control appears after completing the steps above.
Step 1: Add FlexViewer control
In the Solution Explorer, open the activity_main.axml file from the layout folder inside the Resources folder and replace its code with the following code:
<c1.android.viewer.FlexViewer
      android:id="@+id/FlexViewer"
      android:layout_width="match_parent"
      android:layout_height="match_parent"/>
Alternatively, you can drag a FlexPie control from the Toolbox within the custom control tab onto your layout surface in designer mode.
Step 2: Load the PDF document
Load the PDF document in the FlexViewer control using the following code. In this example, we have added a PDF document to the Assets folder to load it in the viewer.
//#region load
var flexViewer = FindViewById<FlexViewer>(Resource.Id.FlexViewer);
using (var stream = Assets.Open("DefaultDocument.pdf", Android.Content.Res.Access.Streaming))
{
    using (var sr = new StreamReader(stream))
    {
        memoryStream = new MemoryStream();
        sr.BaseStream.CopyTo(memoryStream);
        flexViewer.LoadDocument(memoryStream);
    }
}
Step 3: Run the Project
Press F5 to run the application.