- SpreadJS Overview
- Getting Started
- JavaScript Frameworks
- Best Practices
- Features
- SpreadJS Designer
- SpreadJS Designer VSCode Plugin
- Tutorials
-
SpreadJS Designer Component
- Getting Started
- Quick Start
- Theme
- Designer Interface
- JavaScript Frameworks
- Template-Based Workbook Initialization
- Customizations
-
Work in Designer Component
- AutoSum Functions
- Set Range Template Cell
- Name Box
- Select Cells Using Go To
- Find and Replace
- Edit Font Size
- Edit Font Family
- Manage Conditional Formatting Rules
- Shape Selection Pane
- Automatic Outline
- Format Painter
- Table Slicer
- Data Source
- TableSheet
- GanttSheet Designer
- ReportSheet Designer
- Data Chart Designer
- Text to Columns
- Remove Duplicates
- Pivot Table
- Dockable Side Panel
- Command Palette
- Transform Cells with LAMBDA Formula
- Threaded Comments Panel
- What-If Analysis
- Insert Function Dialog
- Named Cell Templates
- Insert Pictures in Designer
- Toolbar Ribbon
- API Documentation
- SpreadJS Collaboration Server
- Touch Support
- Formula Reference
- Import and Export Reference
- Events
- API Documentation
- Release Notes
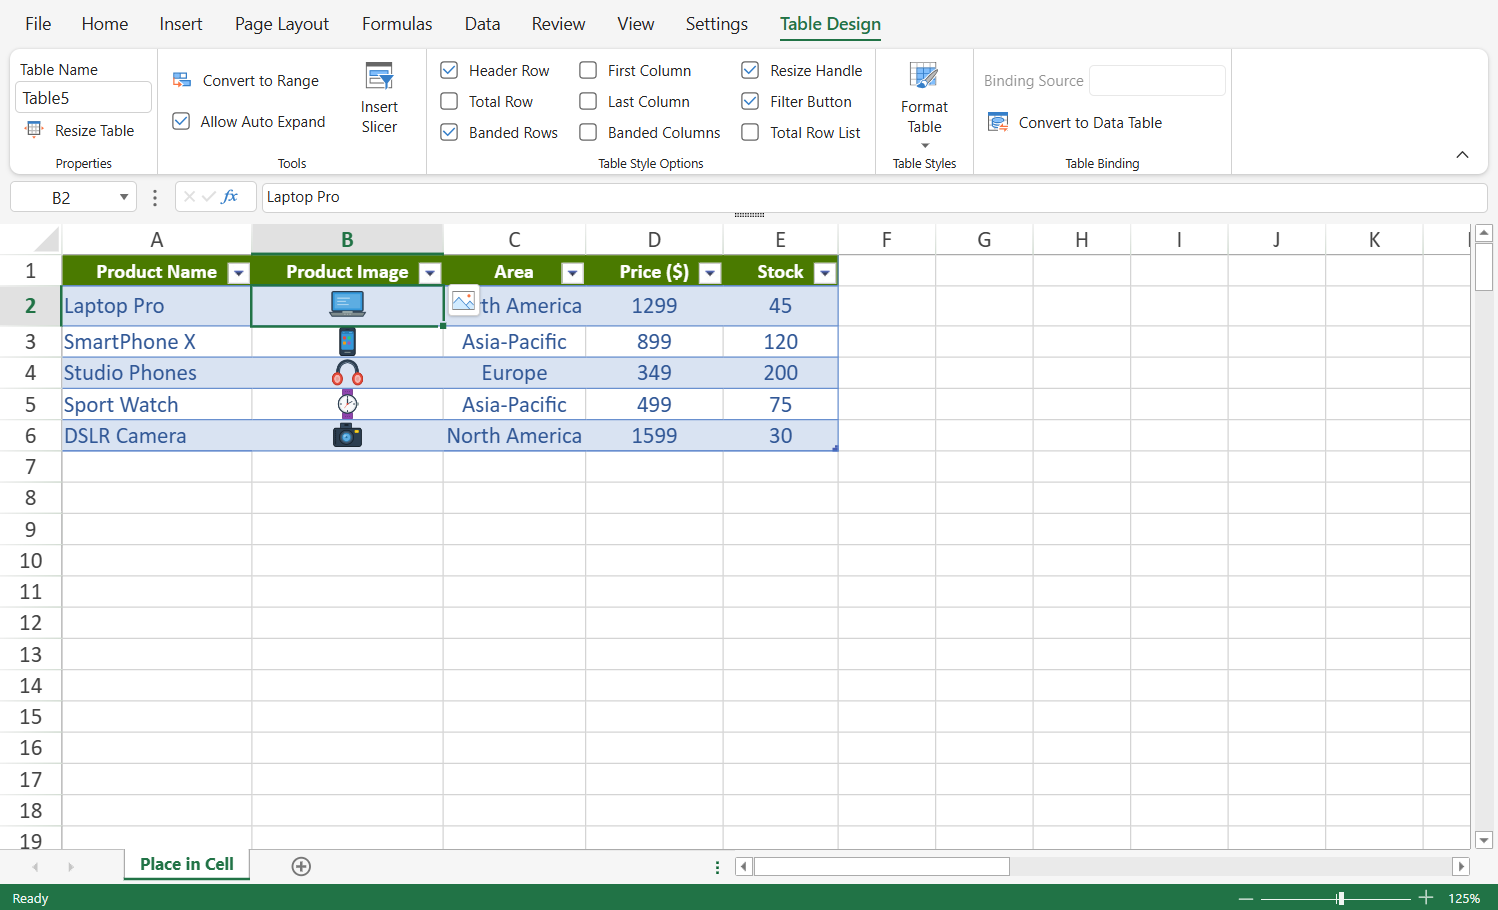
Insert Pictures in Designer
You can insert pictures into a worksheet using the Insert tab in the SpreadJS Designer.
Designer provides two placement options:
Place in Cells
Place over Cells
The selected option determines how the picture behaves in the worksheet.
Insert a Picture
To insert a picture:
Go to the Insert tab.
In the Illustrations group, select Picture.
Choose one of the following options:
Place in Cell
Place over Cells
The selected option determines how the picture behaves in the worksheet.

Place in Cell
When you select Place in Cell:
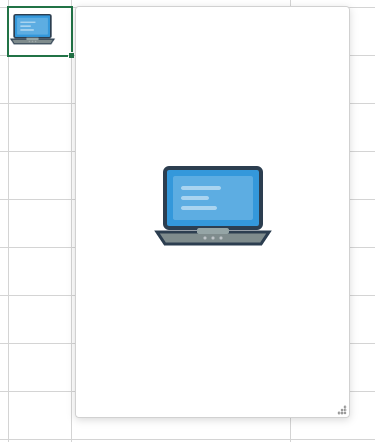
The image is inserted into the selected cell.
The image becomes the cell value.
It participates in sorting, filtering, formulas, and other worksheet operations.
The image is stored as image rich data.
Use this mode when the image is part of your dataset.
For more information, see Image Rich Data.
Place over Cells
When you select Place over Cells:
The image is inserted as a picture shape.
It can be freely moved and resized.
It does not participate in worksheet data operations.
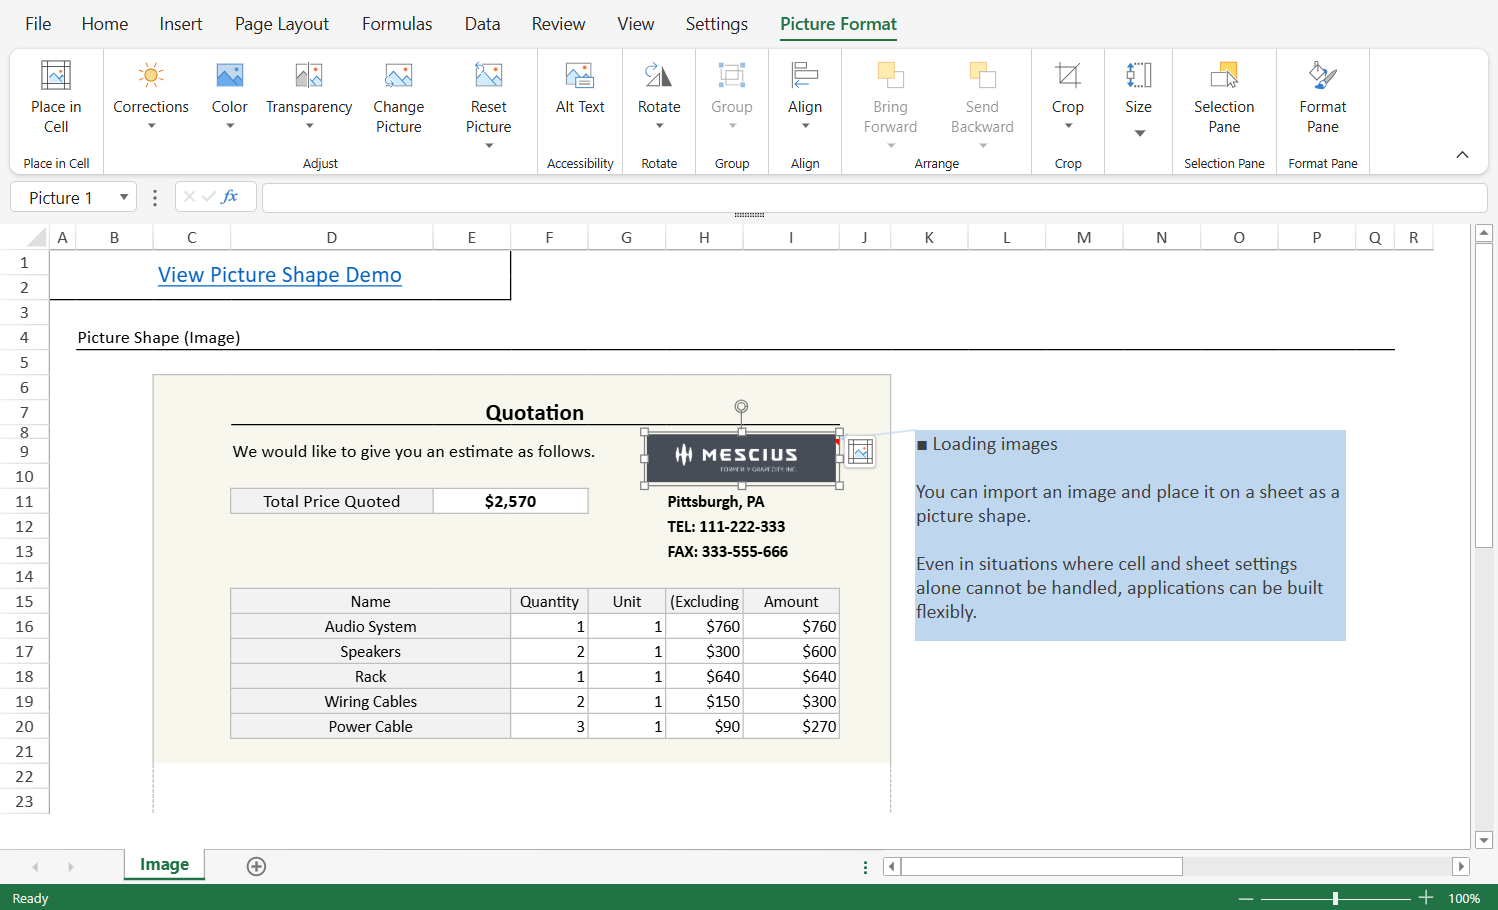
Use this mode for layout and presentation purposes.
For more information, see Pictures Shape.
Picture Format Ribbon
When a picture shape is selected, the Picture Format tab appears in the ribbon.

From this tab, you can:
Adjust image appearance (corrections, color, transparency)
Set alternative text
Rotate and align the picture
Crop the image
Set height and width
Open the Format Pane or Selection Pane
These options apply to picture shape.
Convert Between Placement Modes
Pictures can be converted between Place in Cell and Place over Cells in the Designer.
The available commands depend on the current picture type.
Convert a Picture Shape to Place in Cell
When a picture shape is selected, you can convert it using:
The Place in Cell button in the Picture Format ribbon

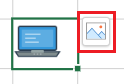
The quick conversion button displayed at the top‑right corner of the picture
The right‑click context menu → Place in Cell
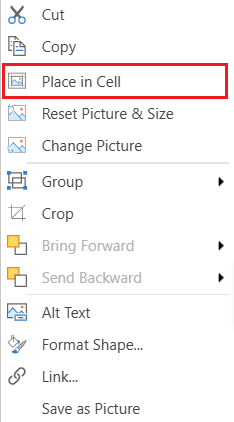
After conversion:
The image is stored as a cell value.
The picture shape is removed.
The image becomes image rich data.
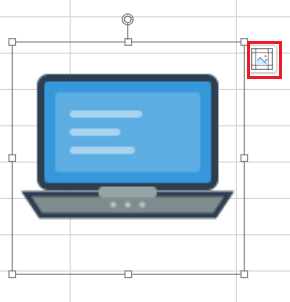
Convert a Picture in Cell to Place over Cells
When a cell containing an image is selected, you can convert it using:
The quick conversion button displayed at the top‑right corner of the image
The right‑click context menu → Picture in Cell → Place over Cells
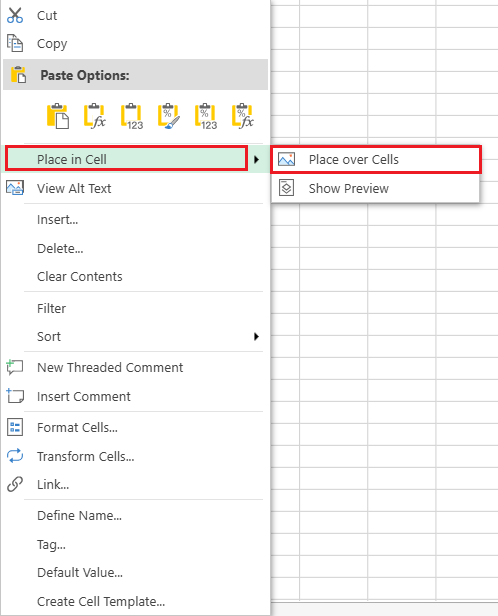
After conversion:
A picture shape is created.
The image is no longer stored as a cell value.
Additional Options for Pictures in Cells
When right‑clicking a cell that contains an image, the context menu also provides:
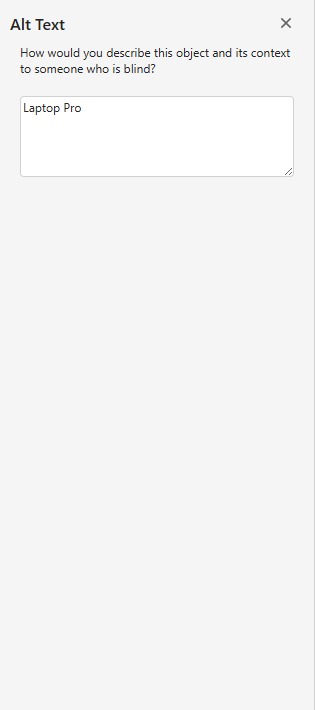
Show Preview — Opens a preview card for the image
View Alt Text — The Alt Text pane opens on the right side of the Designer, where you can enter or modify the alternative description.