- FlexGrid for WPF Overview
- Feature Comparison
- Quick Start
- Object Model Summary
- Data Binding
-
Features
- Columns
- Row
- Scrolling Modes
- Selection
- Sorting
- Cell Merging
- Custom Editors
- Custom Icon
- Transpose Data in Grid
- Data Grouping
- Data Filtering
- Data Aggregation
- Custom Cells
- Virtualization
- Paging
- TreeGrid
- Print Support
- Row Details Template
- Layout and Appearance: ClearStyle Technology
- Freezing and Pinning
- Import Data from Excel
- Export to Excel
- Clipboard Operations
- Validation
- FlexGrid Samples
Freezing and Pinning
Freezing Rows and Columns
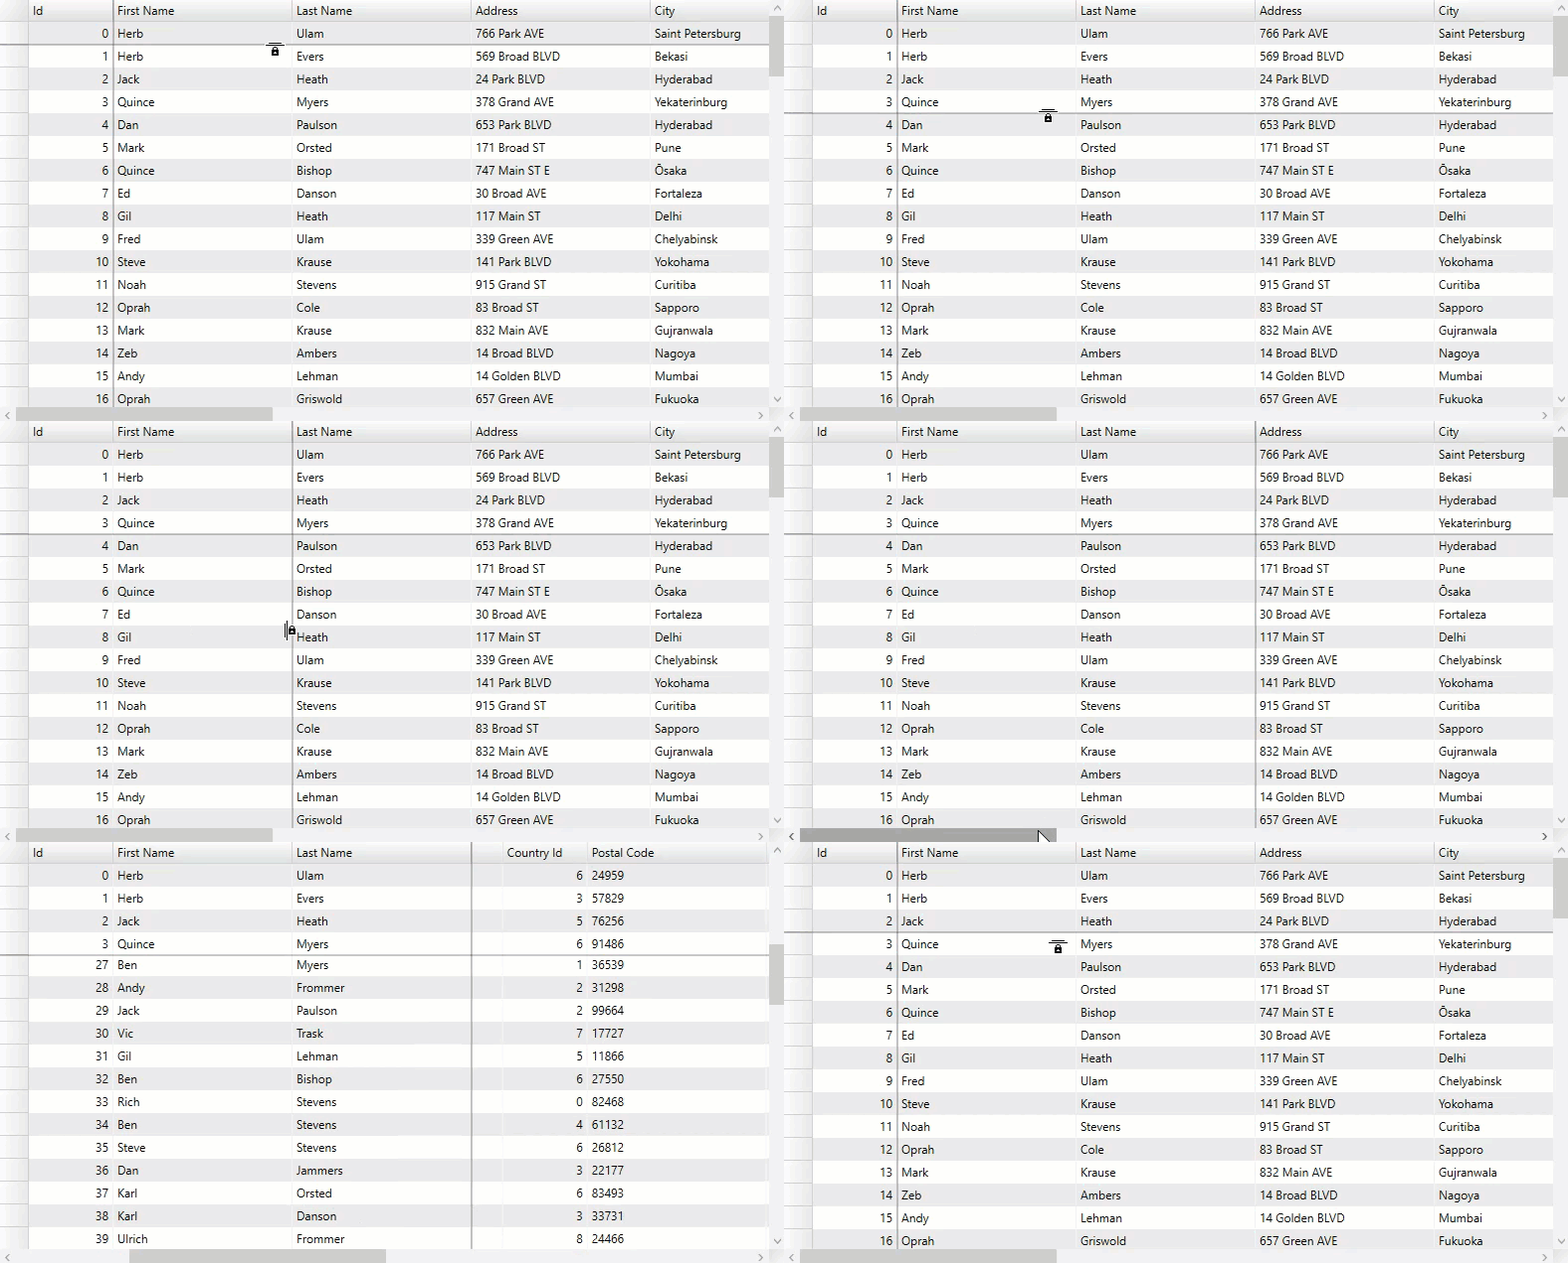
This feature in WPF FlexGrid allows you to freeze the rows and columns using mouse drag during runtime following a particular sequence. You can set the AllowFreezing Enum to Columns to freeze only columns, Rows to freeze only rows, or Both to freeze both columns and rows. Conversely, to disable freezing, set the AllowFreezing Enum to None, which is the default setting. This Enum can be set either in the designer or in code.
Implementation
In Designer
Locate the AllowFreezing Enum in the Properties window and set it to Rows, Columns, Both or None.
In Code
Add the following code to set the AllowFreezing Enum to Both:
csharp
c1.FlexGrid.AllowFreezing = C1.WPF.FlexGrid.AllowFreezing.Both
Now, you can manually use the mouse drag to adjust the number of frozen columns and rows as needed.
Feature Illustration
When the mouse pointer becomes the lock rows or the lock columns icon, click and drag the mouse over the rows or columns to freeze in a sequence. Setting the AllowFreezing Enum to Both allows both rows and columns to be frozen at the same time, as seen in the following GIF.

Column Pinning
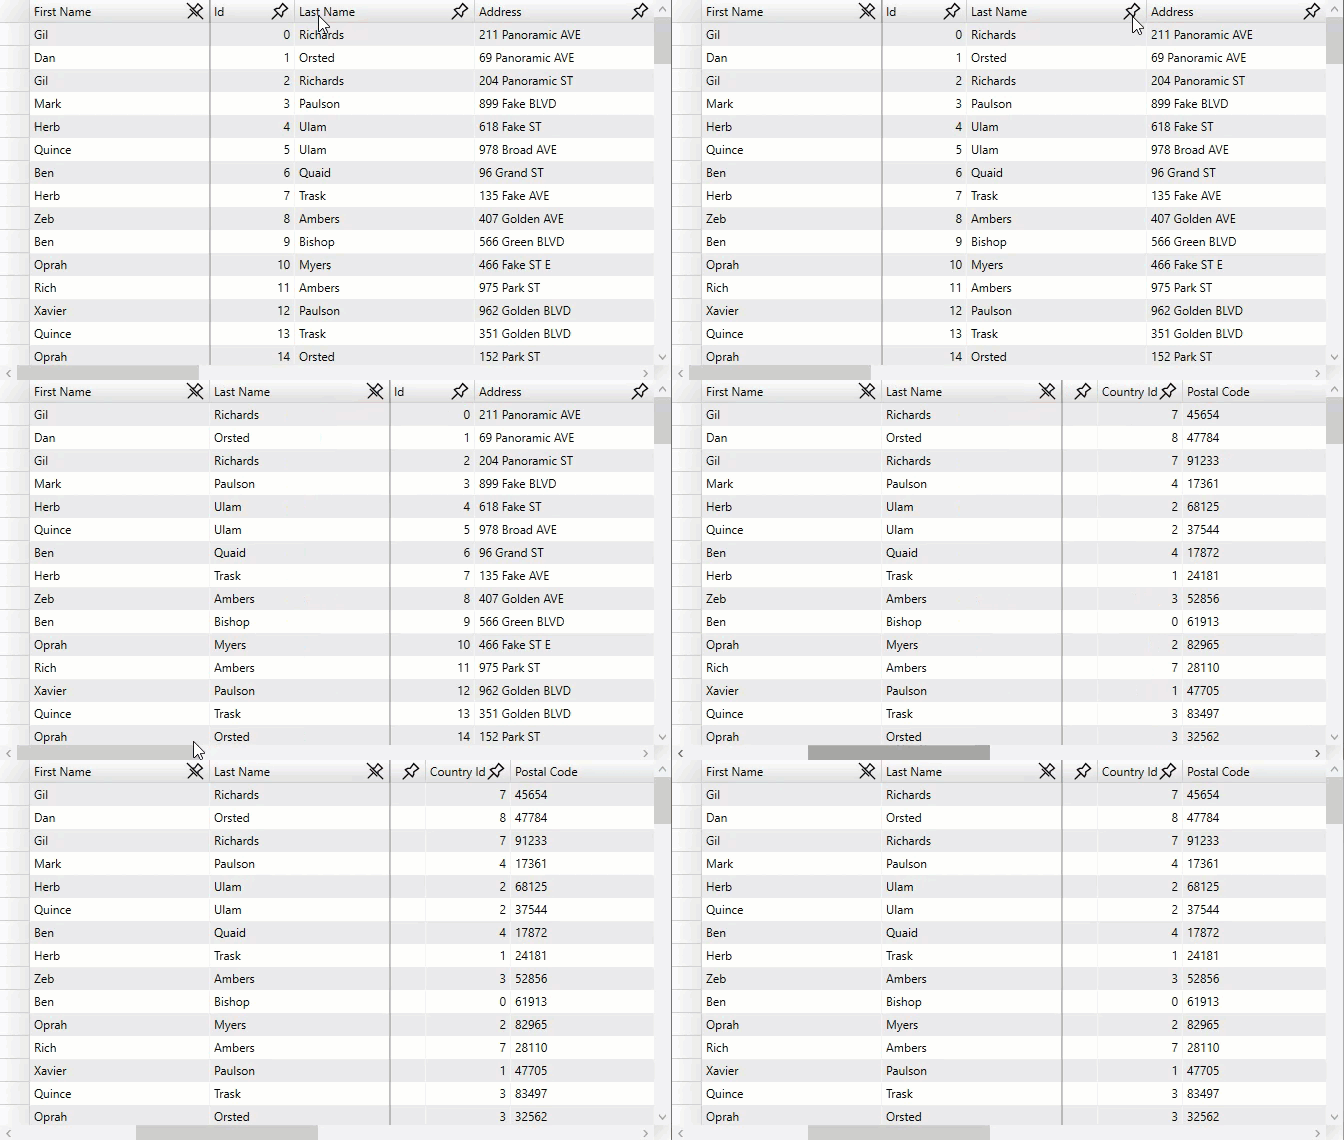
Column Pinning in WPF FlexGrid allows the you to freeze any column in the grid and pin it to the start, this will allow you to see it while horizontally scrolling the Grid. A column or multiple columns can be pinned to the left-hand side of the FlexGrid.
Each column can be pinned, as long as the pinned area does not become wider than the Grid itself. Pinned columns are always rendered on the left side of the Grid and stay fixed through horizontal scrolling of the unpinned columns in the Grid body.
Implementation
Use the following code to implement Column Pinning in your FlexGrid application through ColumnPinningCellFactory class which is a customized CellFactory class that will add a pinning icon to each column header. For more information about CellFactory, refer to the CellFactory class topic.
csharp
private void GridColumnPinning_Loaded(object sender, RoutedEventArgs e)
        {
            grid.CellFactory = new ColumnPinningCellFactory();
        }
Feature Illustration
The following GIF demonstrates column pinning feature in the FlexGrid control. Any coloumn from the grid can be pinned where pinned columns make a particular sequence.

type=note
Note: ColumnPinning is not a part of the control, it is only available as a code sample. You can find the complete source code of ColumnPinningCellFactory in the ColumnPinning sample available at following location:
Documents\ComponentOne Samples\WPF\C1.WPF.FlexGrid\CS\ColumnPinning


