How to Add a WinForms Rich Text Editor in a C# .NET App
| Quick Start Guide | |
|---|---|
| What You Will Need |
Visual Studio 2022 |
| Controls Referenced | |
| Tutorial Concept | This tutorial shows how to set up a rich text editing application using the C1Editor control and Xhtml as the data format. Learn how to load and save files, configure a modern, simplified ribbon toolbar, and more. |
Offering users a rich text editing experience is essential for many desktop applications, whether used to edit articles, create formatted reports, or just add notes with links and images. Have you ever wondered how simple it is to bring this capability into your own app?
ComponentOne offers the C1Editor control that provides a simple yet effective way of adding rich text editing capabilities to your WinForms applications. In this blog, we will walk you through two simple ways to integrate this control so that users can easily create and edit rich content:
- Build a Custom Toolbar to Implement Features via Code-Behind
- Use the C1EditorRibbon for the Built-In Features (No Code Required!)
Ready to Get Started? Download ComponentOne Today!
To demonstrate both approaches, we'll create a simple WinForms application that allows users to load HTML or XHTML files, format the content, make edits, and save their changes. So, let's get started!
Build a Custom Toolbar to Implement Features via Code-Behind
This approach is perfect when you want full control over the editor's features and to design your own toolbar. By handling actions in the code behind, the editing experience can be customized based on the application's requirements.
For this demo, let's implement some essential features of a rich text editor:
- File Operations - Create a new file, open an existing one, and save changes.
- Font Formatting - Change the font size and font face of the editor's content.
Let's start by creating a simple WinForms application and following the steps below:
- Open Visual Studio and select File | New | Project to create a new Windows Form App.

2. Use the NuGet Package Manager to install the C1.Win.Editor and C1.Win.Command packages in your project.
3. Drag and drop the C1ToolBar and C1Editor control from the toolbox onto the form. In the C1ToolBar, place the buttons and combo boxes for the feature implementation.
The form layout should look like the image below:


Now that our layout is ready, let's add the functionality behind those toolbar buttons and combo boxes.
Implementing File Operations
First, we will implement basic file operations: New, Open, and Save.
New - Clicking the 'New' button will clear the editor content after prompting the user to save any unsaved changes:
private void CreateNewDocument()
{
    // Removes the "body" element from the editor, effectively creating a new document
    editorView.RemoveElementAsync(null, "body");
}
Open - Pressing the 'Open' button lets users load an existing HTML or XHTML file into the editor:
public void OpenDocument()
{
    using (var dlg = new OpenFileDialog())
    {
        dlg.Filter = "HTML Files (*.html;*.htm)|*.html;*.htm|All Files (*.*)|*.*";
        if (dlg.ShowDialog() == DialogResult.OK && File.Exists(dlg.FileName))
        {
            // Load the document into the editor
            editorView.LoadDocumentAsync(Path.GetFullPath(dlg.FileName));

            // Apply default styles
            editorView.SetDefaultStylesAsync(null, true);
        }
    }
}Save: Clicking the 'Save' button allows users to store the current content in an HTML file:
 public bool SaveDocument()
 {
     using (SaveFileDialog dlg = new SaveFileDialog())
     {
         // Set default file name and filters for the save dialog
         dlg.FileName = "sampleFile";
         dlg.Filter = "HTML Files (*.html;*.htm)|*.html;*.htm|All Files (*.*)|*.*";
         dlg.DefaultExt = "html";
         dlg.AddExtension = true;
         if (dlg.ShowDialog() == DialogResult.OK)
         {
             string filePath = dlg.FileName;
             // Save the document asynchronously and check if the save operation was successful
             if (editorView.SaveDocumentAsync(filePath) != null)
             {
                 return true;
             }
         }
     }
     // Return false if the user cancels or the save fails
     return false;
 }
Adding Font Formatting Options
Now that our file operations are working, let's add functionality to change the font family and font size of the text in the editor using the toolbar combo boxes. The step-by-step approach to achieve this is as follows:
- Load the Default Content and Enable Editing - Begin by loading a sample HTML file into the editor once it's ready and turn on editing mode so users can make changes:
2. Set Up the Font Combo Boxes with Initial Values: Next, fill the Font Face and Font Size combo boxes with some generic options:private void editorView_C1EditorReady(object sender, EventArgs e) { string filename = @"Resources\\bookClub.html"; if (File.Exists(filename)) { editorView.LoadDocumentAsync(Path.GetFullPath(filename)); editorView.DesignEdit = true; // Enable editing } }
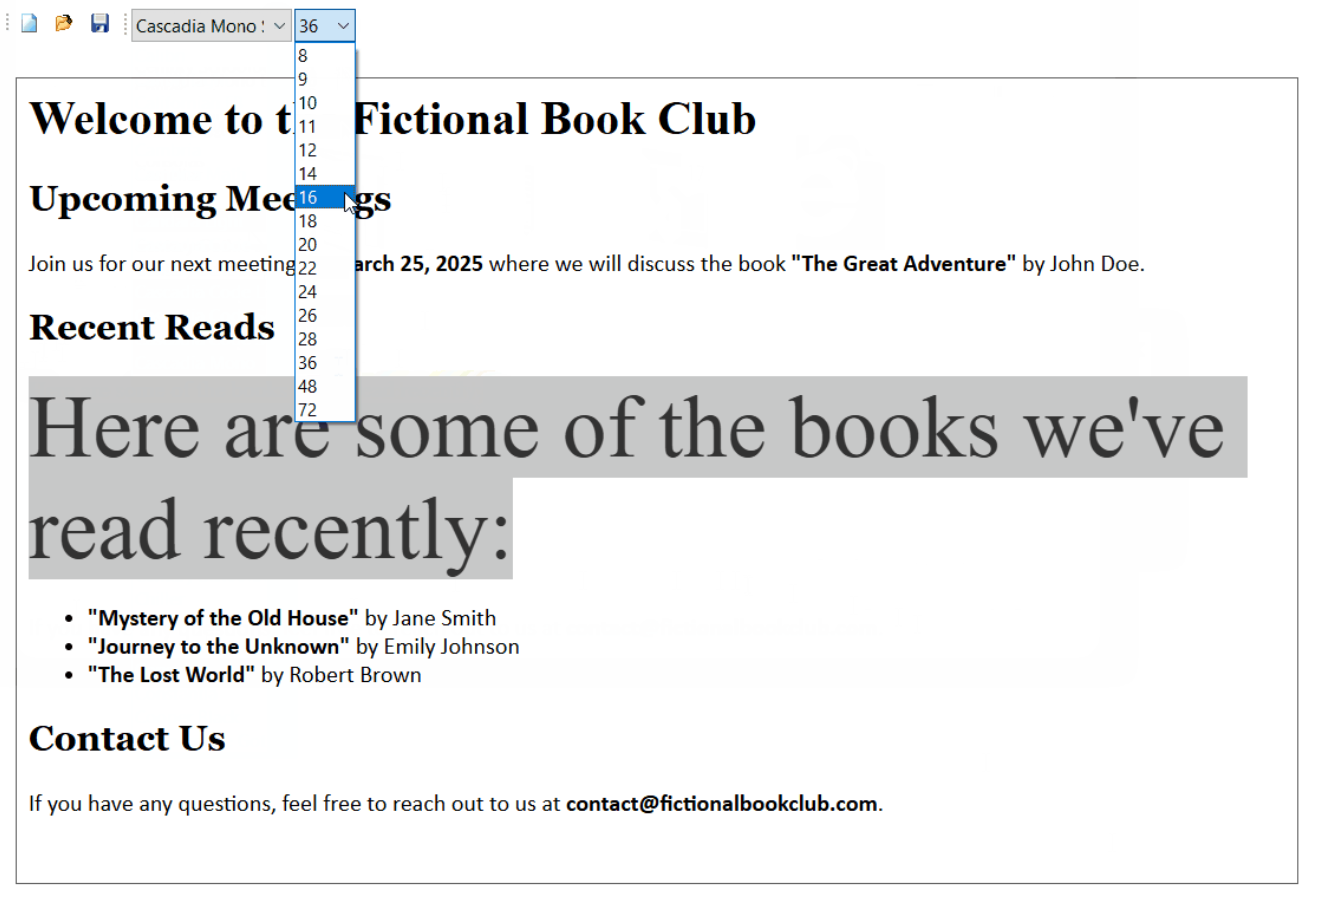
3. Sync the Combo Boxes with the Selected Text: Using the code below, update the combo boxes to show the current font and size whenever users select some text:private void InitializeFontGroup() { // Populate the Font Face combo box with available system fonts foreach (FontFamily fontFamily in FontFamily.Families) { fontFaceComboBox.Items.Add(fontFamily.Name); } // Populate the Font Size combo box with common font sizes foreach (int size in new int[] { 8, 9, 10, 11, 12, 14, 16, 18, 20, 22, 24, 26, 28, 36, 48, 72 }) { fontSizeComboBox.Items.Add(size.ToString()); } // Keep the font group combo boxes in sync with the current text selection UpdateFontGroupBasedOnCurrentTextSelection(); editorView.SelectedTextChanged += delegate { this.UpdateFontGroupBasedOnCurrentTextSelection(); }; }
4. Apply the Font and Size Changes: When users pick a new font or size from the combo boxes, we apply those changes to the selected text:private async void UpdateFontGroupBasedOnSelection() { Font font = await editorView.GetSelectionFontInfoAsync(); fontFaceComboBox.Text = font?.FontFamily.Name ?? ""; fontSizeComboBox.Text = font?.Size.ToString() ?? ""; }
// handing selection changed for fontFaceComboBox
private void fontFaceComboBox_SelectionChangeCommitted(object sender, EventArgs e)
{
    UpdateFontOnSelection("Face");
}

// handing selection changed for fontSizeComboBox
private void fontSizeComboBox_SelectionChangeCommitted(object sender, EventArgs e)
{
    UpdateFontOnSelection("Size");
}

// method to update the select font based on the changes in the font group combo-boxes
public async Task UpdateFontOnSelection(string fontParameter)
{
    Font font = await editorView.GetSelectionFontInfoAsync();

    if (font != null)
    {
        if (fontParameter == "Face")
        {
            string fontFamilyName = fontFaceComboBox.Text;

            editorView.SetFontAtSelectionAsync(new Font(
                fontFamilyName,
                font.Size,
                font.Style,
                font.Unit));
        }
        else if (fontParameter == "Size")
        {
            editorView.SetFontAtSelectionAsync(new Font(
                font.FontFamily,
                float.Parse(fontSizeComboBox.Text),
                font.Style,
                GraphicsUnit.Point));
        }
    }
}
There you have it—our custom toolbar is set and working!
Use the C1EditorRibbon for the Built-In Features (No Code Required!)
Now, let's make things even easier with another approach.
Instead of building the toolbar from scratch, we can simply use the C1EditorRibbon control already available in the form layout. This ready-made, Word-style ribbon is only available in the C1.Win.Editor package. All we need to do is place it on the form and connect it to the C1Editor control, as shown below:
// attach the editor control to the ribbon
editorRibbon.Editor = editorView;
Check out the following image to see it in action:

You can download the sample and follow along.
Ready to check it out? Download ComponentOne Today!
Conclusion
In this blog, we explored two ways to enhance your WinForms app with rich text editing—a manual approach with a custom toolbar and an effortless option with C1EditorRibbon. Whether you like customizing things your way or prefer a quicker plug-and-play setup, both approaches help you create a smooth and professional editing experience for your users.
You can experiment more with the C1Editor control by referring to its official documentation.
If you have any inquiries, please leave them in the comments section below. Happy Coding!
Related Blogs
Try Our .NET UI Components & Datagrid
Getting Started With ComponentOne
