Xuni iOS Dynamic Frameworks Preview with Interface Builder Support
Design-time support for the Xuni iOS controls has always been on our wish list of potential features. Laying out the Storyboards visually can be much easier than working in code, especially when working with constraints. The 2016v2 Xuni release brings with it a preview of our Dynamic Frameworks with Interface Builder support.
Notes on Dynamic Frameworks
Dynamic Frameworks (also called Embedded frameworks) were introduced with Xcode 6 and iOS 8. There are two big advantages to this type of framework. The first is the Interface Builder support which we’ve already mentioned. The second advantage is the ability to share common code between multiple projects. We've covered both of these types of frameworks in a past blog that covers how the are created and work. The process for using these dynamic frameworks in your project is a little different than the more traditional static frameworks so we'll step through it.
Getting Started
We'll take a look at using the dynamic version of FlexPie within the Interface Builder. The first step is to add the dynamic frameworks to your project.
- Create new project called DynamicFlexPie
- Click on XCode project file
Under General Tab add the following dynamic frameworks as Embedded Binaries
XuniCoreDynamicKit
- XuniChartCoreDynamicKit
- XuniFlexPieDynamicKit
 6. From the File Menu, select “Add Files to DynamicFlexPie”
- Add XuniFlexPieDesignTimeStoryboardSupport.m
Using Controls in Interface Builder
Now that the frameworks are added to your project you'll be able to use the FlexPie control in the Interface Builder. Only Apple's built-in controls directly show up in the object library, but it's easy to customize a generic UIView to a Xuni control using the following steps.
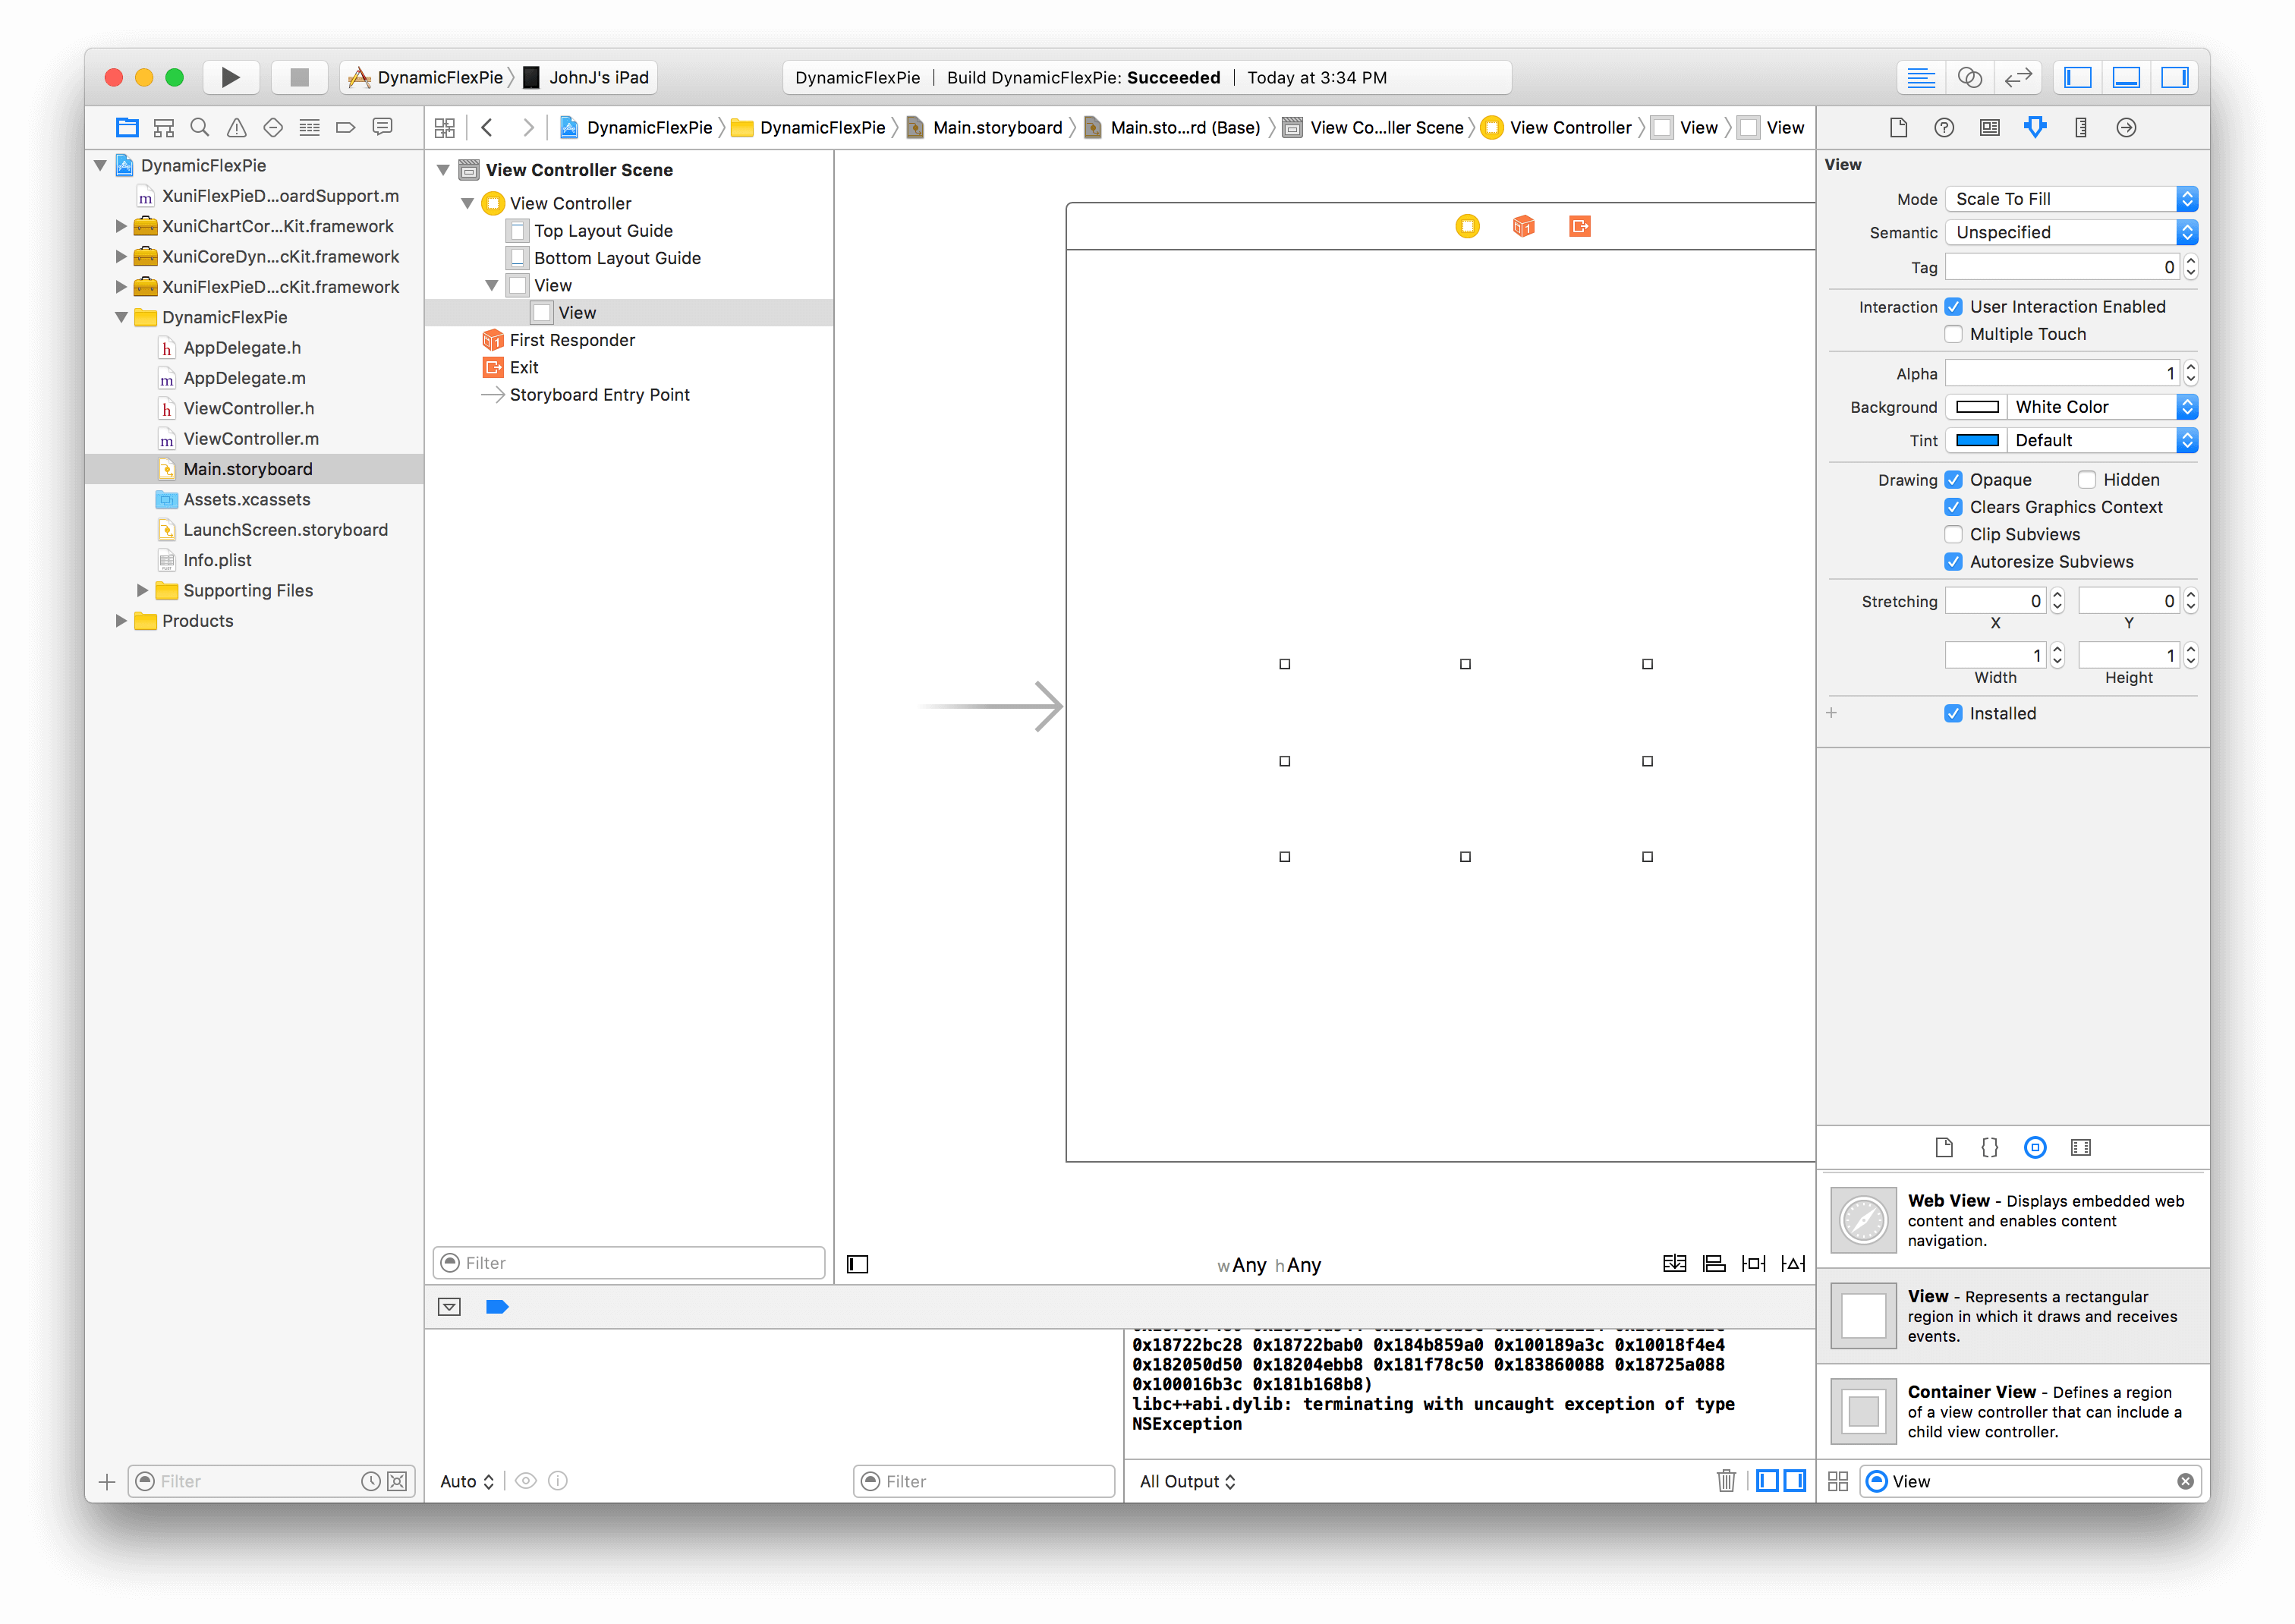
- Open Project Storyboard
- Find View Object inside Object Library
- Drag View onto ViewController
 5. In Identity Inspector, change the Custom Class to FlexPie
 - At this point control should be visible in Interface Builder
- Configure properties as desired in Attributes Inspector
Connecting Control to your ViewController code
You'll also want to connect the control to your ViewController class so that you can interact with it in code when necessary. You can do this by creating an IBOutlet in the same fashion you would for other Apple controls.
- With your Storyboard open, go to the menu item View -> Assistant Editor -> Show Assistant Editor
- Open ViewController.m in Assistant Editor and add #import to top of file
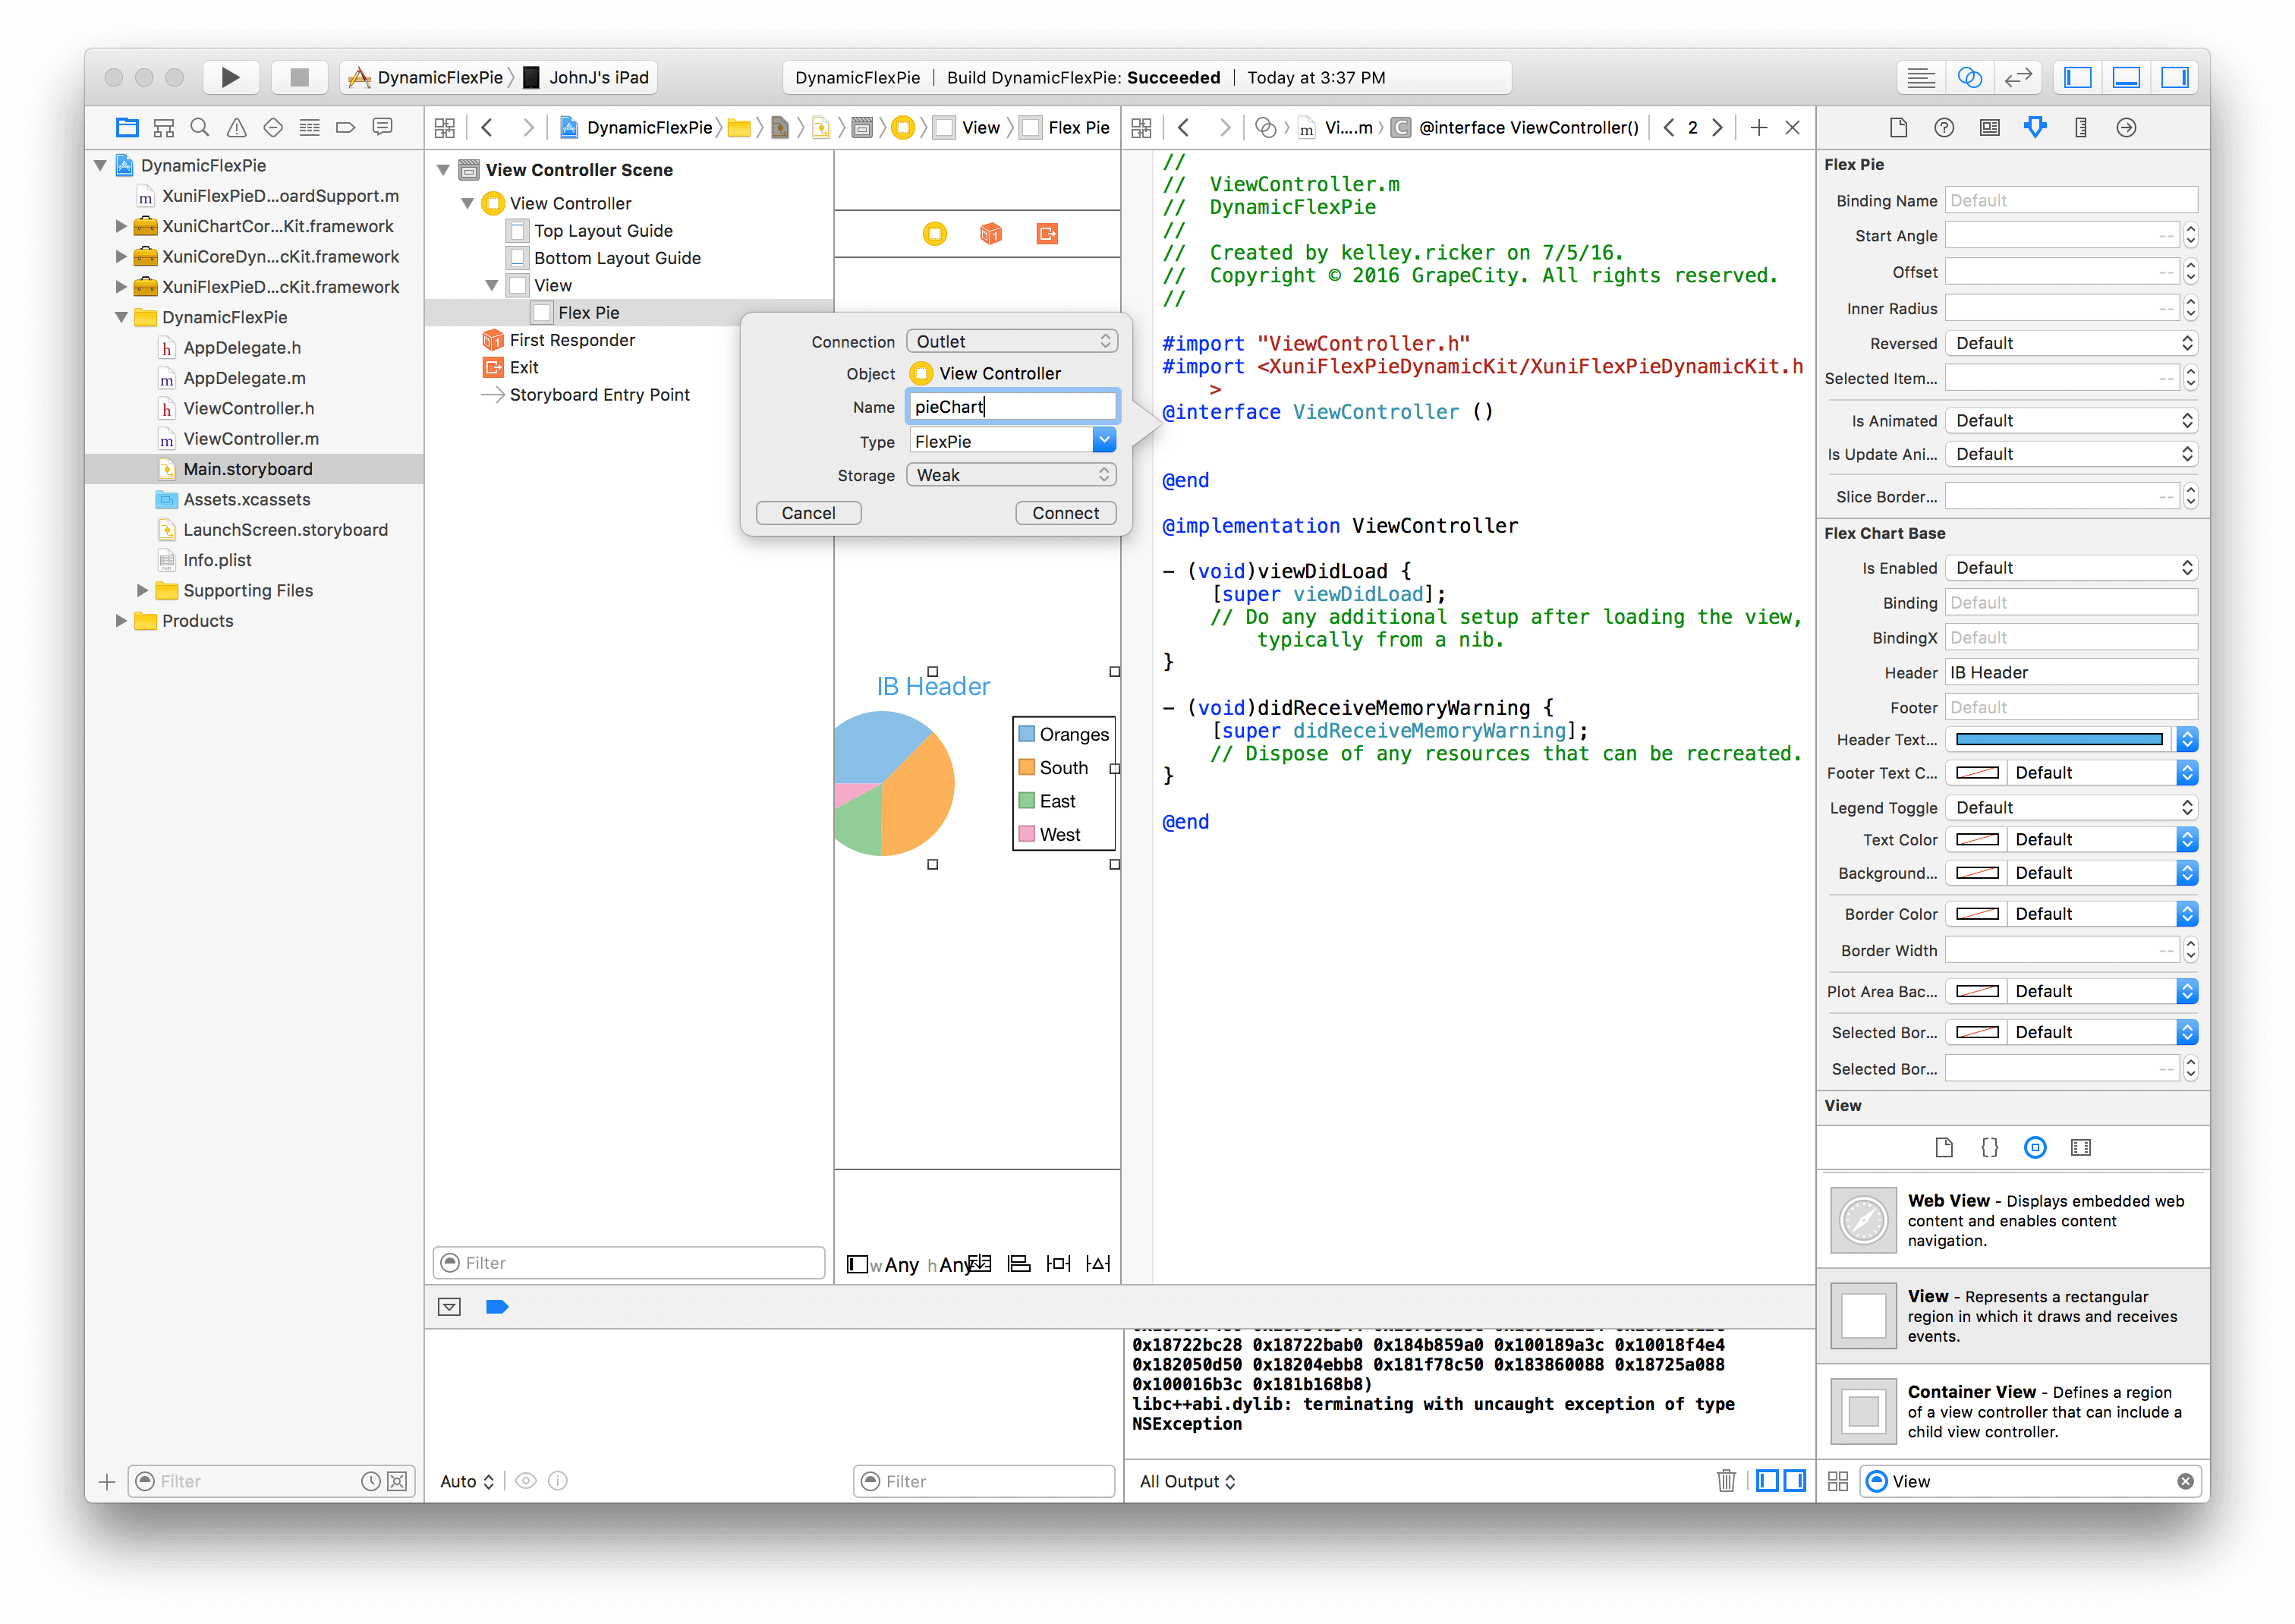
- Create and IBOutlet by control dragging from FlexPie control in Storyboard into your ViewController.m in the Assistant Editor near the @interface declaration
- In the pop up, name the FlexPie control pieChart and click Connect
 6. Now you should be able to interact with the control in the code behind as pieChart
Closing Words
Interface Builder support is only a preview for now, and we'll do some adjusting of these dynamic frameworks based on feedback we receive as well as further internal testing. It is an exciting feature, and the visual design allows you to work with your storyboards more directly than was previously possible. The 101 samples for iOS have been redone using this new style, and if you're curious simply taking a look at them is a good starting point.


