You can use SpreadJS in a Visual Studio project. This provides access to automatic complete and code checking in Visual Studio. Use the following steps to create a project that uses SpreadJS.
- Create an ASP.NET project (File, New Project or New Project in Visual Studio). Select ASP.NET Web Application. Specify the Name, Location, and Solution name.
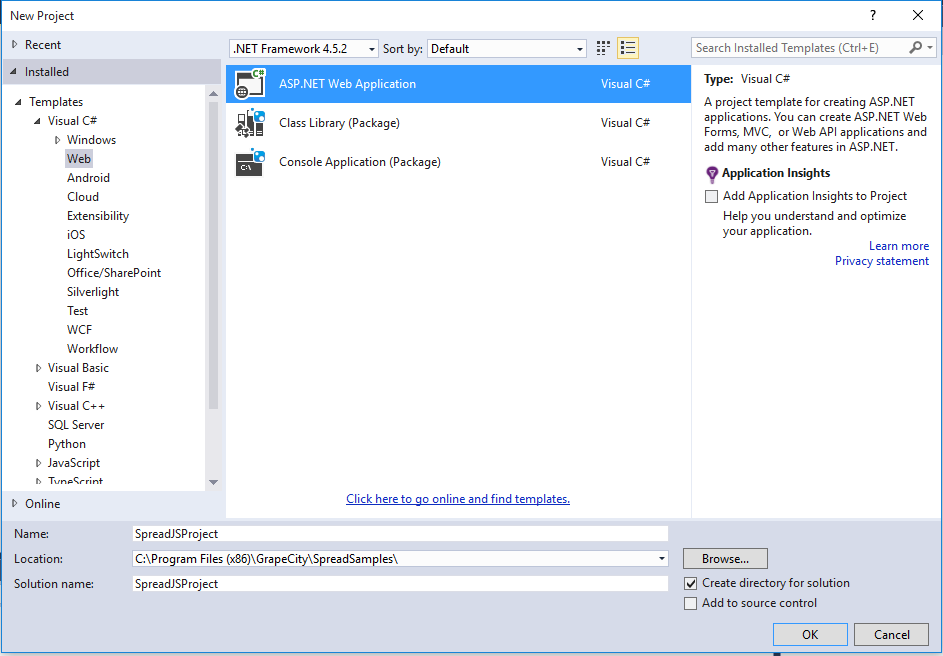 New Project
 - Select a template such as Empty and select OK.
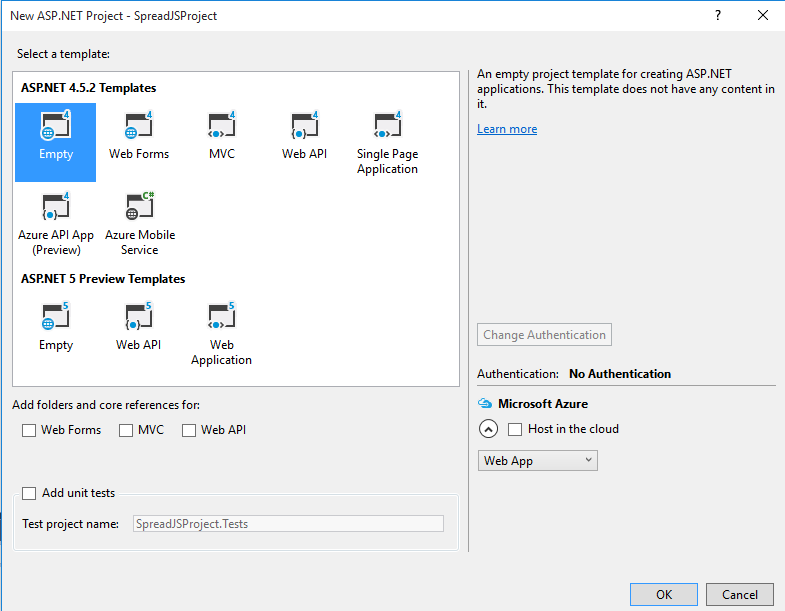 Empty Template
 - Select Project, Add New Item.
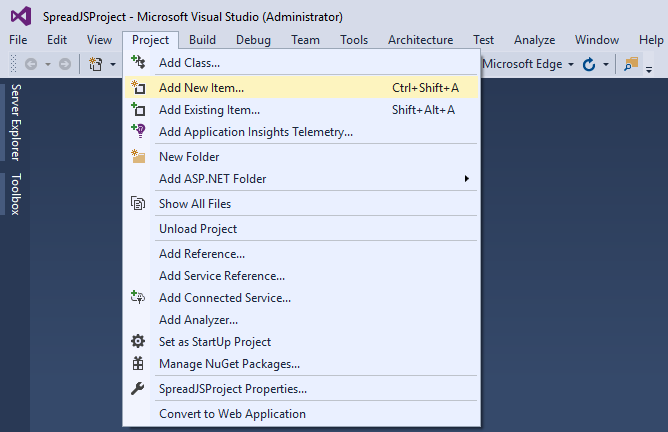 New Item
 - Select HTML page. Specify a name. Select Add. You can also right-click on the HTML file in the Solution Explorer and change the name (Rename menu option).
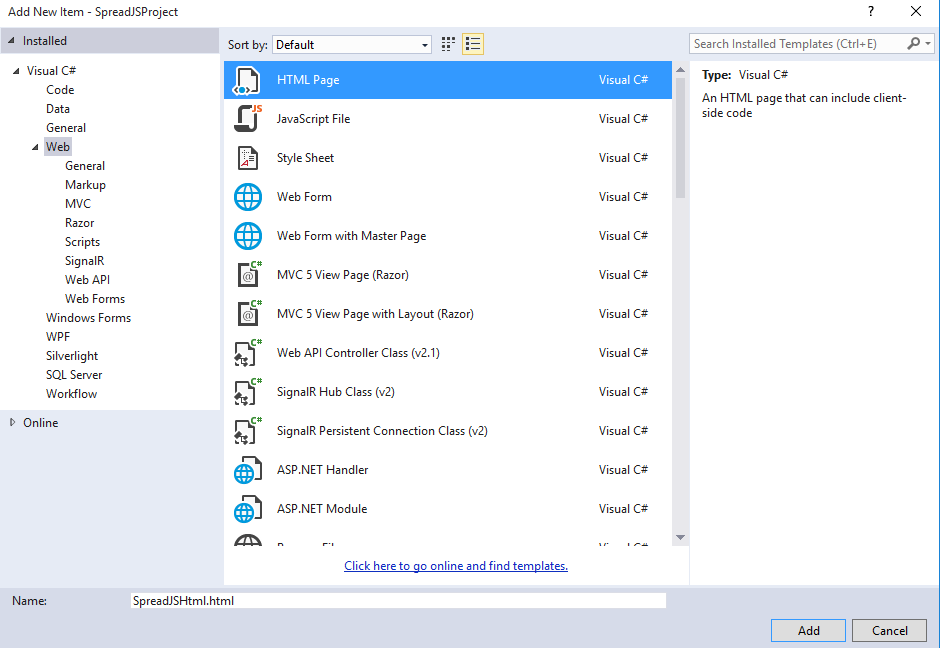 HTML Page
 - Save the file (File, Save SpreadJSHtml.html).
- Add the file to the project (Project, Add Existing Item).
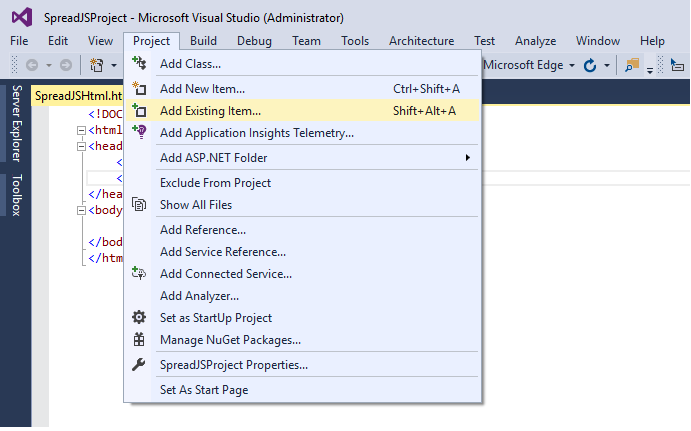 Existing Item
 Select the file in the project folder (SpreadJSHtml.html) and select Add. You can also use the Add Existing Item option to add the gcspread.sheets.all.8.40.20151.5.min.js and gcspread.sheets.all.8.40.20151.5.css files to the project so that you can use relative paths.
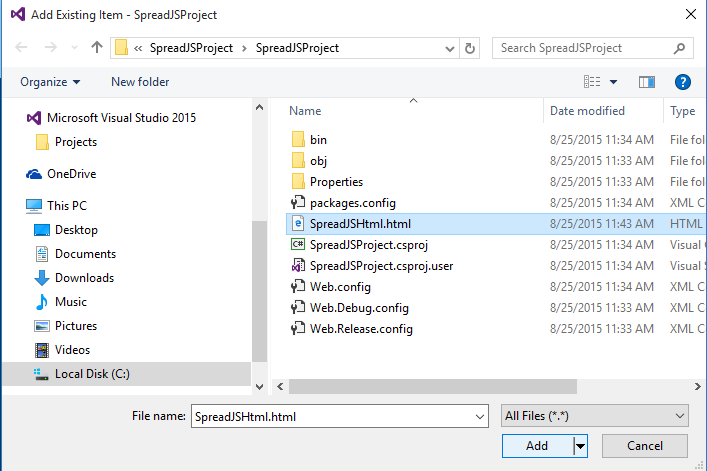 Add File
Use code similar to the following to add the widget to the page.
<!DOCTYPE html> <html lang="en" xmlns="http://www.w3.org/1999/xhtml"> <head> <meta charset="utf-8" /> <title>SpreadJS</title> <script src="http://code.jquery.com/jquery-2.0.2.js" type="text/javascript"></script> <script type="text/javascript" src="gcspread.sheets.all.8.40.20151.5.min.js"></script> <script type="text/javascript" src="gcspread.sheets.all.8.40.20151.5.css"></script> <script type="text/javascript"> $(function () { var spread = new GcSpread.Sheets.Spread($("#ss")[0]); var sheet = spread.getActiveSheet(); sheet.setValue(0, 0, "This is a test"); sheet.getCell(0, 0).backColor("yellow"); sheet.getColumn(0).width(100); }) </script> </head> <body> <div id="ss" style="width:600px;height:450px"></div> </body> </html>- You can use the View in Browser option to test the page or use the Run option.
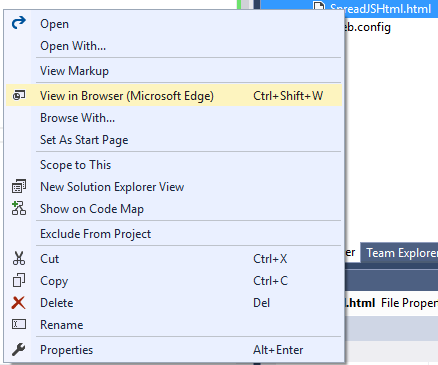 View in Browser
 - The completed example is illustrated in the following image.
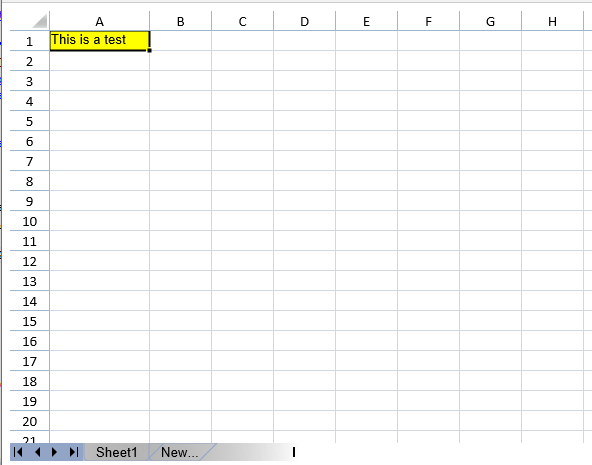 Completed Sample


