How to Query Snowflake in ADO.NET Using C#
| Quick Start Guide | |
|---|---|
| What You Will Need |
ComponentOne Data Services Edition Visual Studio |
| Controls Referenced | |
| Tutorial Concept | Learn how to query Snowflake data using the new ComponentOne .NET Data Connector library. |
Wondering how to securely manage Snowflake connections in .NET? You’re in the right place!
In today's data-driven world, fetching data from various cloud platforms is crucial for powering modern applications. Snowflake is a popular cloud-based platform that helps businesses manage and analyze data effectively. It’s fast, secure, and works well with structured and semi-structured data, making it a top choice for organizations. Recognizing the importance of efficient data integration, we’ve added an ADO.NET Provider for Snowflake in ComponentOne Data Services, enabling developers to easily connect their .NET applications to Snowflake's powerful cloud environment.
In this blog, we’ll explore how to easily set up a connection to Snowflake. We will follow a straightforward process as outlined in the steps below:
- Setup a WinForms App with Required Dependencies
- Fetch Data from the Snowflake Server with a Secure Connection
- Bind Fetched Data to the UI
Ready to get started? Download ComponentOne Today!
Setup a WinForms App with Required Dependencies
Let’s start by creating a new .NET 8 or .NET 9 WinForms application and adding the ADO. NET Provider for Snowflake dependency. Follow the steps below to get started:
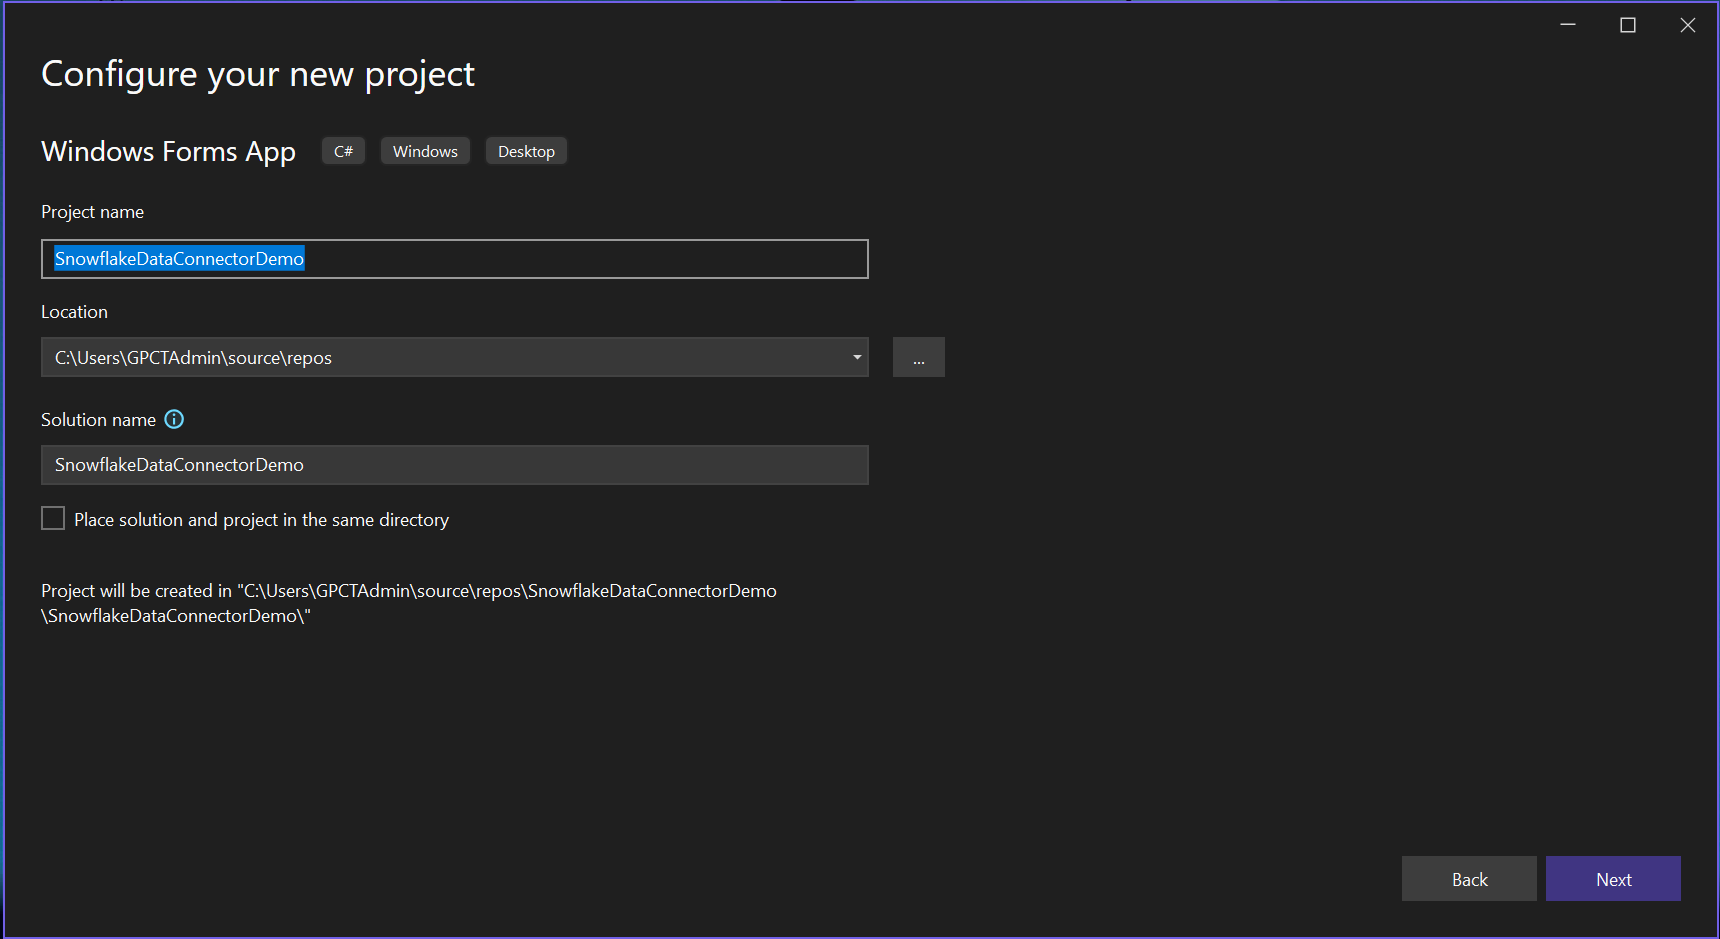
- Open Visual Studio and select File > New > Project to create a new WinForms app.
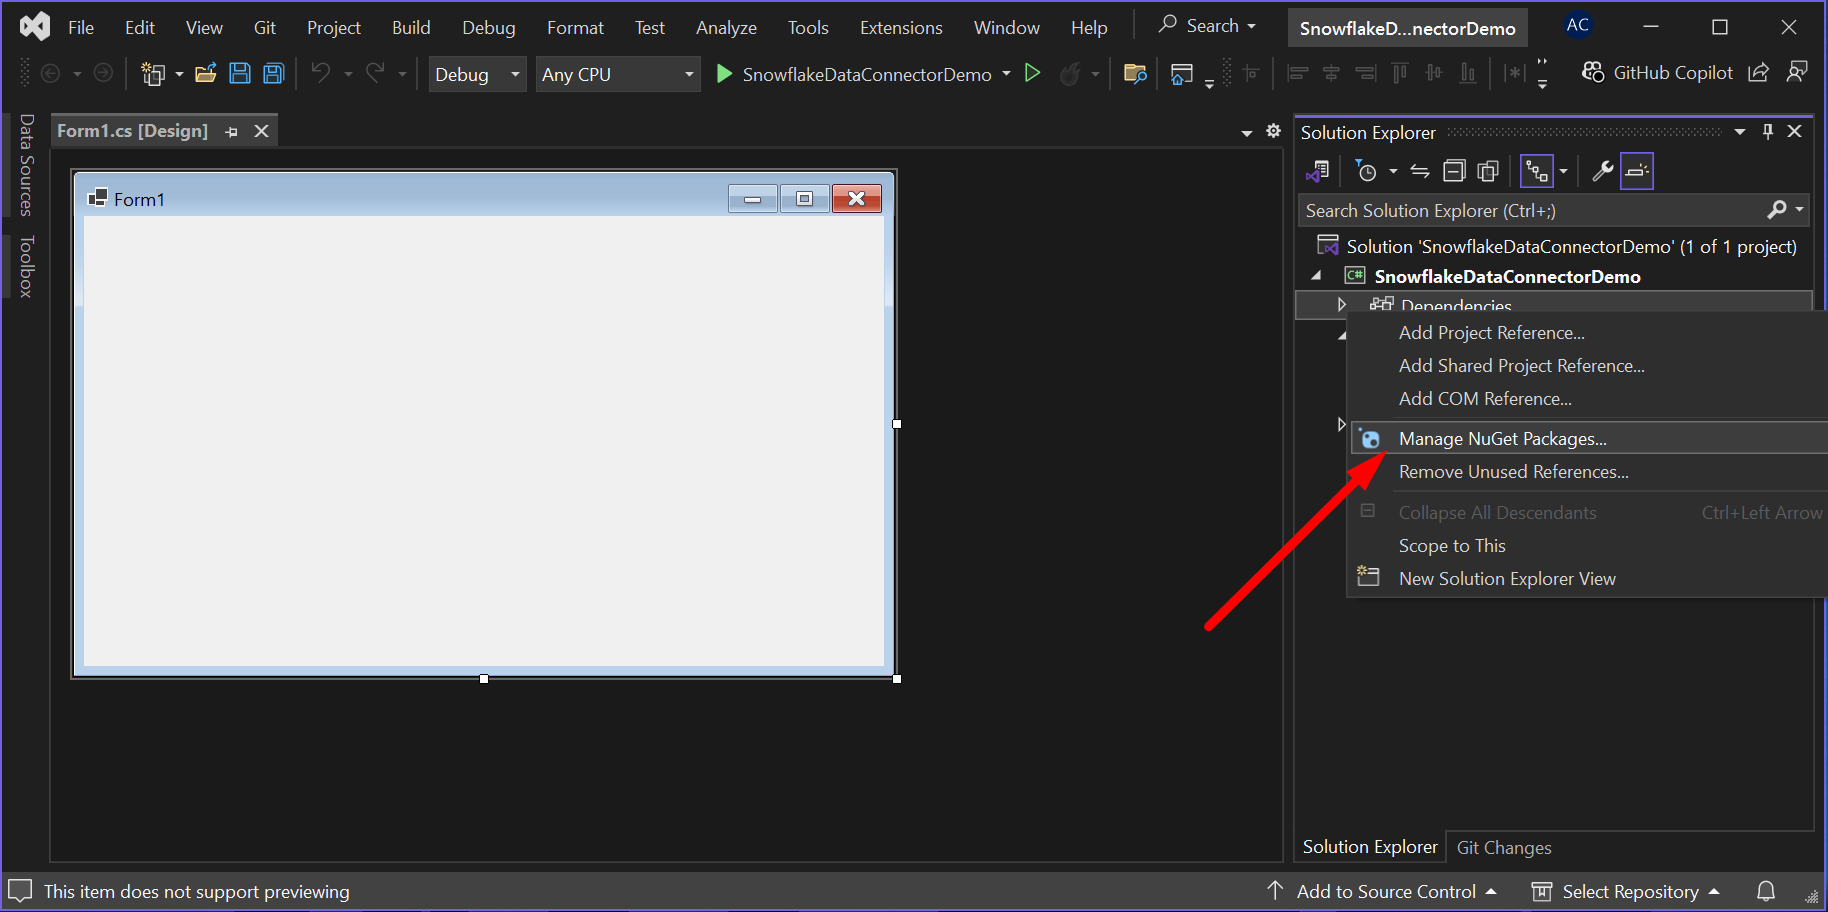
- Right-click on the project in the Solution Explorer and choose “Manage NuGet Packages…” from the context menu.
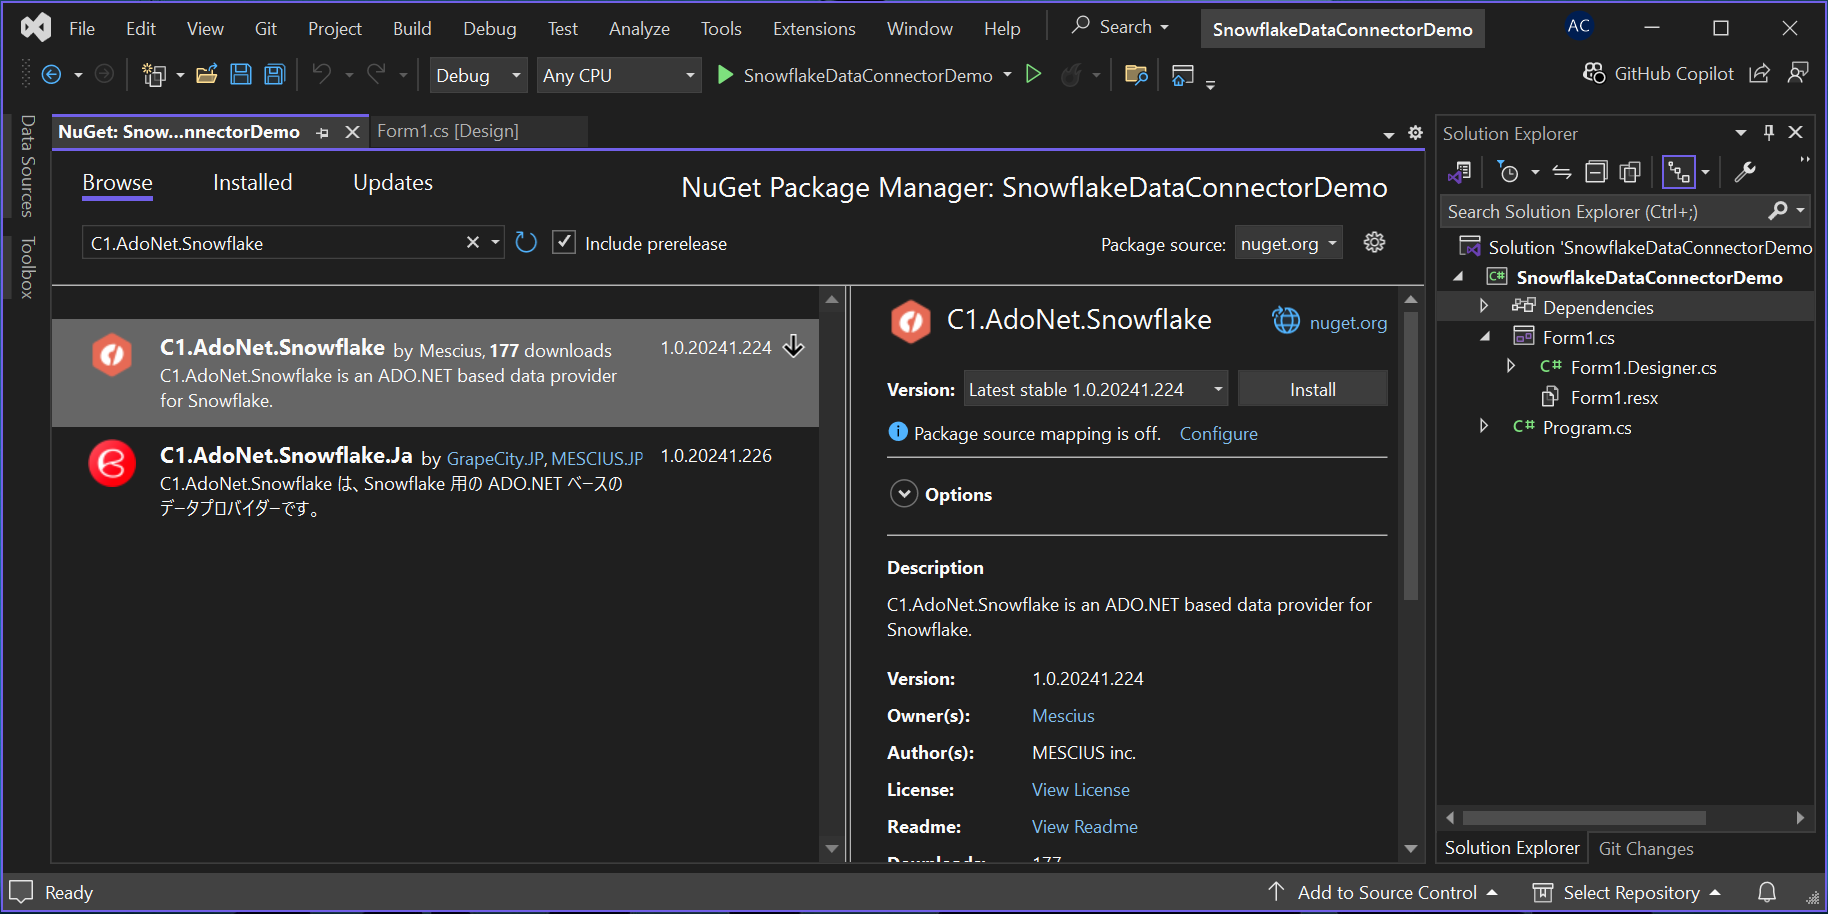
- Search for C1.AdoNet.Snowflake in the NuGet Package Manager and click on “Install.”


To create the app UI, we will use the datagrid and theme controls from the ComponentOne WinForms suite. So, let’s add the following NuGet packages:
With the environment successfully set up, we will establish a connection to the Snowflake Server to retrieve data.
Fetch Data from the Snowflake Server with a Secure Connection
Now that the project is set up, let’s create a secure connection to the Snowflake server using the C1SnowflakeConnectionStringBuilder class. We’ll use Key-Pair Authentication, a strong and reliable method that requires specific credentials, as shown in the code below.
//Create connection string using C1SnowflakeConnectionStringBuilder
C1SnowflakeConnectionStringBuilder builder = new C1SnowflakeConnectionStringBuilder();
builder.Account = "****.eu-west-2.aws";
builder.Url = "https://****.eu-west-2.aws.snowflakecomputing.com";
builder.Warehouse = "****";
builder.Database = "****";
builder.Schema = "****";
builder.Role = "****";
builder.PrivateKey = "****";
builder.PrivateKeyPassword = "****";
builder.Fingerprint = "****";
builder.Username = "****";
For detailed information about the properties of the C1SnowflakeConnectionStringBuilder class, refer to this documentation.
If you encounter difficulties setting up Key-Pair Authentication in the Snowflake server, refer to this blog for step-by-step guidance. It will help you generate the values required for the PrivateKey, PrivateKeyPassword, and Fingerprint properties. For the Database and Schema properties, specify the values that match the data you wish to query.
For the remaining credentials, run the following commands in the Snowflake console to retrieve their values:
| Property | Command |
| Account | SELECT CURRENT_ACCOUNT() |
| Username | SELECT CURRENT_USER() |
| Warehouse | SELECT CURRENT_WAREHOUSE() |
| Role | SELECT CURRENT_ROLE() |
After completing this step, we can establish a secure connection to the Snowflake server using the C1SnowflakeConnection class. Once the connection is established, we will use the C1SnowflakeDataAdapter to retrieve the query results into a DataTable. See the code snippet below for implementation:
// Create a new connection to Snowflake using the connection string builder
  C1SnowflakeConnection conn = new C1SnowflakeConnection(builder);
  // Open the connection
  conn.Open();
  // Create a data adapter to execute the query and fill the results into a DataTable
  C1SnowflakeDataAdapter adapter = new C1SnowflakeDataAdapter(conn, "SELECT * FROM ITEM");
  // Initialize a DataTable to hold the query results
  DataTable dt = new DataTable();
  // Fill the DataTable with the results of the query
  adapter.Fill(dt);
Bind Fetched Data to the UI
In this step, we will bind the fetched DataTable to the MESCIUS DataGrid control to display the data in a structured format using the DataSource property:
// Bind the DataTable as the data source for the FlexGrid control
c1FlexGrid1.DataSource = dt;
And that’s it! We have successfully fetched the data from the Snowflake server, displaying the data in a grid as shown below:

Ready to try it out? Download ComponentOne Today!
Conclusion
In this blog, we demonstrated simple techniques for establishing data connections in .NET with the Snowflake server. Using the Data Connector API, you can seamlessly fetch data from various sources such as Salesforce, Kintone, and OData, among others. Check out the Data Connector documentation to learn more about these features.
Related Blogs
Try Our .NET UI Components & Datagrid
Getting Started With ComponentOne
