In this step you'll begin in Visual Studio to create a grid application using DataGrid for WPF. When you add the C1DataGrid control to your application, you'll have a complete, functional grid. You can further customize the grid to your application.
To set up your project and add a C1DataGrid control to your application, complete the following steps:
What You've Accomplished
Run the application and observe that the grid application will appear similar to the following image:
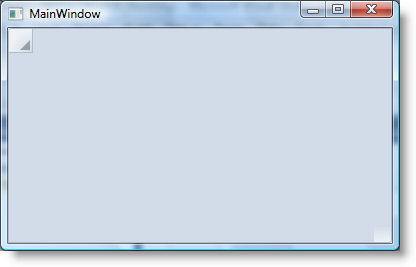
You've successfully created a very basic grid application, but the grid is blank. In the next step you'll add a data source to your project and bind the grid to the data source.