


- Document Solutions Data Viewer Overview
- Key Features
- Getting Started
- User Interface
- Load File
- Resize Rows and Columns
- Cell Range Selection
- Tables
- Pivot Tables
- Sorting and Filtering
- Grouping and Outlines
- Data Visualization
- Scroll Bars
- Notes
- Search Data
- Extract Data
- Hyperlinks
- Keyboard Shortcuts
- Samples
- Client-side API Reference
- Release Notes
Quick Start: Configure DsDataViewer
The steps below describe how to create a simple ASP.NET Core web application that uses DsDataViewer to view data files.
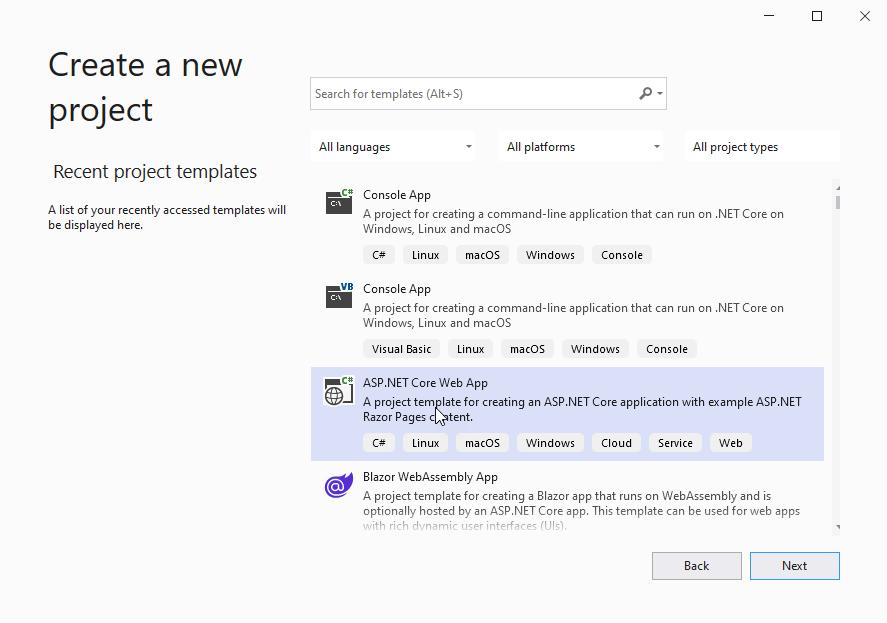
Open Microsoft Visual Studio and select Create a new project | ASP.NET Core Web App and name it. In this example, we have named it as “DsDataViewerApp”.
Open the project in File Explorer and locate the wwwroot > lib directory.
Right-click on lib folder and select Open in Terminal. Run the following command to install DsDataViewer.
npm install @mescius/dsdataviewerObserve that DsDataViewer gets installed at following location:
DsDataViewerApp\wwwroot\lib\node_modules\@mescius\dsdataviewerIn Solution Explorer, right click wwwroot folder of the project and select Add > New Item to add a new HTML file named 'index.html'.
To initialize DsDataViewer, add the following code to index.html.
<!DOCTYPE html>
<html lang="en">

<head>
    <meta charset="utf-8">
    <meta name="description" content="Document Solutions Data Viewer">
    <meta name="viewport" content="width=device-width, initial-scale=1.0, maximum-scale=5.0, user-scalable=yes" />
    <script type="text/javascript" src="lib/node_modules/@mescius/dsdataviewer/dsdataviewer.js"></script>

    <title>Document Solutions Data Viewer</title>
    <script>
        function loadDataViewer(selector) {
            //DsDataViewer.LicenseKey = 'your_license_key';
            var viewer = new DsDataViewer(selector, {});
        }</script>
    <link rel="stylesheet" type="text/css" href="css/style.css">
</head>

<body onload="loadDataViewer('#root')">
    <div id="root" class="dsdataviewer"></div>
</body>


</html>
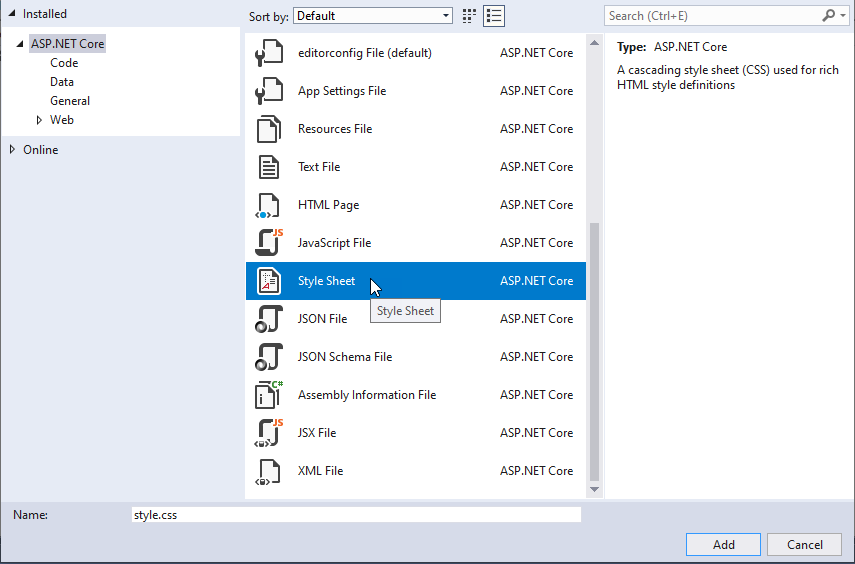
In Visual Studio, add a new stylesheet 'style.css' in wwwroot/css folder of the project and add following code.
.dsdataviewer {
    height: 100%;
}
To start the application with index.html by default, in Program.cs file, replace the default methods with following code.
var builder = WebApplication.CreateBuilder(args);

// Add services to the container.
builder.Services.AddRazorPages();

var app = builder.Build();

// Configure the HTTP request pipeline.
if (!app.Environment.IsDevelopment())
{
    app.UseExceptionHandler("/Error");
}

app.UseHttpsRedirection();
app.UseDefaultFiles();
app.UseStaticFiles();
app.UseRouting();
app.UseAuthorization();
app.MapRazorPages();
app.Run();
Build and run the application. A page displaying DsDataViewer opens in your default browser.
User can use Open document button(
 ) on the top-left of the DsDataViewer control to open a file.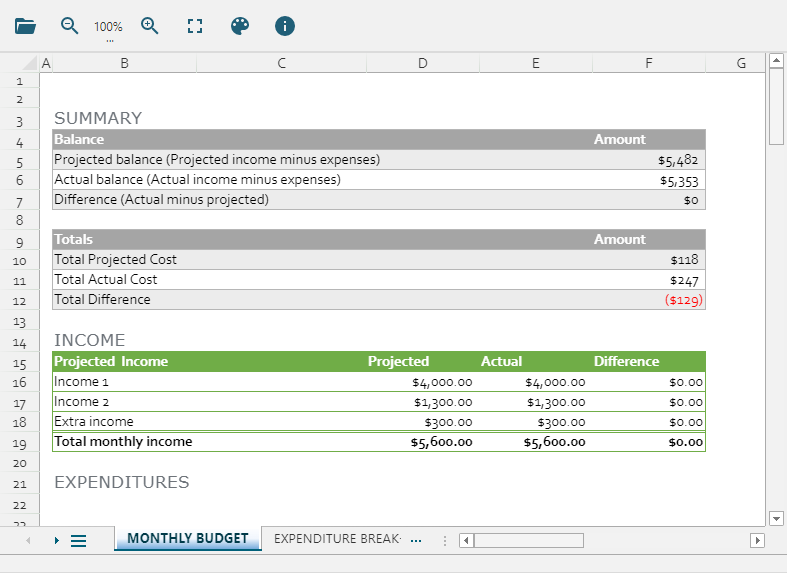
For more information, see Load a File.