In This Topic
This topic explains how to bind the following to a data source: a non-editable template column and a template column that can be edited at run time. Note that this topic assumes you have completed the Adding Template Columns topic.
Binding a non-editable template column
To bind a non-editable template column Supplier # to a data source, complete the following steps:
- Right-click the C1GridView control and then click Show Smart Tag.
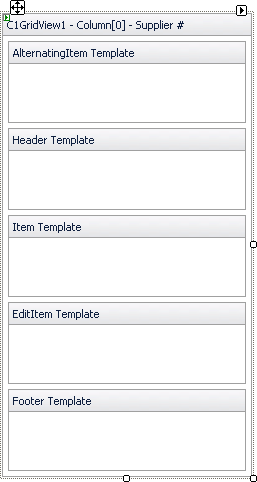
- On the C1GridView Tasks menu, click Edit Templates. The template editor appears:

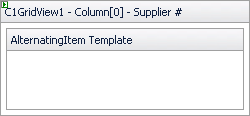
- Click the C1GridView Smart Tag and select Column[0] – Supplier # from the Display drop-down list. The template editor appears:

- From the Standard tab in the Toolbox, drag a Label control into the Item Template section.
- If the Label Tasks menu does not appear, click the Label1 Smart Tag, and then click Edit DataBindings. The Label1 DataBindings window appears.
- Select Text in the Bindable properties list, and then select the SupplierID field from the Bound to box.
- Click OK.
- Click the C1GridView Smart Tag, and select End Template Editing from the C1GridView Tasks menu.
Binding editable template columns
To bind editable template columns Contact name, Company name, and Address to a data source, complete the following steps:
- Click C1GridView's smart tag and select Edit Templates.
- Select Column[1] – Contact name from the Display drop-down list.
- From the Standard tab in the Toolbox, drag a Label control into the Item Template section.
- If the Label Tasks menu does not appear, click the Label2 Smart Tag, and then click Edit DataBindings. The Label2 DataBindings window appears.
- Select Text in the Bindable properties list, and then select the ContactName field from the Bound to combo box.
- Click OK.
- From the Standard tab in the Toolbox, drag a TextBox control into the EditItem Template section.
- If the TextBox Tasks menu does not appear, click the TextBox1 Smart Tag, and then click Edit DataBindings.
- Select Text in the Bindable properties list, and then select the ContactName field from the Bound to check box.
- Make sure that the Two-way databinding check box is selected and click OK.
- Repeat the steps above for the Company name and Address columns. Bind them to the CompanyName and Address fields accordingly.
- Click the C1GridView Smart Tag and select End Template Editing from the C1GridView Tasks menu.
What You've Accomplished
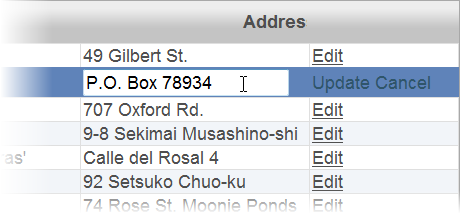
Run the project. When you click the Edit button in the first row, an editable text box appears for each column except for the Supplier # column. You can edit the information, and click Update to update the database or click Cancel to ignore any edits you made.

See Also
