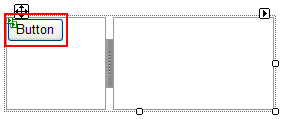
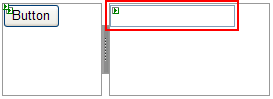
You can add arbitrary controls to each panel of the C1Splitter control using a simple drag-and-drop operation or HTML. In this topic, you will add a Button control to Panel1 and a TextBox control to Panel2.
In Design View
Complete the following steps:
In Source View
Complete the following steps:
<ContentTemplate>
<asp:Button ID="Button1" runat="server" Text="Button" />
</ContentTemplate>
<ContentTemplate>
<asp:TextBox ID="TextBox1" runat="server"></asp:TextBox>
</ContentTemplate>
In Code
Complete the following steps:
To write the code in Visual Basic:
| Visual Basic |
Copy Code
|
|---|---|
| Dim nuButton As Button = New Button() nuButton.Text = "Hello World!" |
|
To write the code in C#:
| C# |
Copy Code
|
|---|---|
| Button nuButton = new Button(); nuButton.Text = "Hello World!"; |
|
To write the code in Visual Basic:
| Visual Basic |
Copy Code
|
|---|---|
| Dim nuTextBox As TextBox = New TextBox() | |
To write the code in C#:
| C# |
Copy Code
|
|---|---|
| TextBox nuTextBox = new TextBox(); | |
To write the code in Visual Basic:
| Visual Basic |
Copy Code
|
|---|---|
| PlaceHolder1.Controls.Add(nuButton) | |
To write the code in C#:
| C# |
Copy Code
|
|---|---|
|
PlaceHolder2.Controls.Add(nuTextBox); |
|
To write the code in Visual Basic:
| Visual Basic |
Copy Code
|
|---|---|
| PlaceHolder2.Controls.Add(nuTextBox) | |
To write the code in C#:
| C# |
Copy Code
|
|---|---|
| PlaceHolder2.Controls.Add(nuTextBox); | |
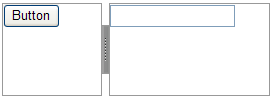
This Topic Illustrates the Following:
The following graphic depicts a C1Splitter control with a Button control in Panel1 and a TextBox control in Panel2.