In this topic, you will learn how to add text to a C1Wizard control using the designer and markup.
In Design View
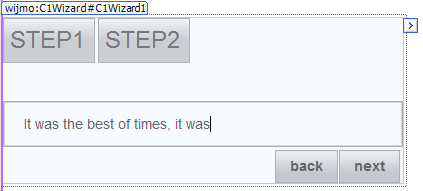
To add text to a step, simply place your cursor inside the step and type (or copy) text onto the step.

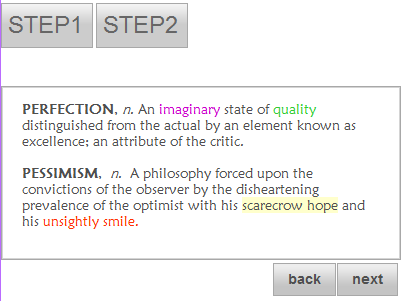
Once you've added text to the step, you can use Visual Studio's Formatting toolbar (to view this toolbar, use the following path: View | Toolbars | Formatting) to format the text. The image below shows a C1WizardStep with formatted text as it appears at run time:

In Source View
You can add text to a C1WizardStep in Source view by placing text between the <cc1:C1WizardStep> tags. To format the text, you will use markup.
To add text to a C1WizardStep in Source view, follow these steps:
<style type="text/css">
        .style1
        {
            font-family: "Comic Sans MS";
            font-size: large;
            color: orange;
        }

        .style2
        {
            font-family: Papyrus;
            font-size: large;
            color: #0066FF;
        }

    </style>
Add the following markup between the <cc1: C1WizardStep> tags:
<span class="style1">Yeah, I used ComicSans. </span>
<br />
<br />
<span class="style2">And Papyrus.</span>
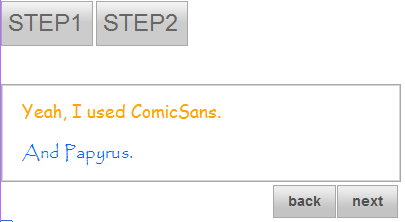
Note that style1 is applied to the first sentence and style2 is applied to the second sentence.
Press F5 to run the project and observe that text has been added to the C1WizardStep of the C1Wizard control. Your result will resemble the following image:
