Localization / Adding a Localization File Manually
Adding a Localization File Manually

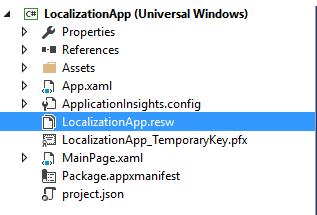
If you require localization for a language that isn't supported, you can add your own resource file.

First, you will need to create a resource file. When you create your file, make sure that the file name follows this format:

[Windows Apps Assembly Name].Resources.[C1 Control].resw

For example, in an App named LocalizationApp for the C1RichTextBoxMenu control, the file name would be:

LocalizationApp.Resources.C1.Xaml.RichTextBox.Menu.resw

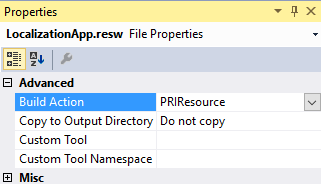
To add your own resource file, follow these steps:

  1. Add a new localization file to your app.
    1. Right-click the file name and select Add | New File.
    2. Select a Resources File (.resw) and name your file according to the preceding format.
    3. Select Add. Your file list should resemble the following image:

  1. Select the resource file and change the Build Action to PRIResource.

  1. Run your sample to see the effect of your resource file.