Scroll
Spread for WPF provides various options for navigating large worksheets, including pixel scrolling, freezing or splitting panes while scrolling, and programmatic scrolling through code.
Below are detailed explanations for each option to help you navigate worksheets efficiently.
Scroll By Pixels
Spread for WPF provides comprehensive support for Excel-like precision scrolling, ensuring a smooth and seamless scrolling experience while providing enhanced control over your worksheets. You can scroll horizontally or vertically by a specified number of pixels, allowing accurate movement across worksheet cells. By default, the worksheet scrolls only by rows or columns.
Pixel scrolling can be especially useful in scenarios such as:
When cells in the spreadsheet are very tall (containing multi-line text) or wide (due to increased column width).
When positioning a shape or picture within a cell.
When entering a large amount of data into a single cell, such as in entry forms, survey forms, or records.
When navigating to a specific area or range of cells that contains desired data within the worksheet.
Pixel scrolling is enabled for both horizontal and vertical scrolling, allowing precise control in both directions. Here are the ways you can use pixel scrolling:
Use the arrow buttons on the horizontal and vertical scrollbars to scroll.
Move the mouse wheel to scroll smoothly across rows or columns.
Drag the thumb button (scroll box) on the horizontal and vertical scrollbars to scroll.
Scroll modes determine how horizontal and vertical scroll bars work in a worksheet. To specify the scroll mode and change the default behavior of scroll bars, use the HorizontalScrollMode and VerticalScrollMode enumerations. The table below lists various scroll mode options available for both the enumerations.
Values | Description |
|---|---|
Row/Column | Scrolls by rows and columns. This is the default value. |
Pixel | Scrolls pixel by pixel in both directions. |
PixelAndRow/PixelAndColumn | Scrolls by pixels with the mouse, then switches to row and column-based movement once the mouse button is released. |
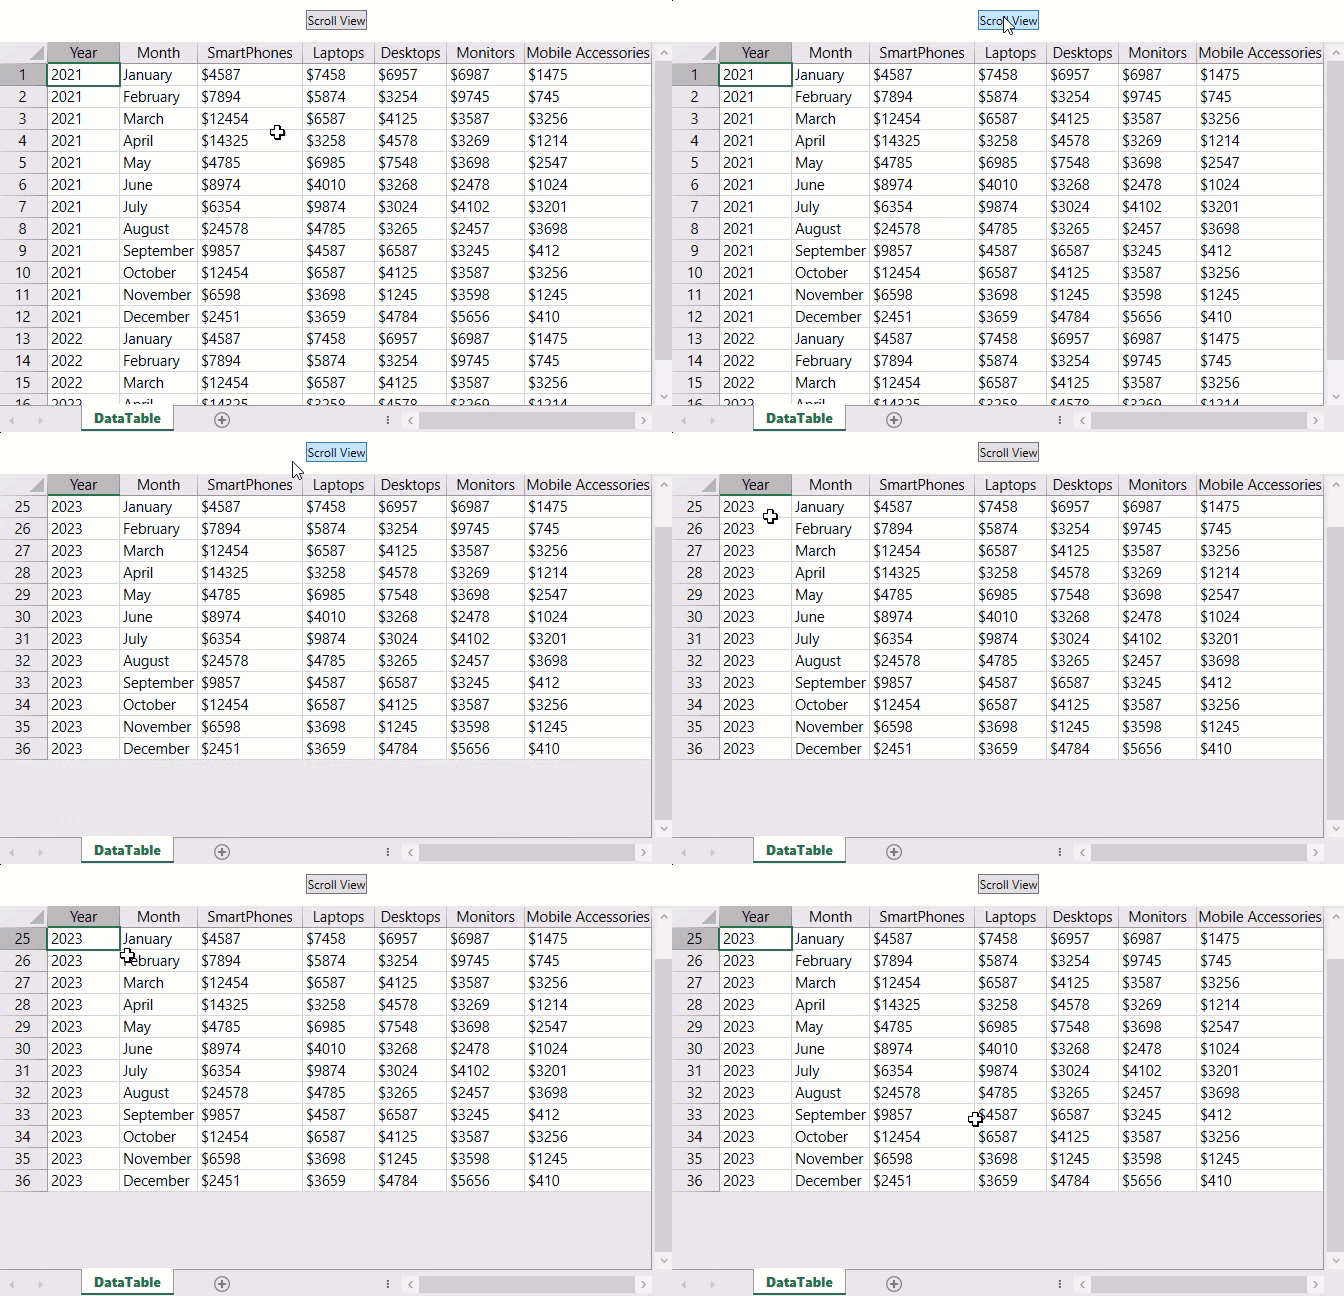
The GIF below illustrates pixel scrolling in action, demonstrating how it enables more controlled navigation within a worksheet.
![]()
Refer to the following example code to enable pixel scrolling in the worksheet.
C#
// Scroll columns and rows by pixels.
spreadSheet1.HorizontalScrollMode = HorizontalScrollMode.Pixel;
spreadSheet1.VerticalScrollMode = VerticalScrollMode.Pixel;
spreadSheet1.HorizontalScrollBarSmallChange = 5;
spreadSheet1.VerticalScrollBarSmallChange = 5;
VB
' Scroll columns and rows by pixels.
spreadSheet1.HorizontalScrollMode = HorizontalScrollMode.Pixel
spreadSheet1.VerticalScrollMode = VerticalScrollMode.Pixel
spreadSheet1.HorizontalScrollBarSmallChange = 5
spreadSheet1.VerticalScrollBarSmallChange = 5
Scroll to Specific Cell
You can easily scroll to the specific position within the worksheet by using the ScrollToCell method of the GcSpreadSheet class.
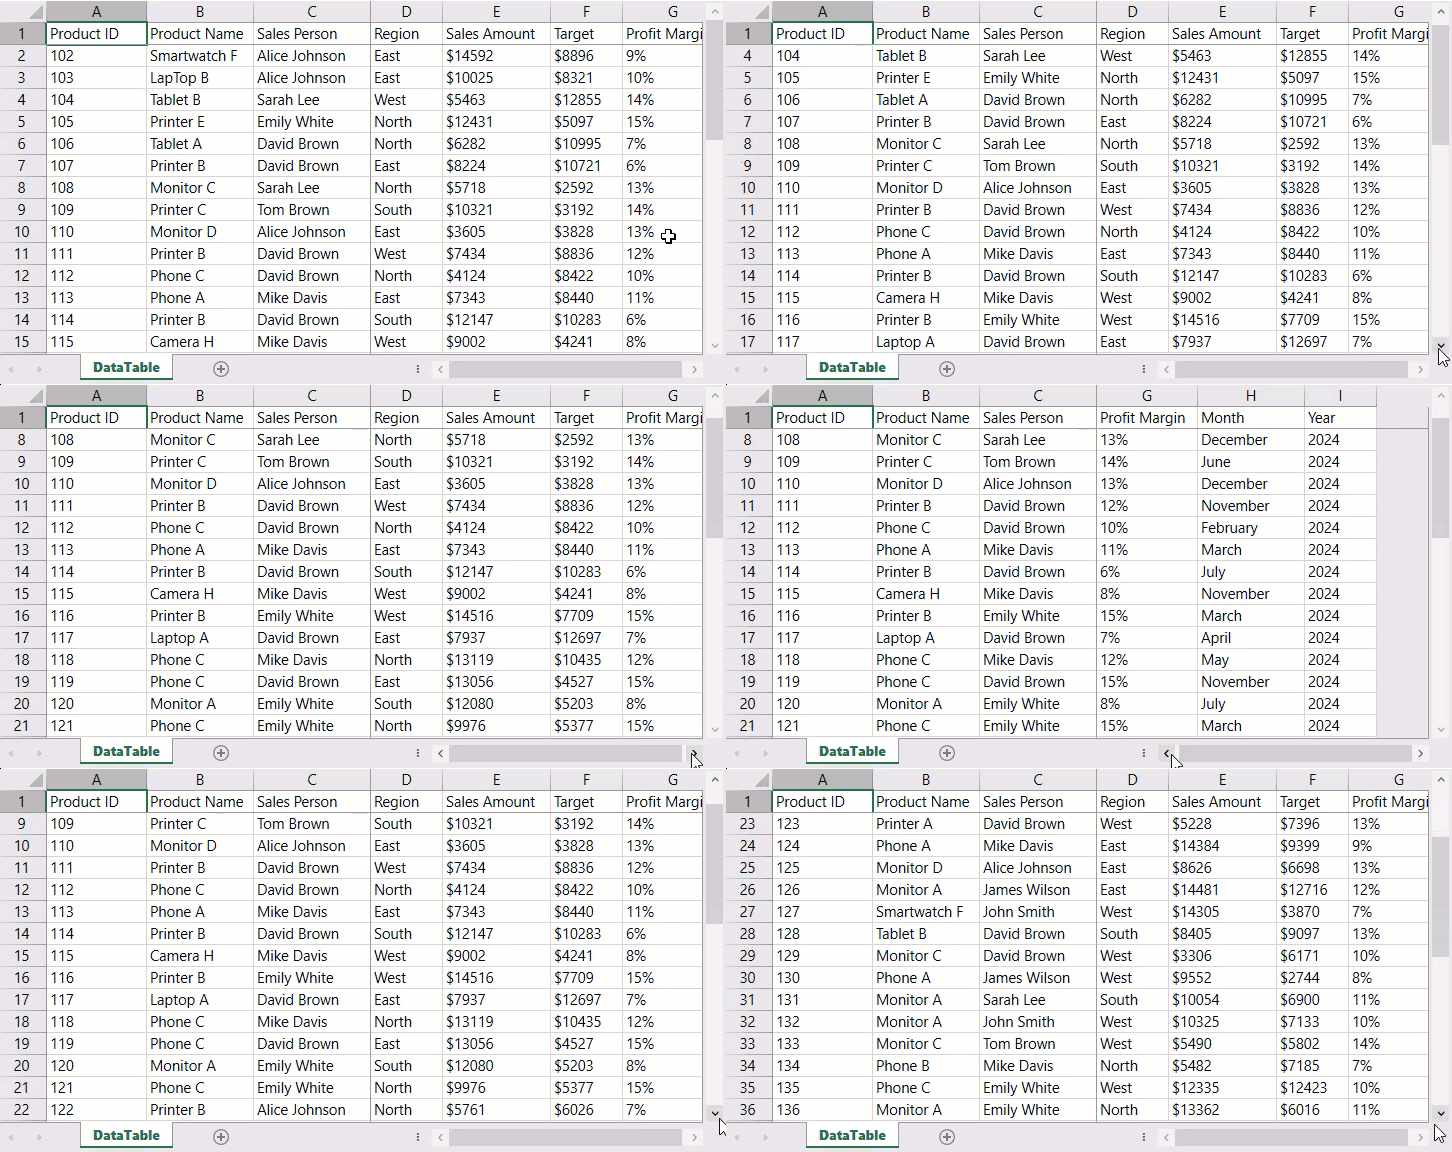
The following GIF illustrates how to scroll directly to a specified position in the worksheet through code.

Refer to the following example code to scroll directly to row index 24.
C#
// Scroll to cell with row index 24.
spreadSheet1.ScrollToCell(0, 0, 24, 0, ScrollMode.TopLeft);
VB
' Scroll to cell with row index 24.
spreadSheet1.ScrollToCell(0, 0, 24, 0, ScrollMode.TopLeft)
Set Freeze Panes
The Freeze Panes feature allows you to keep a specific section of the worksheet visible while scrolling through the rest of the data. This is particularly useful in large worksheets, as it helps you to maintain visibility of header rows or columns, ensuring you can easily identify data points as you navigate through the information. To freeze panes in the worksheet, you can use the FreezePanes property of the IWorksheetView interface.
The following GIF illustrates how the freezing header rows in a sales report worksheet helps you to track the column names while viewing data further down. It provides a clearer view of the data as you scroll through the worksheet.

The sample code below demonstrates the method for freezing panes in a worksheet.
C#
// Set freeze panes.
spreadSheet1.Workbook.ActiveSheet.View.SplitColumn = 3;
spreadSheet1.Workbook.ActiveSheet.View.SplitRow = 1;
spreadSheet1.Workbook.ActiveSheet.View.FreezePanes = true;
VB
' Set freeze panes.
spreadSheet1.Workbook.ActiveSheet.View.SplitColumn = 3
spreadSheet1.Workbook.ActiveSheet.View.SplitRow = 1
spreadSheet1.Workbook.ActiveSheet.View.FreezePanes = True
Set Split Panes
Split panes allow you to divide a worksheet into separate sections or panes, which can be scrolled independently. This feature makes it easier to work with large datasets. To split panes in a worksheet, you can use the Split property of the IWorkSheetView interface.
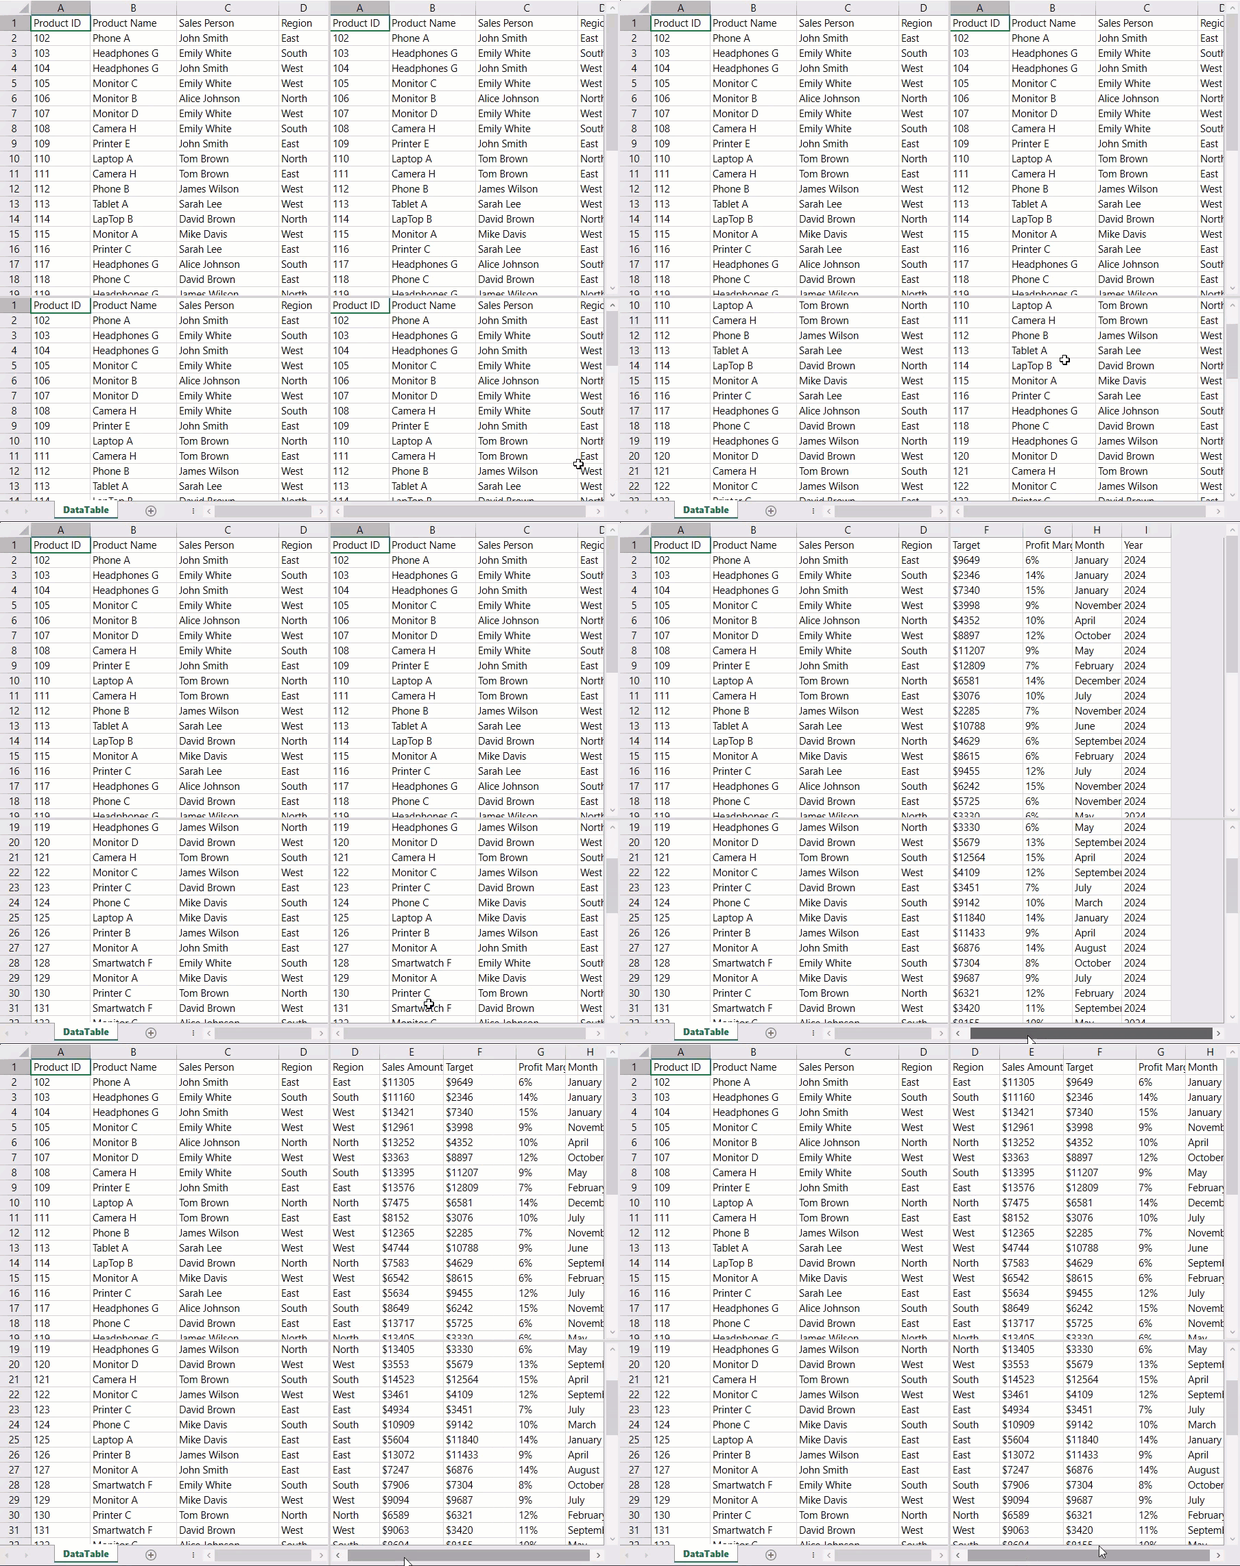
The following GIF illustrates how the spliting panes in a large sales report worksheet improves navigation and maintains header visibility while scrolling, enabling a more organized view of the data.

Refer to the following example code to set splitting panes in a worksheet.
C#
// Set split panes.
spreadSheet1.Workbook.ActiveSheet.View.SplitHorizontal = 450; // Pixels
spreadSheet1.Workbook.ActiveSheet.View.SplitVertical = 430; // Pixels
spreadSheet1.Workbook.ActiveSheet.View.Split = true;
VB
' Set split panes.
spreadSheet1.Workbook.ActiveSheet.View.SplitHorizontal = 450 ' Pixels
spreadSheet1.Workbook.ActiveSheet.View.SplitVertical = 430 ' Pixels
spreadSheet1.Workbook.ActiveSheet.View.Split = True

