Step 2 of 3: Rolling a Theme
In This Topic
In this step, you'll roll a theme using ThemeRoller for Visual Studio.
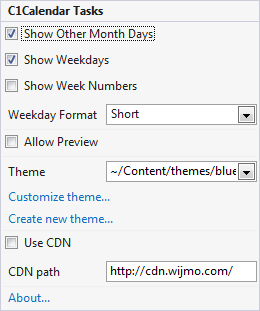
- Select the C1Calendar control in your application and click the SmartTag
 to open the C1Calendar Tasks menu:
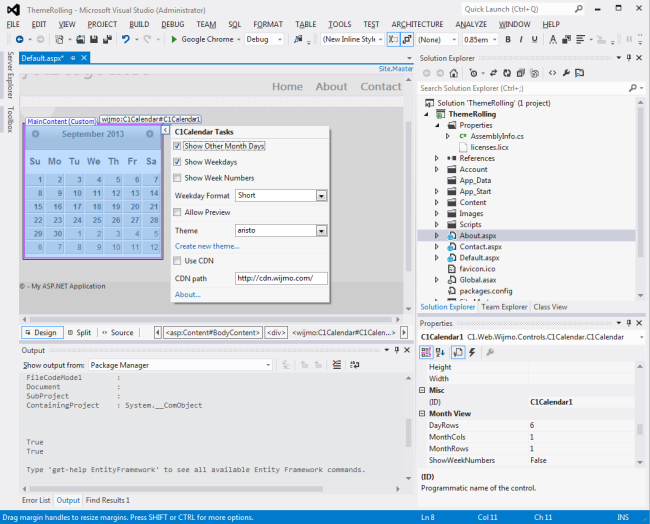
- From the C1Calendar Tasks menu, select Create new theme… to launch ThemeRoller for Visual Studio.
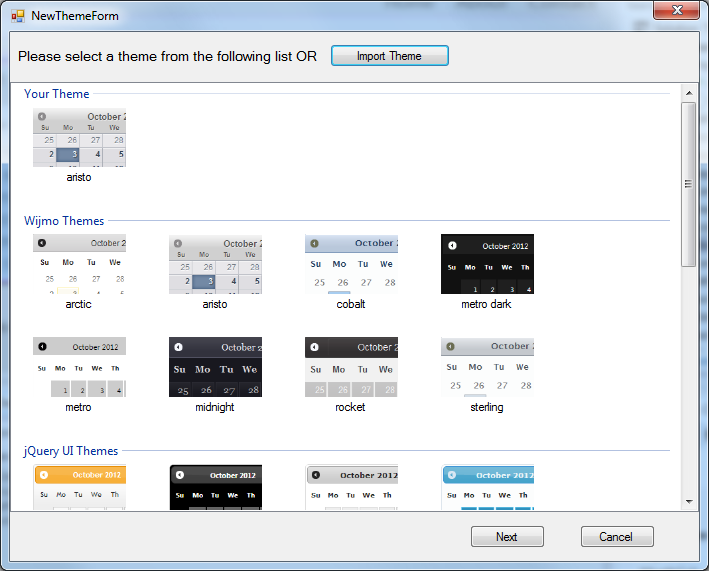
- When ThemeRoller for Visual Studio launches, choose a theme from the NewThemeForm to begin with that resembles what you want as your end product. This will save you time when you're rolling your theme:
- When you click Next, the ThemeRoller will launch. From the ThemeRoller, you can change fonts, background colors, borders, text colors, and more. In the ThemeRoller's right pane, you can see a preview of the theme you're building. You can choose a name for your theme, as well. It helps to make your name memorable and descriptive:
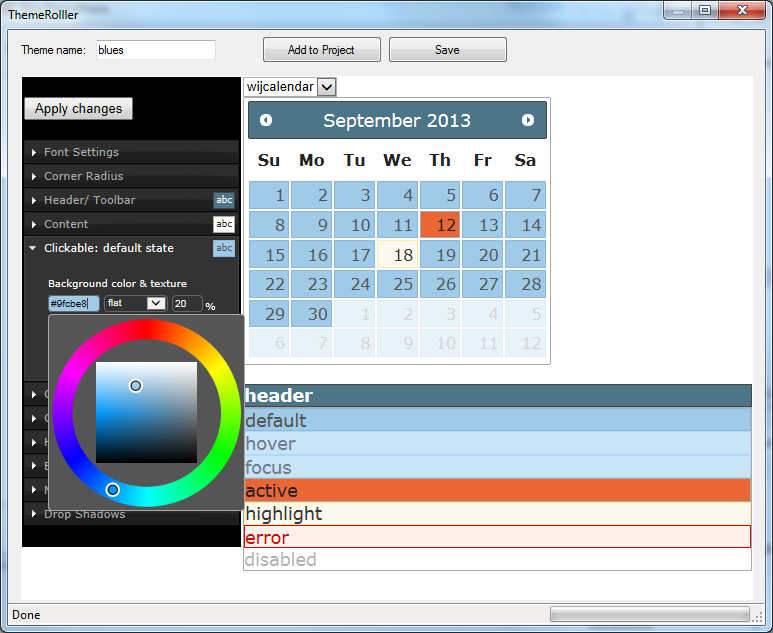
- When you've completed customizing your theme, click Add to Project. ThemeRoller will add the theme to your project and reference it for you. When you see your theme in your project, you can close ThemeRoller.
Note: The custom theme has been added to your project in the following location: ~/Content/themes/
In this step, you customized your ThemeRoller theme and added it to your project. In the next step, you'll run your application.