
Quick Start
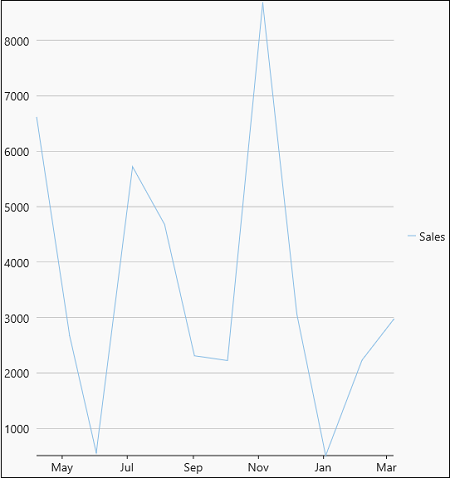
The following quick start guide is intended to get you up and running with the FlexChart control. In this quick start, you start by creating a new WinUI application, add the FlexChart control to it, and bind it with a datasource. The following image displays the FlexChart control showing the sales details of products.
Create a WinUI Application and Add References
In Visual Studio, create a new WinUI App. For detailed steps, see Configure WinUI Application.
In the Solution Explorer, right click Dependencies and select Manage NuGet Packages.
In NuGet Package Manager, select nuget.org as the Package source.
Search and select the following package and click Install.
C1.WinUI.Chart
Configure the FlexChart control
Declare the namespace using the following code in XAML:
xmlns:c1="using:C1.WinUI.Chart"
2. Place the cursor between the <Grid></Grid> tag to add the FlexChart control using the following code:
<c1:FlexChart x:Name="flexChart" BindingX="Date" ChartType="LineSymbols" Height="500">
    <c1:FlexChart.Series>
        <c1:Series SeriesName="Sales" Binding="Revenue"/>
    </c1:FlexChart.Series>
</c1:FlexChart>
Switch from XAML to C# code view and bind the FlexChart control to a datasource using the ItemsSource property. Here, we use the DataService class as a data source.
flexChart.ItemsSource = DataService.GetProductRevenue();
Build and Run the Project
Click Build | Build Solution to build the project.
Press F5 to run the project.