Insert Elements
C1Editor supports inserting and editing tables, lists, images, hyperlinks, and other XHTML elements.
Insert and Edit Tables
Use the InsertTableAtSelection method of the C1Editor class to insert a table at the current cursor position.
The method accepts the following parameters:
CSS class name
Number of columns
Number of rows
Whether the table contains a header
Whether the table contains a footer
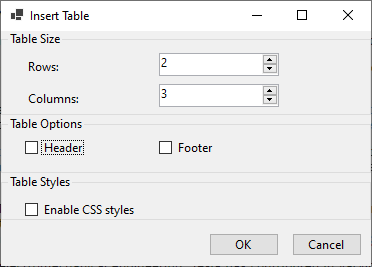
The following example creates a table with two rows and three columns without a header or footer:
c1Editor1.InsertTableAtSelection(null, 3, 2, false, false);Use the following operations to modify table structure:
Option | Description |
|---|---|
Insert Column | Uses InsertTableColumnAtSelection to insert a column. When its Boolean parameter is set to |
Insert Row | Uses InsertTableRowAtSelection to insert a row. When its Boolean parameter is set to |
Delete Table | Uses RemoveTableAtSelection to remove the selected table. |
Delete Column | Uses RemoveTableColumnAtSelection to remove the current column. |
Remove Row | Uses RemoveTableRowAtSelection to remove the current row. |
Table elements can also be inserted or removed through the Table menu in the Insert group of EditorRibbon.
The following image shows the available table commands:
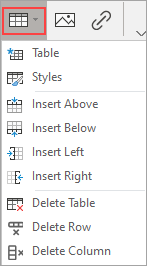
Selecting Table from the Table menu opens a dialog box for configuring the table before inserting it into the document.
Insert and Edit Lists
Lists present document content in an ordered or unordered structure and can contain nested items.
Use the InsertList method of the C1Editor class to insert a list programmatically.
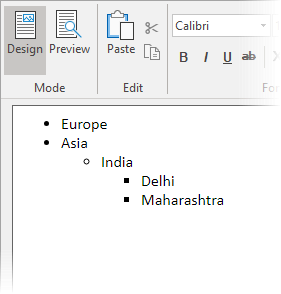
The associated example creates a nested unordered list with disc bullets.
c1Editor1.InsertList("Disc", new string[] { "Europe", "Asia",
    "<ul><li>India</li>|style=\"list-style-type:none;\"",
    "<ul><li>Delhi</li><li>Maharashtra</li></ul>|style=\"list-style-type:none;\"", "</ul>" });
Note: Note: The example uses an HTML fragment to define nested child items within the list.
The following image shows the resulting nested list:
At run time, create ordered or unordered lists through the Bullets and Numbering commands in the Paragraph group of EditorRibbon.
The following image shows the available list commands:

Insert Images
Use the InsertImageAtSelection method of the C1Editor class to insert an image at the current cursor position. Supply the image loaded from the required source file.
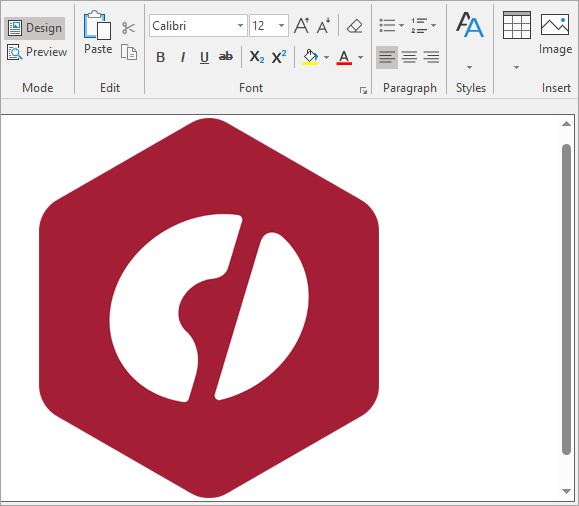
The associated example inserts C1.png from the Resources folder.
c1Editor1.InsertImageAtSelection(Image.FromFile(@"Resources/C1.png"));The following image shows the inserted image in the document:
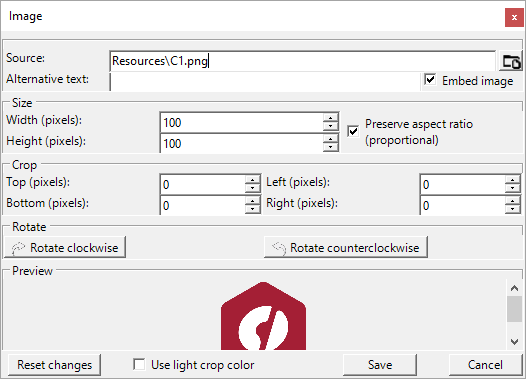
Images can also be inserted by selecting Insert > Insert Image in EditorRibbon. This command opens the Image dialog box, which provides options for:
Specifying the image source
Adding alternative text
Embedding the image
Resizing the image
Preserving the aspect ratio
Cropping the image
Rotating the image
Edit an Existing Image
Use either of the following methods to edit an image already inserted in the document.
From EditorRibbon
Select the image.
In the Insert group of EditorRibbon, select Insert Image.
Configure the image in the Image dialog box.
Select Save.
From the Context Menu
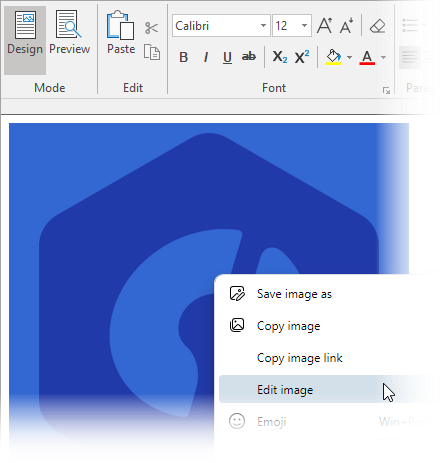
Right-click the image.
Select Edit Image to open the Image dialog box.
Configure the image.
Select Save.