
Installation
Web API services are provided as Visual Studio template, which is available after installation of Web API Edition. Once you create Web API service application using the ComponentOne template in Visual Studio, the template adds the references C1.Web.API.dll, C1.C1Excel.dll, and other related assemblies to your service project.
You can install Web API project templates using ComponentOne ControlPanel. To do so, download the ComponentOneControlPanel tool from MESCIUS website and install it. For detailed information on ComponentOne ControlPanel and its functionalities, see ComponentOne ControlPanel blog.
Note: It is advisable that you either log off or restart your Windows machine once you have installed the Web API Edition, and then create the service application, so that the required Environment Variables are set. However, if you install the Web API Edition in Windows followed by creating the service application, the required Environment Variables are not set.
Installing Web API Project Templates
The easy way to install the Web API project templatesis through the ComponentOneControlPanel application. There are two methods for installing Web API project templatesusing the ComponentOne ControlPanel : one is by using the "Install Selected Controls" option, and the other is by using the "Show Full Installer" option. To directly install the latest version of the controls, use the "Install Selected Controls" option, and to install the specific version of the controls, you can use the "Show Full Installer" option. In both the options, a trial version of the controls is installed, which is valid for 30 days. You can easily extend the usage of ComponentOne controls beyond 30 days by activating the license using a serial key. The serial key can be purchased from the Sales team or Website.
You can follow the below steps to install the Web API services. Follow the steps through the installation wizard to install the ASP.NET DLLs and templates for Web API Edition, its dependency DLLs, stylesheets and scripts.
Download the ComponentOneControlPanel from https://developer.mescius.com/componentone to install the latest edition of Web API services.
Run the ComponentOneControlPanel.exe to open the control panel. The User Account Control dialog box appears, requesting your permission to initiate the installation process on your device.
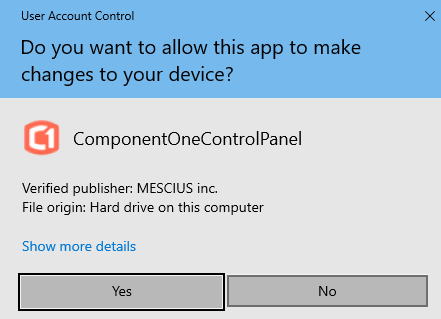
Click the Yes button in the User Account Control dialog box to initiate the installation of ComponentOne controls.
Note: Any running instances of Visual Studio must be closed.
The **ComponentOne 30-Day Free Trial** screen opens up with the list of ComponentOne products to install.
Select the checkbox in the Web API tile to install the Web API services. You can also install multiple controls by selecting the checkboxes against them.
Click one of the following available buttons to install the ComponentOne controls as per your requirements:
Install Selected Controls – Allows you to install the latest version of ComponentOne controls
Show Full Installer – Allows you to install the specific version of ComponentOne controls
Follow the next steps based on your selection. The detailed steps for each selection are given below:
Install Selected Controls Option
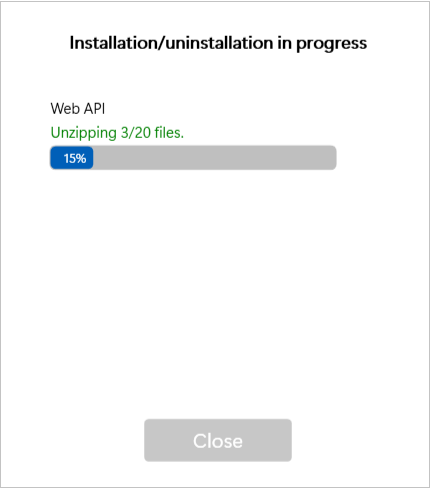
Click the Install Selected Controls button to start the installation of the Web API services.
After installing the controls successfully, the installer displays the "Installation/Uninstallation completed !!!" message.
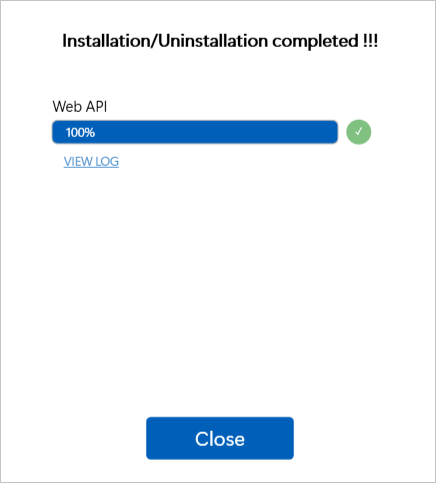
Tip: You can click the VIEW LOG link to view more details about the installation.
Click the Close button to close the installation screen once the installation is complete. The Free Trial screen shows the Installed label in green color in the Web API tile:
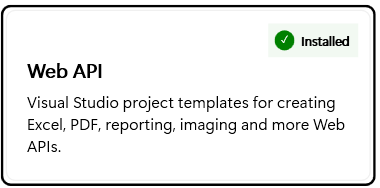
Now, you can use the Web API project templatesin your ASP.NET application.
Show Full Installer Option
Click the Show Full Installer button in the ComponentOne 30-Day Free Trial screen as shown above in step 4 to open the Installation screen.
Select the checkbox and a specific version from the Available versions drop-down in the Web API tile.
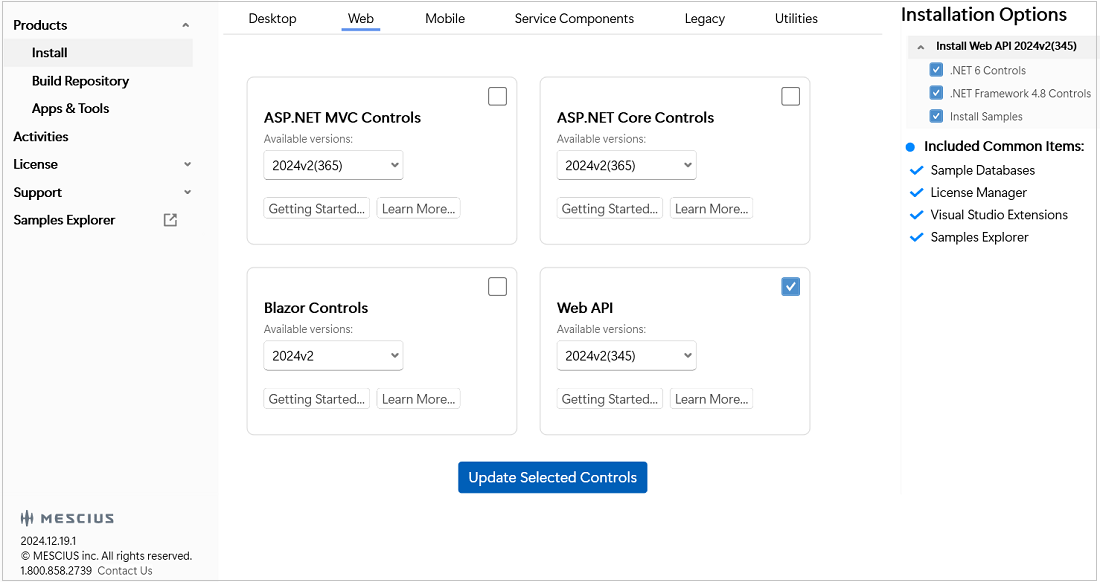
Click the Update Selected Controls button.
The End User License Agreement (EULA) screen appears. After accepting the EULA, the change directory settings screen appears. The Installation Directory contains all the DLLs, Samples Directory contains the samples from ComponentOne and the Download Directory contains the log files.
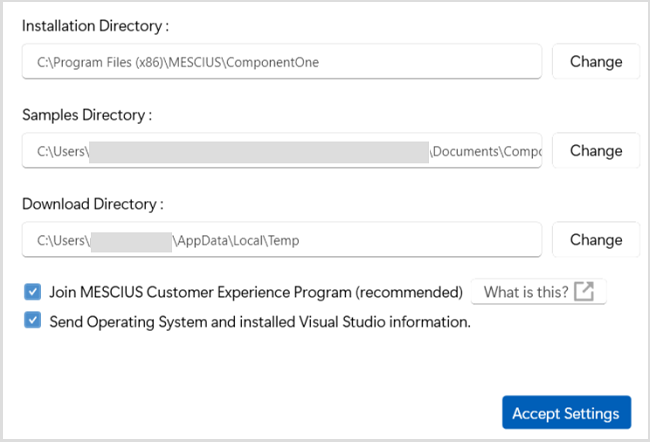
Modify the Installation, Samples and Download directories path, if required.
Click the Accept Settings button.
The installation of the Web API project templates, get started, and the installer displays the "Installation/ UnInstallation Completed" message when the project templatesare installed successfully.
Click the Close button to complete the installation.
Observe that, the installed version details and Repair checkbox appear in the Web API tile.
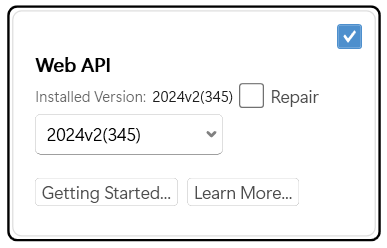
Tip: Using the Repair option, you can repair the installed version of controls in case of malfunctioning of the version.
Additional Options in Full Installer
The Full Installer screen displays different product categories, such as Desktop, Web, Mobile, Service Components, Legacy, and Utilities to install/update the controls. You can choose to install/update the required controls. Moreover, it also provides different options for various other purposes, which are as follows:
Options | Option Snapshot | Description |
|---|---|---|
Build Repository |
| Allows you to install or update the build repositories of different controls. You can also view and install prerelease and hotfix versions of builds of different platforms. |
Apps & Tools |
| Allows you to install various applications and tools such as FlexReport Designer, Theme Designer, Samples Explorer, LicenseActivation (Legacy) and LicenseActivation. |
Activities |
Activity Log | Enables you to track your activity related to installation of controls. |
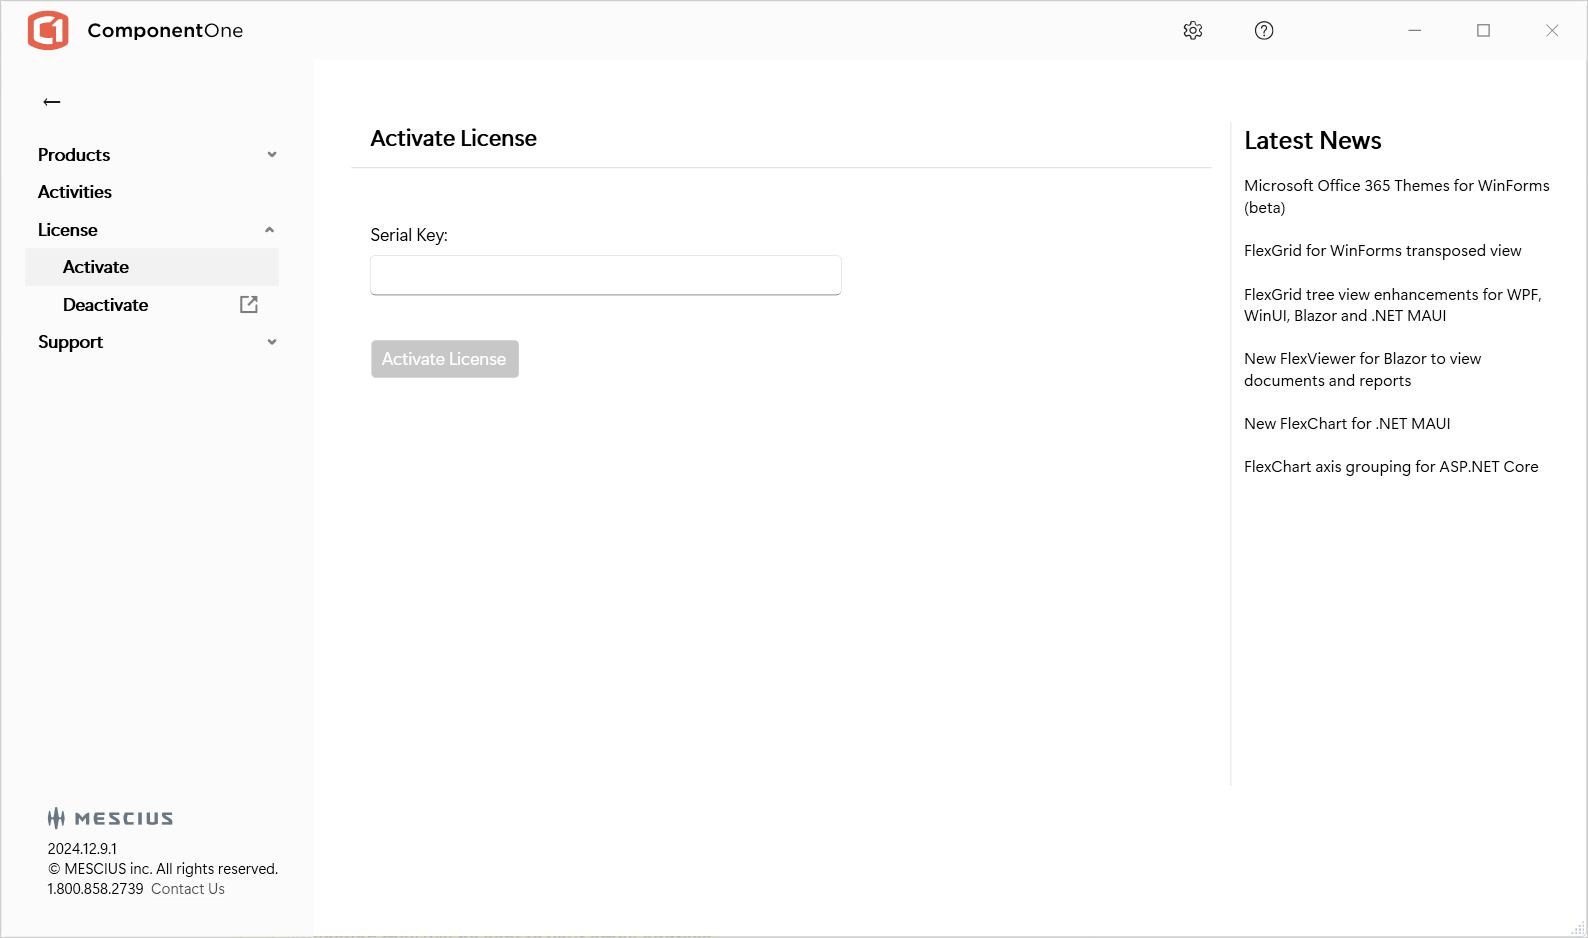
License |
| Allows you to quickly Activate and Deactivate the ComponentOne License. |
Support |
| Enables ticket submission, phone assistance, and access to forums for any issues that may arise after installing ComponentOne controls. |
Settings |
| Allows you to change the installation directory of controls. |
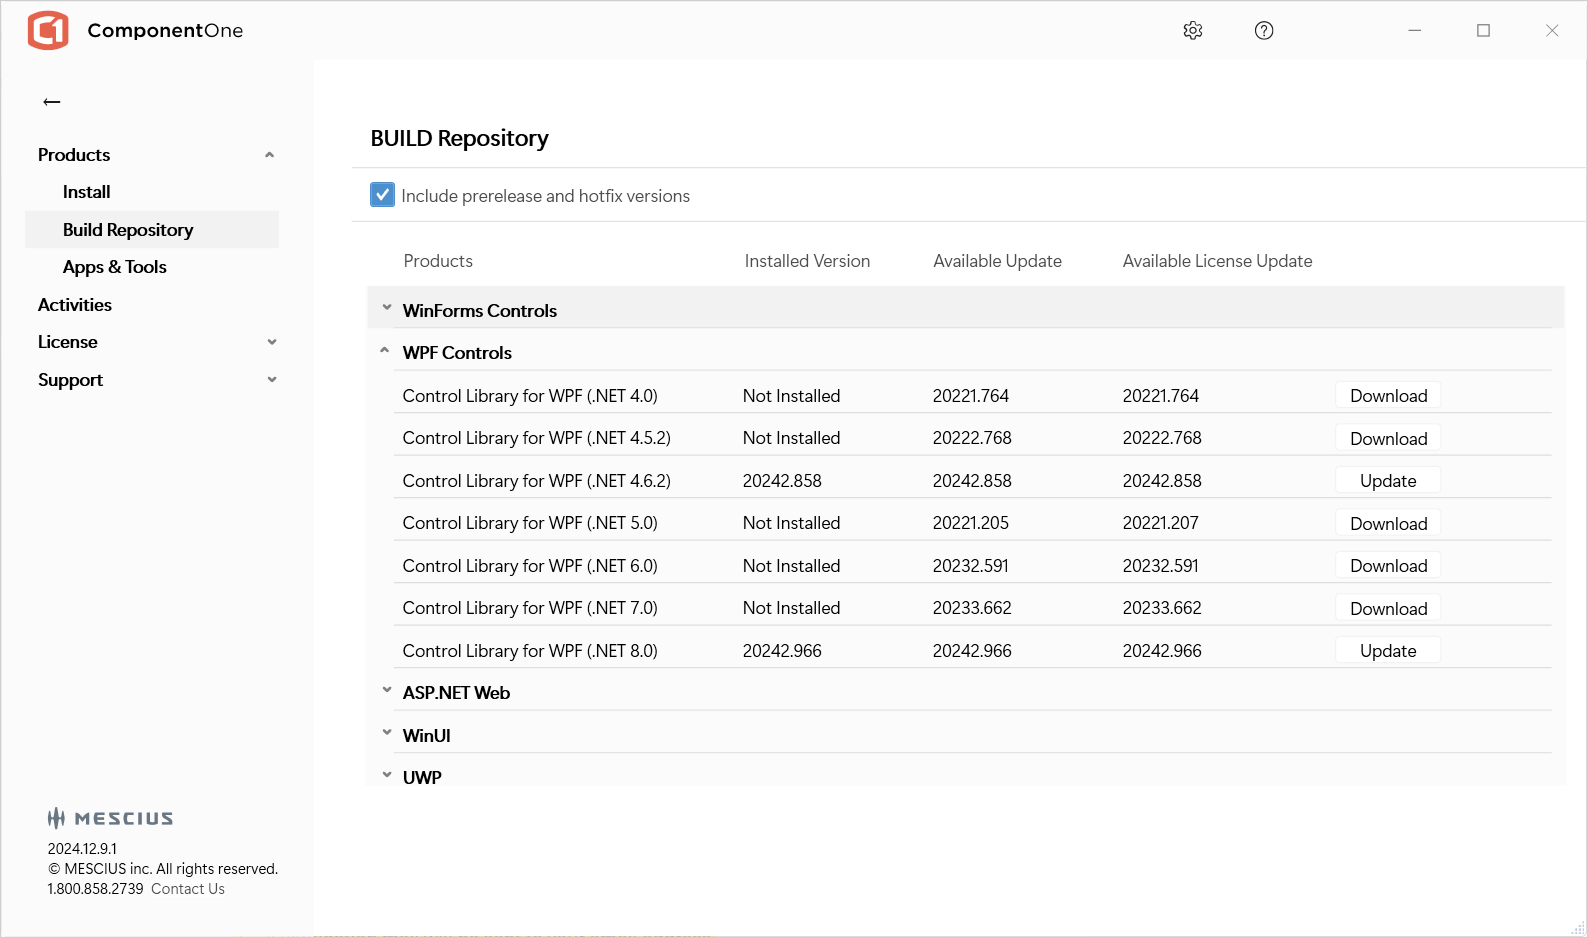 Build Repository
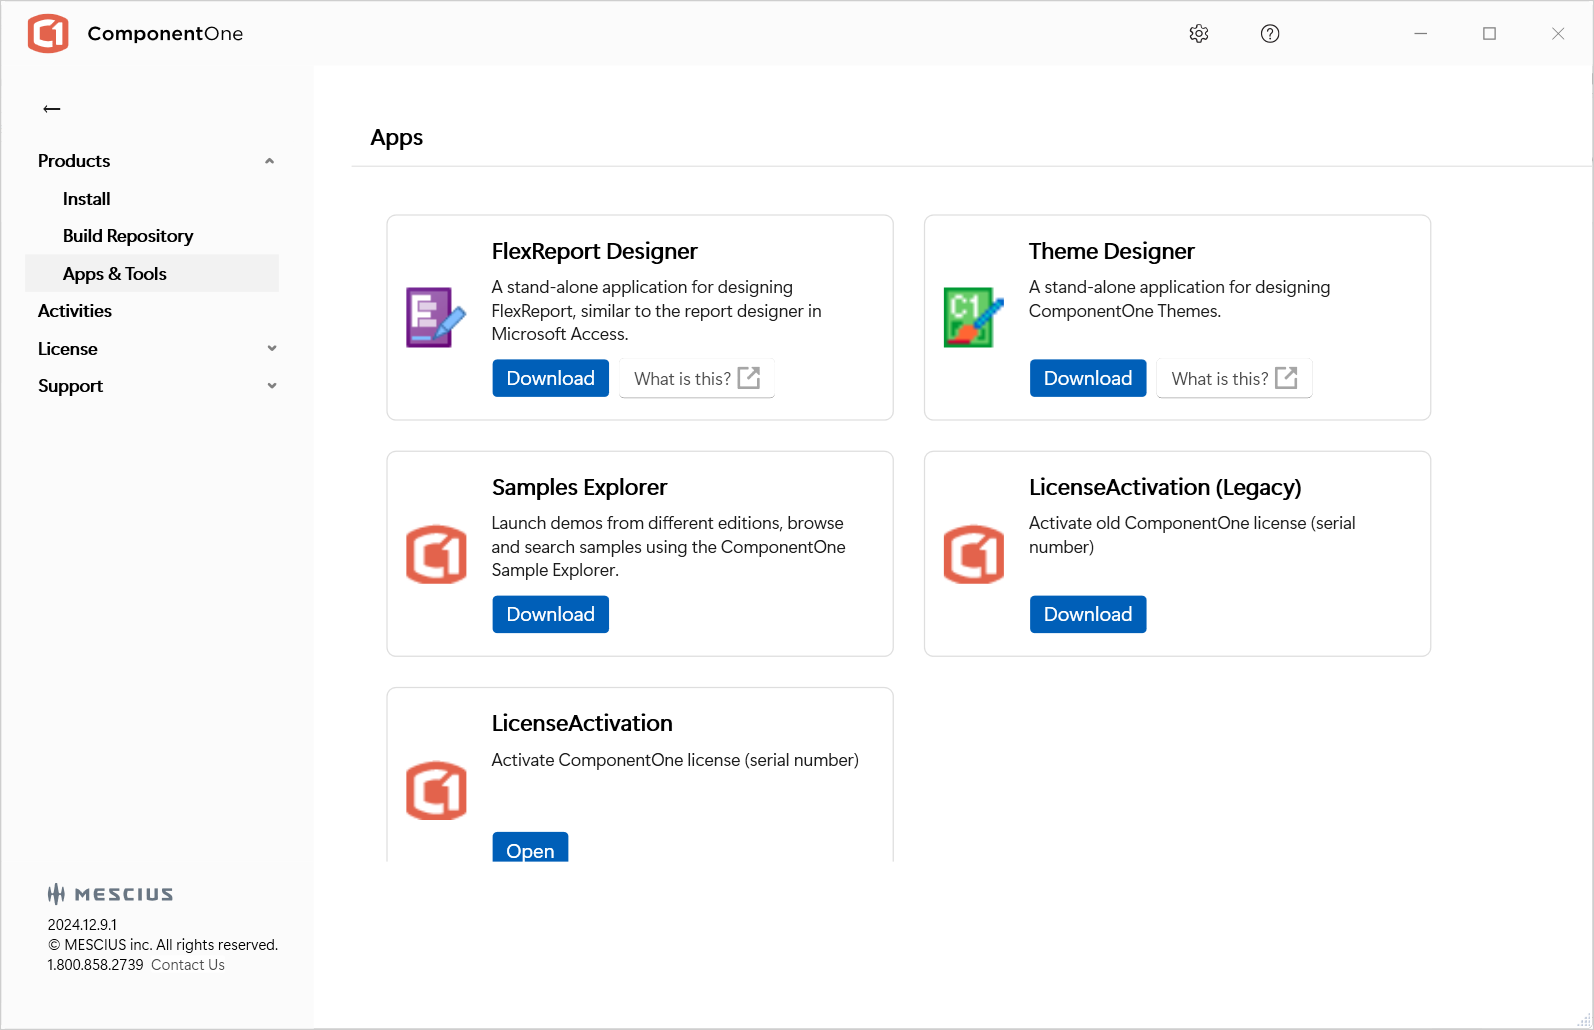 Tools
Tools
 License
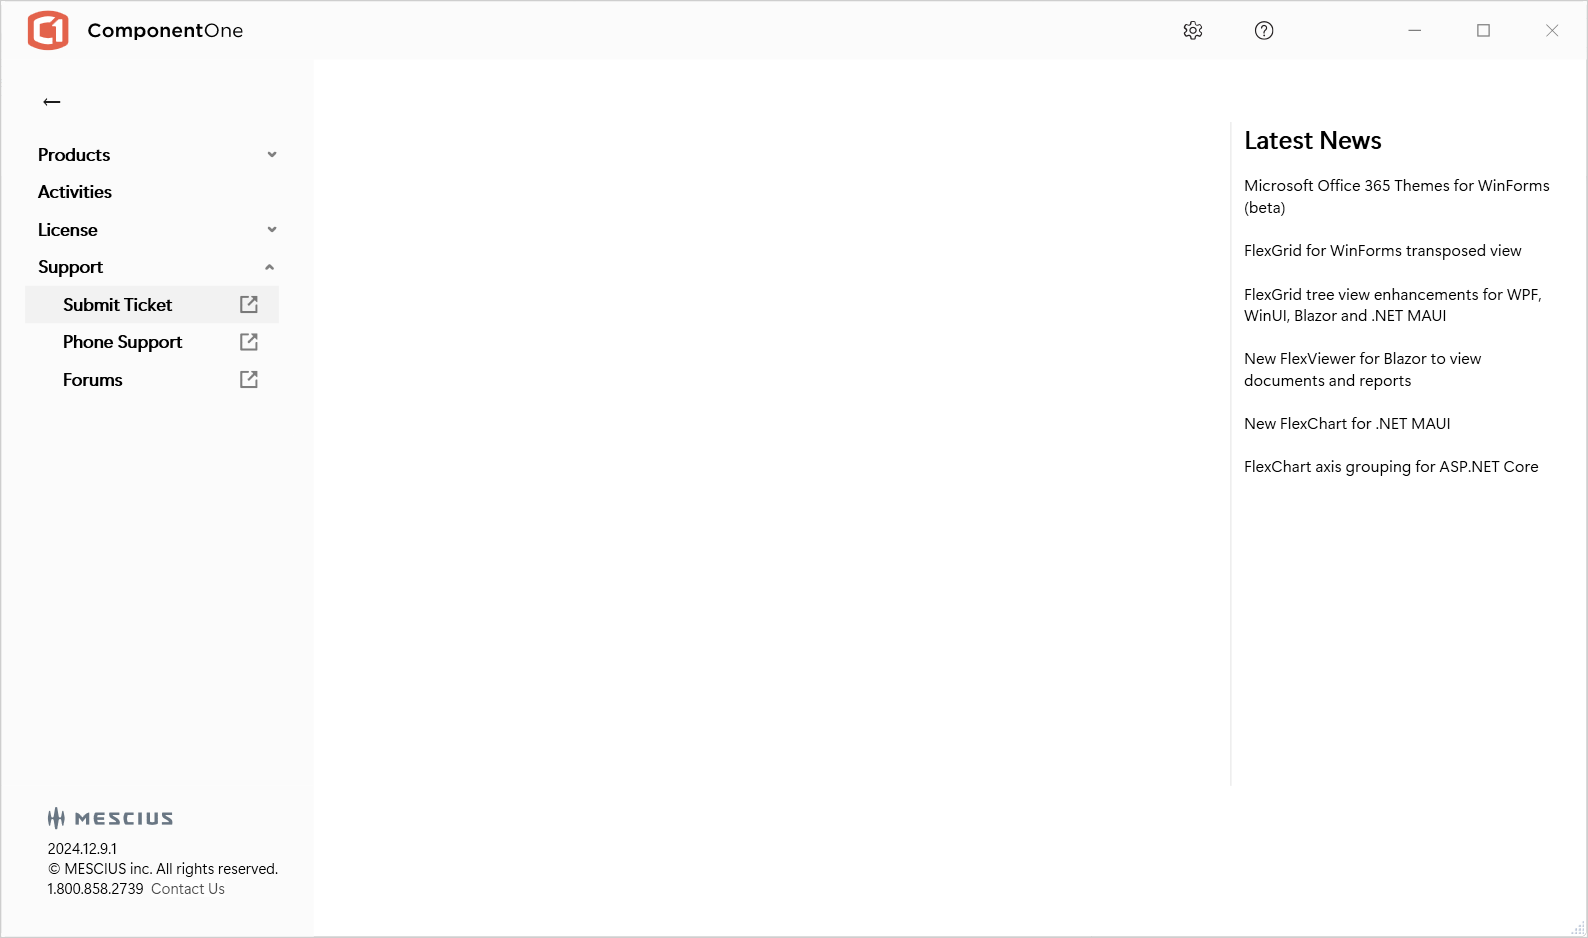 Support
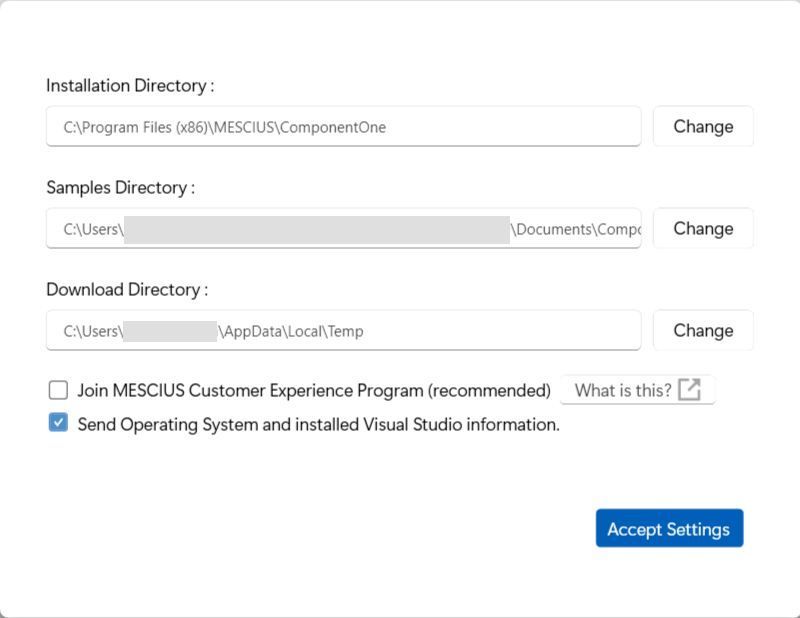 Settings
Note: In case you want to uninstall Web API Edition, see Uninstalling Web API Edition.
Samples
Samples for the product are installed in the ComponentOne samples folder by default.
Documents\ComponentOne Samples\Web Api
Note: In case you get any missing assembly errors while running the sample, you need to add the required references from the NuGet source.
To Add Web API Libraries from NuGet
ComponentOne Web API libraries are provided through NuGet, a Visual Studio extension that automatically adds libraries and references to your project. You can add the following NuGet packages for Web API to your Web API service application from NuGet, which is available in Visual Studio once Web API Edition is installed.
C1.Web.Api Nuget package
C1.Web.Api.BarCode Nuget package
C1.Web.Api.DataEngine Nuget package
C1.Web.Api.Document Nuget package
C1.Web.Api.Excel Nuget package
C1.Web.Api.Image Nuget package
C1.Web.Api.Pdf Nuget package
C1.Web.Api.Report Nuget package
C1.Web.Api.Cloud Nuget package
C1.FlexReport Nuget package
C1.Excel Nuget package
C1.Document Nuget package
C1.DataEngine Nuget package
To Install NuGet
Go to https://www.nuget.org/ and click Install NuGet.
Run the NuGet.vsix installer.
In the Visual Studio Extension Installer window, click Install.
Once the installation is complete, click Close.
To Add Web API References to your Service Application
Create a new Web API project (refer to Configuring Web API).
In the Solution Explorer, right click References and select Manage NuGet Packages.
In NuGet Package Manager, select the package source.
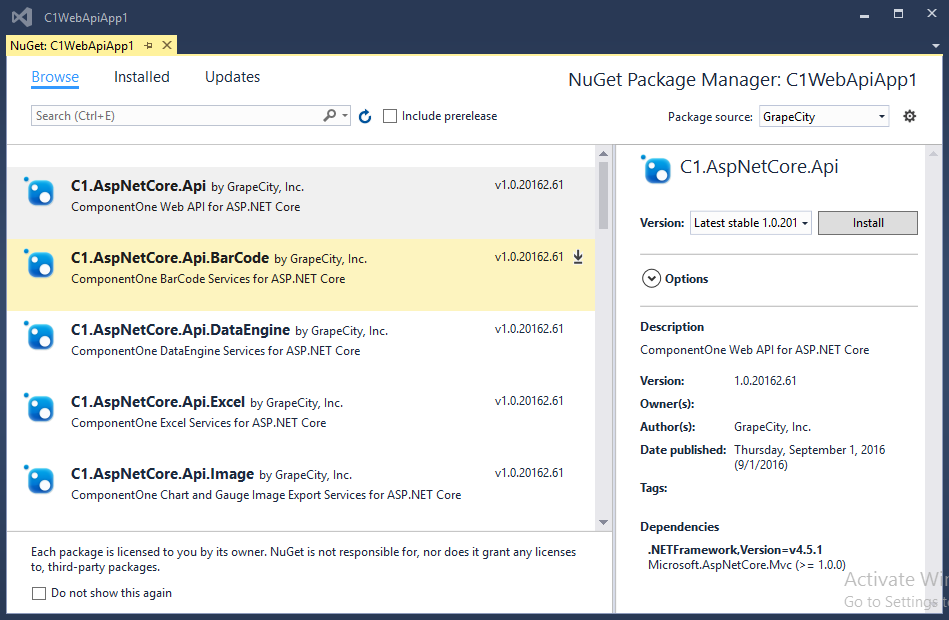
Select the NuGet package according to your project requirements.
Click Install.
To Manually Create NuGet Package Source
In Visual Studio, from the Tools menu select NuGet Package Manager | Package Manager Settings. The Options dialog box appears.
In the left pane, select NuGet Package Manager | Package Sources.
Click the Add button in top right corner. A new source is added under Available package sources.
Set a Name for the new package source, and set the Source as https://www.nuget.org/.
Click Update and then click OK.
NuGet package source has been created.