
- Getting Started
- Configuring your MVC Application
- Adding NuGet Packages to your App
- Adding Controls
- Client-Side Support
- Working with Controls
- Globalization
- Styling
- ASP.NET MVC Samples
- Release History
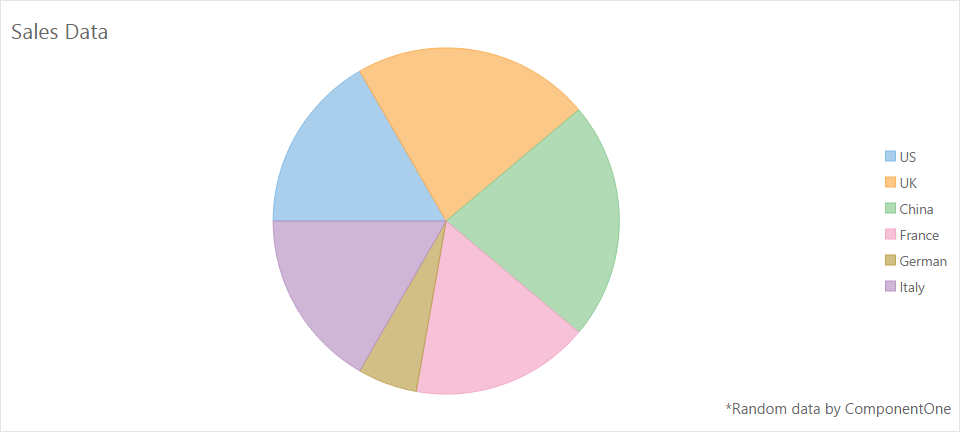
Header and Footer
You can add a title to the FlexPie control by setting its [Header](/componentone/api/mvc/online-mvc-core/dotnet-api/C1.AspNetCore.Mvc/C1.Web.Mvc.FlexChartBase-1.Header.html) property. Besides a title, you may also set a footer for the chart by setting the [Footer](/componentone/api/mvc/online-mvc-core/dotnet-api/C1.AspNetCore.Mvc/C1.Web.Mvc.FlexChartBase-1.Footer.html) property. You can also style the header and footer text with the help of [HeaderStyle](/componentone/api/mvc/online-mvc-core/dotnet-api/C1.AspNetCore.Mvc/C1.Web.Mvc.FlexChartBase-1.HeaderStyle.html) and [FooterStyle](/componentone/api/mvc/online-mvc-core/dotnet-api/C1.AspNetCore.Mvc/C1.Web.Mvc.FlexChartBase-1.FooterStyle.html) properties.
The image below shows how the FlexPie appears, after these properties have been set.
The following code example demonstrates how to set these properties. This example uses the sample created in the Quick Start section.
<c1-flex-pie binding-name="Country" binding="Sales" header="Sales Data" footer="*Random data by ComponentOne">
    <c1-flex-chart-title-style c1-property="FooterStyle" halign="right"></c1-flex-chart-title-style>
    <c1-flex-chart-title-style c1-property="HeaderStyle" halign="left"></c1-flex-chart-title-style>
    <c1-items-source source-collection="Model"></c1-items-source>
</c1-flex-pie>