


Application Settings
SpreadJS Designer provides application-level settings that control designer behavior.
To open the App Settings dialog, click the Settings (gear) icon in the upper-left corner of the Designer window.

The dialog contains configuration options organized by category.
Data
PivotTable
Enable PivotTable Date Auto Group
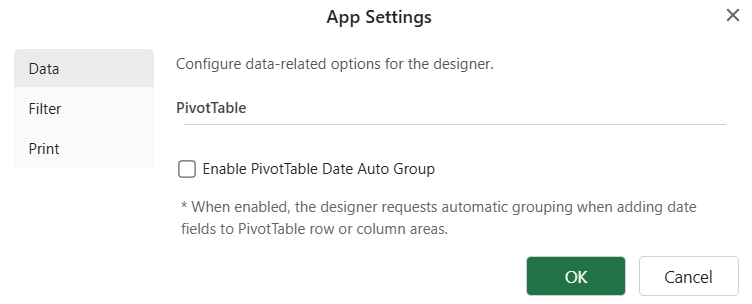
When this option is enabled, date-type fields added through the PivotTable Panel are automatically grouped by date hierarchy (for example, Years, Quarters, and Months).
By default, this option is disabled.
Behavior notes:
The setting applies at the application level.
It affects only date-type fields added after the option is enabled.
Existing PivotTables are not automatically refreshed or regrouped when this option is turned on.
The behavior applies only when fields are added through the PivotTable Panel.
For detailed information about automatic date grouping behavior and grouping rules, see the Auto Date Group feature documentation.
After changing the setting, click OK to apply the configuration.
Filter
Use First Row as Filter Header
Use Use First Row as Filter Header to treat the first row of the selected range as the filter header row when creating a sheet filter.
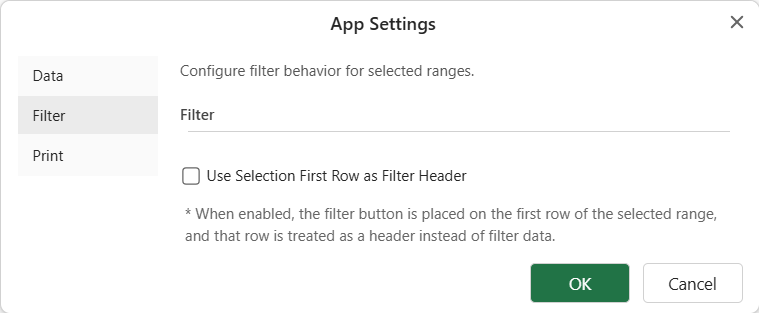
When this option is enabled, Designer places the filter dropdown buttons on the first row of the selection and creates the filter range from the rows below it.
For example, if the selected range is B2:D6, the first row B2:D2 is used as the header row, and the filter is created for B3:D6.
After changing the setting, click OK to apply the configuration.
The Print settings control default print-related options used by the Designer.
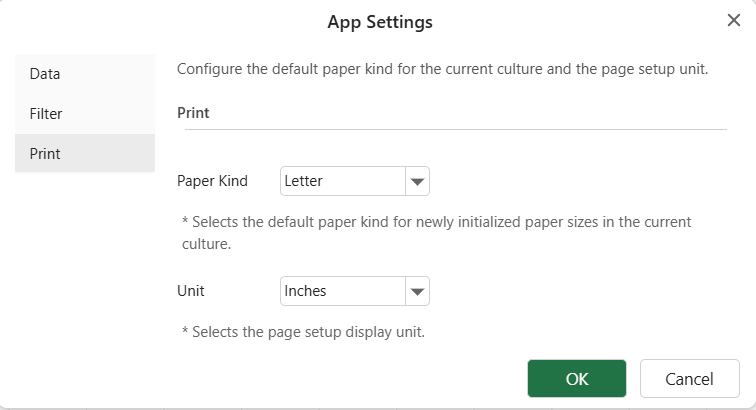
Paper Kind
Use Paper Kind to select the default paper kind for newly initialized paper sizes in the current culture.
Available options include Letter, Tabloid, Legal, Statement, Executive, A3, A4, and A5.
By default, Paper Kind is set to Letter.
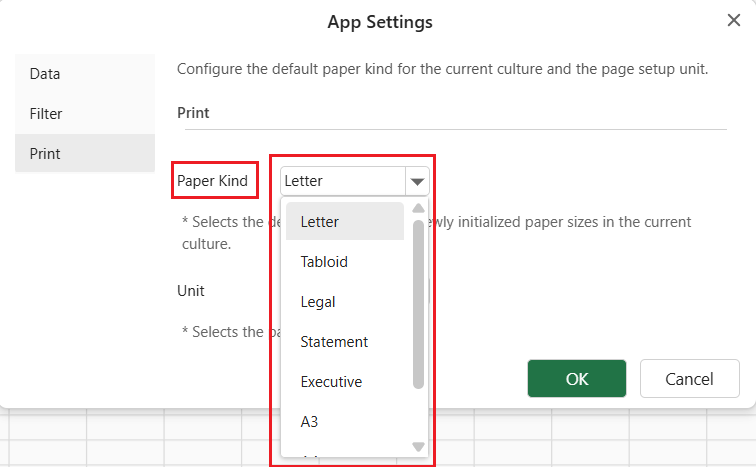
Unit
Use Unit to select the display unit for page setup values.
Available options include:
Inches
Centimeters
Millimeters
By default, Unit is set to Inches.
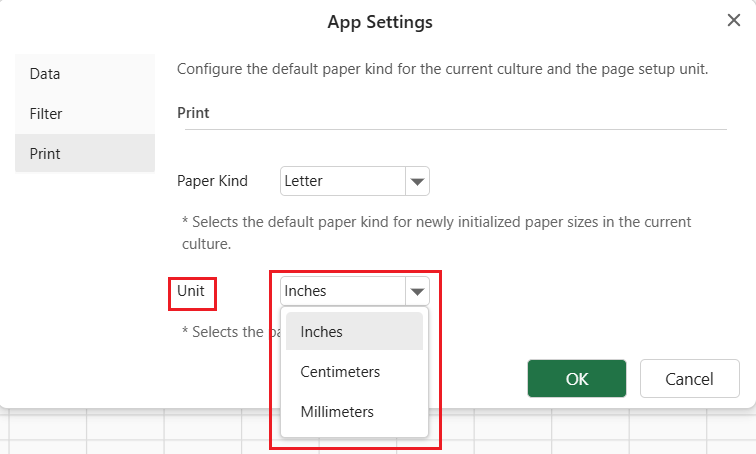
The selected unit affects page setup displays such as paper dimensions and margin values in the Designer.
After changing the setting, click OK to apply the configuration.