Getting Started with DsDataViewer in ASP.NET Core Application
Let us now look at the steps to configure the DsDataViewer in an ASP.NET Core Application.
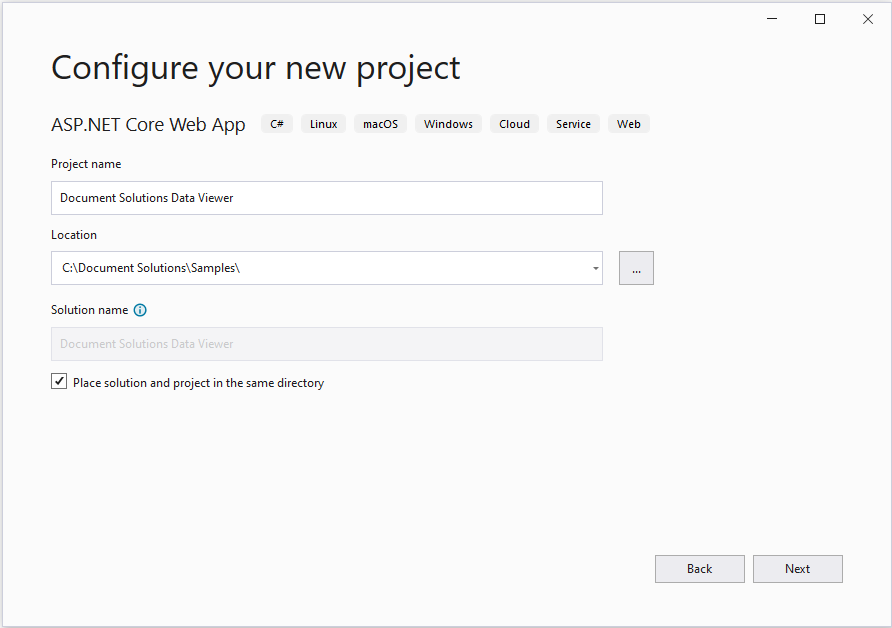
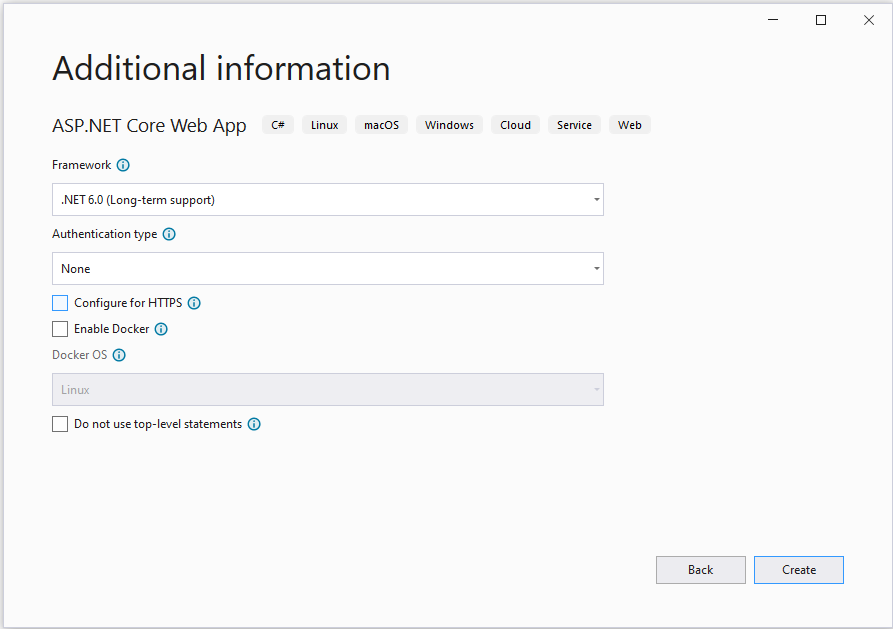
Step 1 - Create a new ASP.NET Core Web App in Microsoft Visual Studio, provide a project name, choose .NET 6 Framework, and uncheck HTTPS.
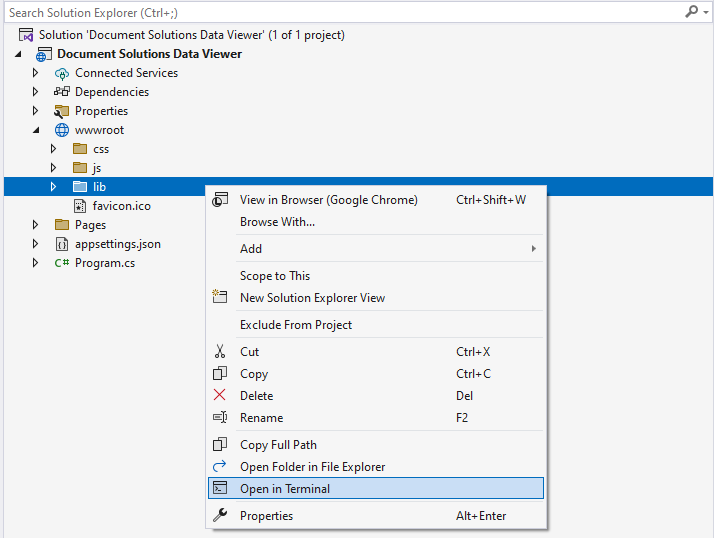
Step 2 - In the Solution explorer, select the wwwroot/lib folder, open the terminal to run the npm command, and download the dsdataviewer package.
Step 3 - In the terminal run the command - npm install @mescius/dsdataviewer After downloading, you can find the files under lib/node_modules/@mescius/dsdataviewer folder
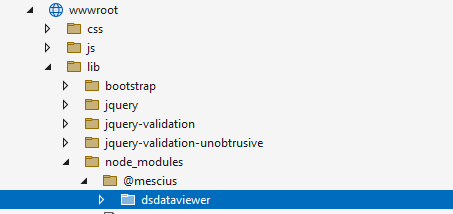
Alternatively, you can manually copy the ***dsdataviewer ***files available in the DsExcel .NET | Java package to the wwwroot folder.
Step 4 - In VS, add a new HTML page to the wwwroot folder and name it index.html.
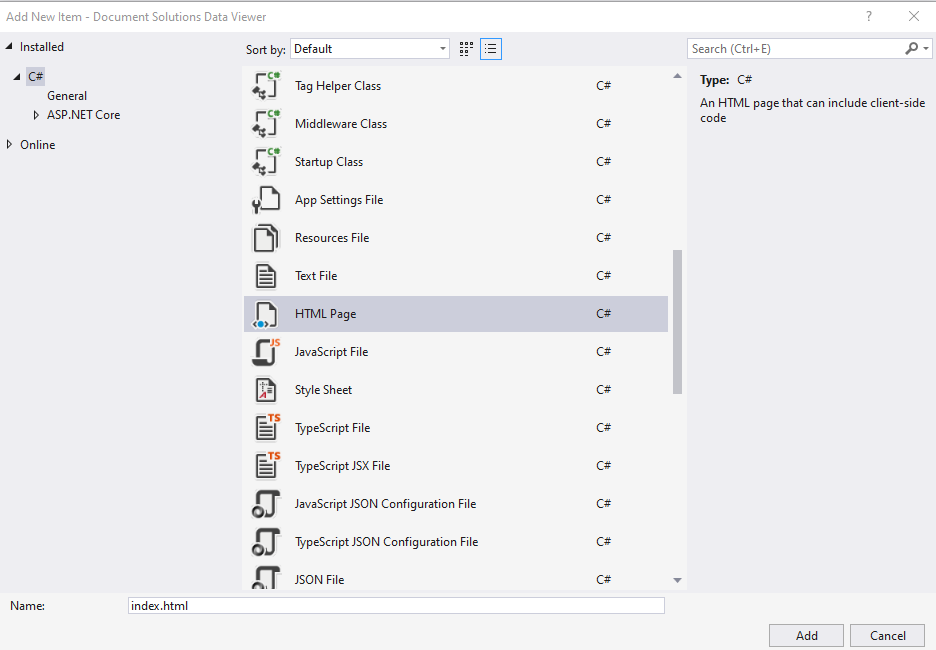
Step 5 - Paste the following code in the index.html file.
<!DOCTYPE html>
<html lang="en">
   <head>
      <meta charset="utf-8">
      <meta name="description" content="Document Solutions Data Viewer">
      <meta name="viewport" content="width=device-width, initial-scale=1.0, maximum-scale=5.0, user-scalable=yes" />
      <title>Document Solutions Data Viewer Sample</title>
      <script type="text/javascript" src="lib/node_modules/@mescius/dsdataviewer/dsdataviewer.js"></script>
      <script>function loadDataViewer(selector) {
         DsDataViewer.LicenseKey = 'your_license_key';

         var viewer = new DsDataViewer(selector, {});

         }
      </script>
   </head>
   <body onload="loadDataViewer('#root')">
      <div id="root" style="width:100%;height:100%"></div>
   </body>
</html>
Step 6 - Replace the content of the Program.cs with the following code
var builder = WebApplication.CreateBuilder(args);
var app = builder.Build();
if (!app.Environment.IsDevelopment())
{
     app.UseDeveloperExceptionPage();
}
app.UseDefaultFiles();
app.UseStaticFiles();
app.UseRouting();
app.Run();
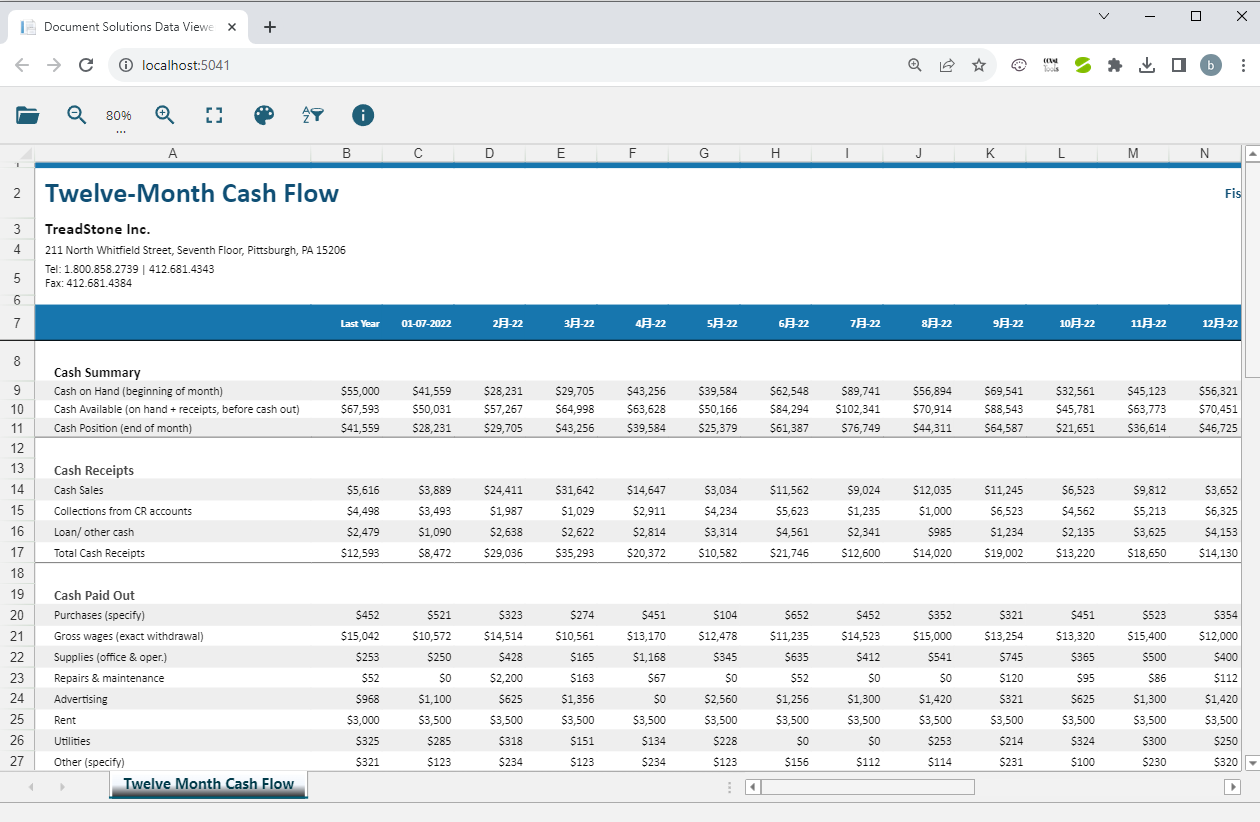
Step 7 - Build and run the application. A page with the Document Solutions Data Viewer will show in the default browser.
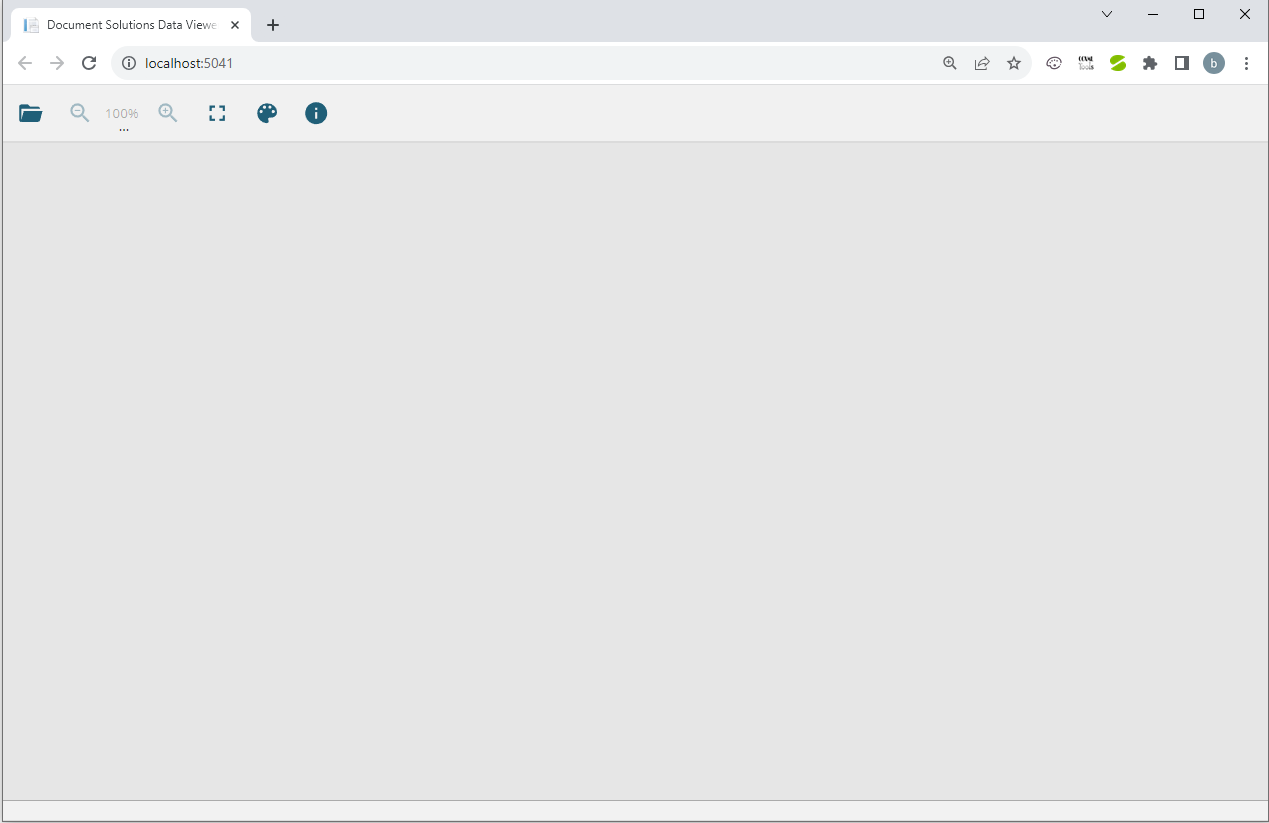
Step 8 - Click on the Open document button to load your favorite document. The viewer with a document appears as below:
