
Quick Start: Add data to FlexPie
This section describes how to add a FlexPie control to your iOS app and add data to it. This topic consists of three steps:
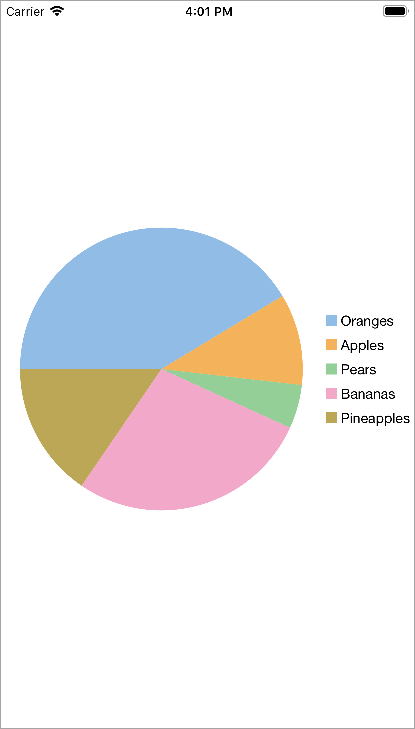
The following image shows how the FlexPie appears, after completing the steps above:
Step 1: Create a data source for FlexPie
Add a new class to serve as the data source for FlexPie.
public class PieChartData
      {
        public string Name {get; set;}
        public double Value {get; set;}
        public static IEnumerable<PieChartData> DemoData()
             {
                     List<PieChartData> result = new List<PieChartData> ();
                     string[] fruit = new string[]{"Oranges","Apples","Pears","Bananas","Pineapples" };
                     Random r = new Random ();
                     foreach (var f in fruit)
                     result.Add (new PieChartData { Name = f, Value = r.Next(100) * 101});
                     return result;
              }
          }
Step 2: Add a FlexPie control
Complete the following steps to initialize a FlexPie control in C#.
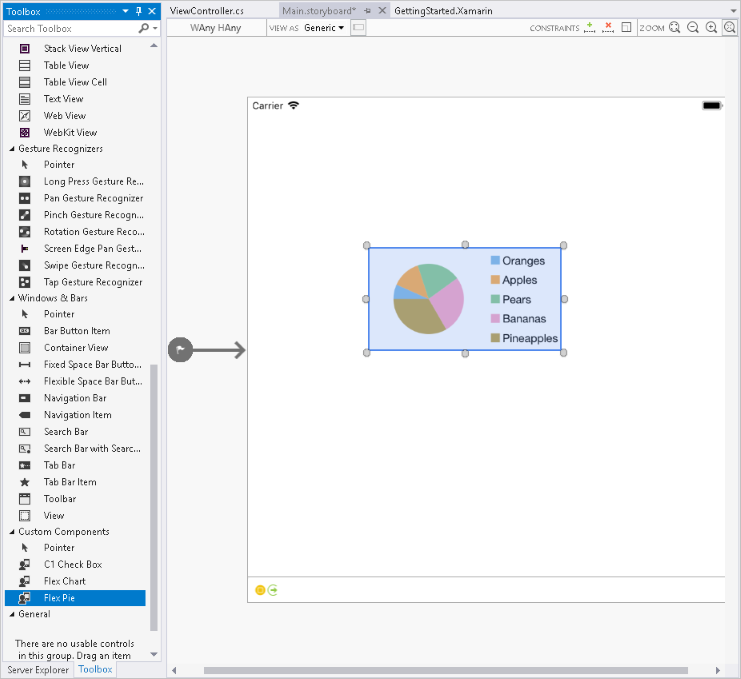
Add FlexPie control in StoryBoard
In the Solution Explorer, click Main.storyboard to open the storyboard editor.
From the Toolbox under Custom Components tab, drag a FlexPie onto the ViewController.
Initialize FlexPie control in Code
To initialize the FlexPie control, open the ViewController file from the Solution Explorer and replace its content with the code below. This overrides the ViewDidLoad method of the View controller in order to initialize FlexPie.
public override void ViewDidLoad()
        {
            base.ViewDidLoad();
            // Perform any additional setup after loading the view, typically from a nib.

            pieChart = new FlexPie();
            pieChart.Binding = "Value";
            pieChart.BindingName = "Name";
            pieChart.ItemsSource = PieChartData.DemoData();
            this.Add(pieChart);
        }
        public override void ViewDidLayoutSubviews()
        {
            base.ViewDidLayoutSubviews();
            pieChart.Frame = new CGRect (this.View.Frame.X, this.View.Frame.Y,
                                     this.View.Frame.Width, this.View.Frame.Height);
        }
Step 3: Run the Application
Press F5 to run the application.