- Toolbar for WPF and Silverlight Overview
- Key Features
- C1Toolbar Quick Start
- Simplified Ribbon
- Toolbar Elements
- Toolbar Elements Styling
- C1Toolbar Layout and Appearance
- C1Toolbar Samples
- C1Toolbar Task-Based Help
- Commanding with C1Toolbar (WPF Tutorial)
- Commanding with C1Toolbar (Silverlight Tutorial)
Adding Logic Behind the ToolbarButton Click Event
This topic shows how to add logic behind the C1ToolbarButton Click event for C1ToolbarButtons through XAML representation and then adding the code for the method in the Code Editor.
Add a C1ToolbarButton to the C1Toolbar element in the XAML editor and set the LabelTitle property to Search.
<c1:C1Toolbar Grid.Row="1" Height="100" Name="c1Toolbar1">
   <c1:C1ToolbarButton LabelTitle="Search"
</c1:C1Toolbar>
Add an attribute named Click to the C1ToolbarButton element in the XAML editor, and set its value to New Click. This is the name that you will give the event handler in code. Also give the C1ToolbarButton element a unique name and set its value to Search.
<c1:C1Toolbar Grid.Row="1" Height="100" Name="c1Toolbar1">
    <c1:C1ToolbarButton LabelTitle="Search" Click="New_Click" Name="Search"/>
</c1:C1Toolbar>
Right-click the designer and then click View Code.
Add the following event handler to the Window1 class. This code displays a message whenever you click the button.
private void New_Click(object sender, RoutedEventArgs e)
{
  MessageBox.Show("Event handler was created by clicking the " + Search);
}
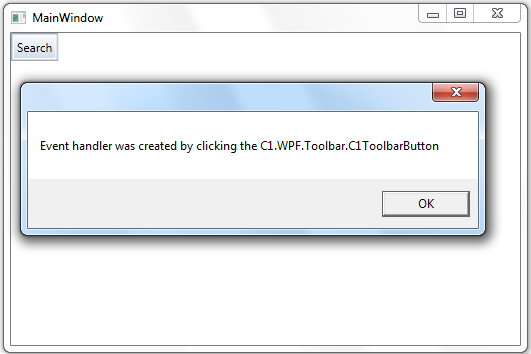
Run the application and observe:
The name of the toolbar button appears in the message box: