
Step 1 of 3: Setting up the Application
In this step, you begin with creating a WPF application in Visual Studio and then adding a FlexSheet control to your application.
In Design View
To add a FlexSheet to your WPF application in Design view, perform the following steps:
Create a new WPF project in Visual Studio.
Navigate to the Toolbox and locate the C1FlexSheet control icon.
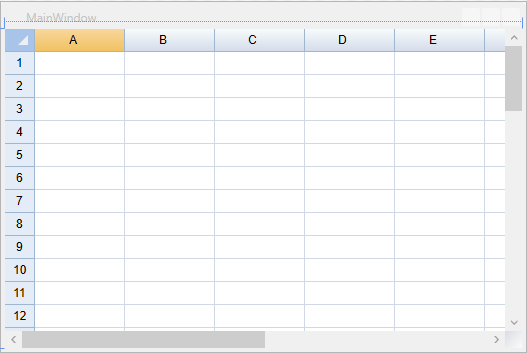
Double-click the C1FlexSheet icon to add the control to the MainWindow. The control looks like the following:
In Code
To add a FlexSheet to your WPF application in Code view, perform the following steps:
Set the Name property of the Grid in XAML so that the control has a unique identifier to call in code. In our case, Name property of the Grid control is set to Parent, as shown in the following code:
<Grid Name="Parent">
</Grid>
Add the following namespaces in Code view:
vbnet
Imports C1.WPF
Imports C1.WPF.FlexGrid
csharp
using C1.WPF;
using C1.WPF.FlexGrid;
Add the following lines of code beneath the InitializeComponent() method to add the FlexSheet control:
vbnet
Dim flex = New C1FlexSheet()
Parent.Children.Add(flex)
csharp
var flex = new C1FlexSheet();
Parent.Children.Add(flex);