Quick Start
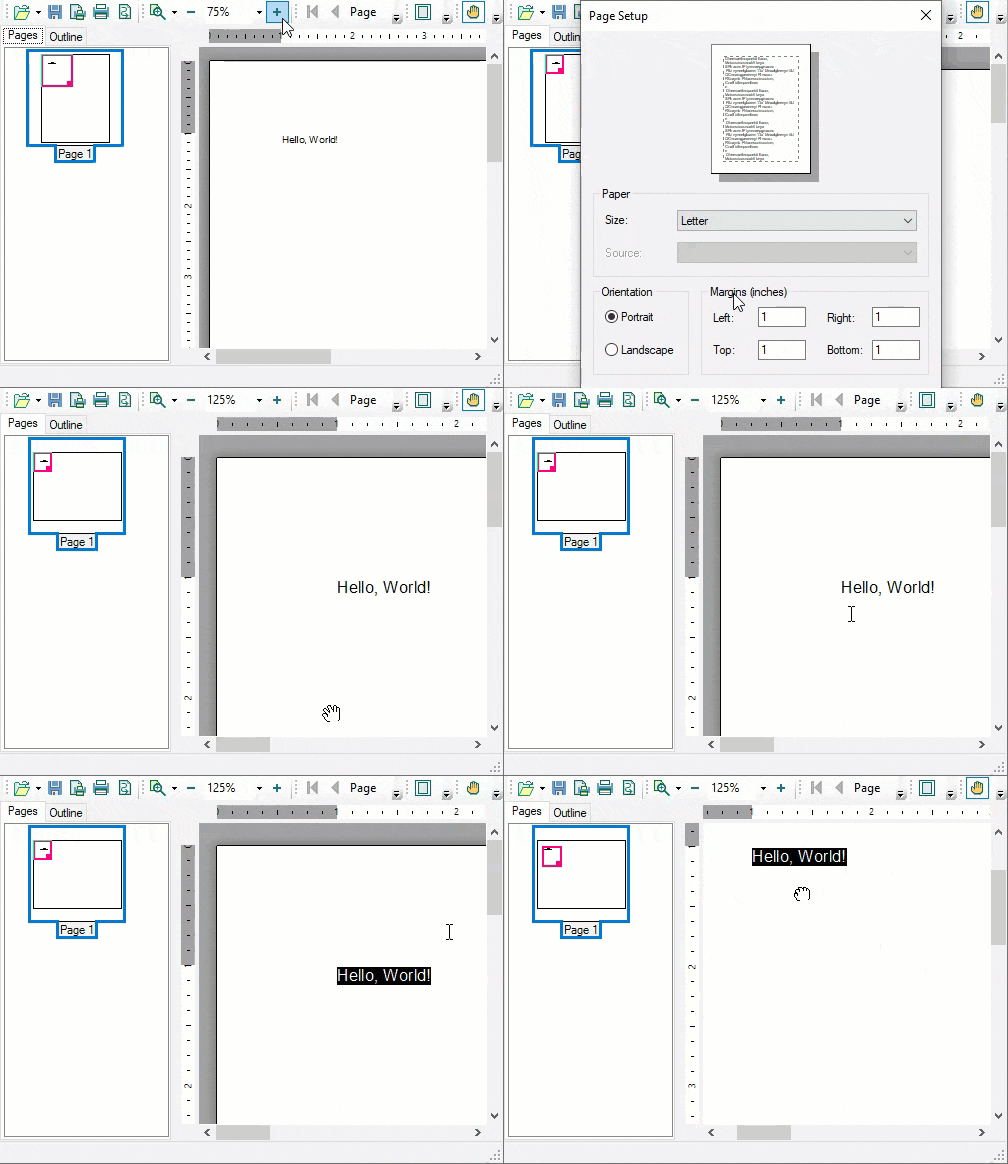
This quick start gets you started with PrintDocument by letting you create a WinForms application, add printing and previewing controls to it, set up the preview and explore some of the run-time interactions available in the previewing controls as illustrated in the below:

To quickly get started using the PrintDocument library, follow these steps:
Add PrintDocument and PrintPreview
- Create a Windows Forms App in Visual Studio.
- Add reference to C1.Win.Printing NuGet package.
- Drag and drop the PrintDocument component and PrintPreviewControl control from the Toolbox to your form. Observe that PrintDocument gets added to the component tray, while the PrintPreviewControl is added to the form.
Configure the Printing Controls
From the Properties window, set the Document property of PrintPreviewControl to the newly added PrintDocument component.
Switch to the code view and add the following namespace:
using C1.C1Preview;Add the following code in the Form_Load event to add text to the preview document and generate the document.
this.c1PrintDocument1.Body.Children.Add(new RenderText("Hello, World!"));
this.c1PrintDocument1.Generate();
The above code uses the Generate method to generate documents. Alternatively, the StartDoc and EndDoc methods can also be used to create documents. For more information about the StartDoc and EndDoc methods, see Create Document topic.
Build and Run the Project
- Click Build | Build Solution to build the project.
- Press F5 to run the project. Observe the run-time interactions with the previewing controls.


