
- FlexPivot for WinForms Overview
- Introduction to FlexPivot
- Key Features
- FlexPivot Architecture
- Upgrading from Old PivotPage to New PivotPage
- Adding Data to FlexPivot Application
- Design Time Support through Smart Tag
- Quick Start: FlexPivot for WinForms
- Using FlexPivotPage ToolStrip
- Data Blending Features
- FlexPivot Cube
- Export
- Task-Based Help
- Walkthrough
- DataEngine Overview
- FlexPivotSlicer Overview
Binding FlexPivot to Data Source at Design-Time
FlexPivot provides an array of default features that can be directly used without writing even a single line of code. You start by adding the FlexPivotPage control to an empty Windows Forms application and binding it to a data source using the Smart tag.
At Design-Time
Create a new Windows Forms Application in Visual Studio.
Navigate to the Toolbox and locate the FlexPivotPage control icon.
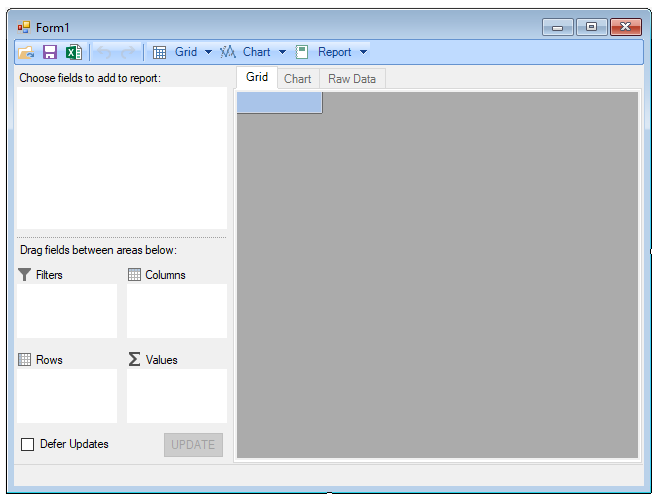
Double-click or drag-and-drop the FlexPivotPage icon to the Form.
The FlexPivotPage control docks to fill the form in the designer as shown in the image below.
Click the smart tag icon (
 ) appearing in the upper right corner of the FlexPivotPage control. The FlexPivotPage Tasks smart tag panel appears similar to the image below.
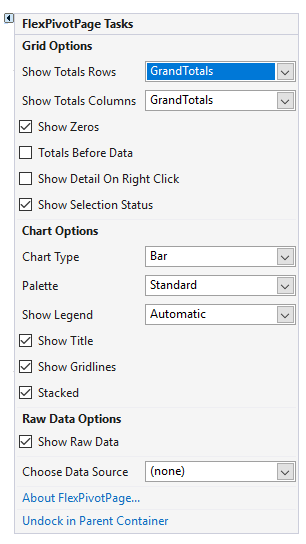
Click the drop-down menu appearing against the Choose Data Source option in the FlexPivotPage Tasks smart tag panel.
Click the 'Add Project Data Source' link to open Data Source Configuration Wizard window.
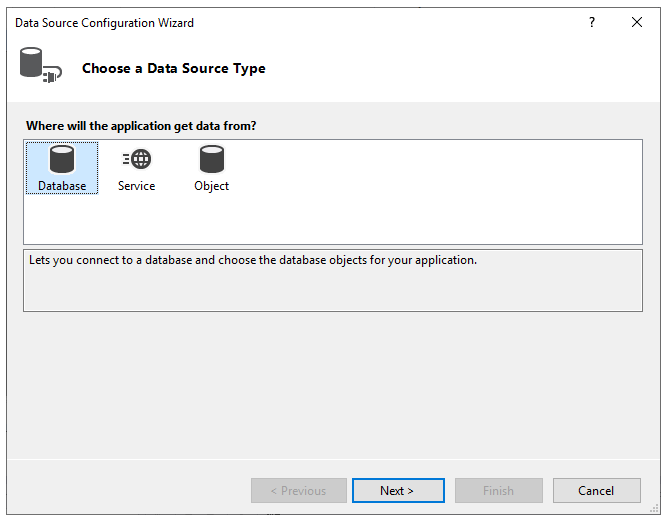
Select Database as the Data Source type in the Data Source Configuration Wizard window and click Next.
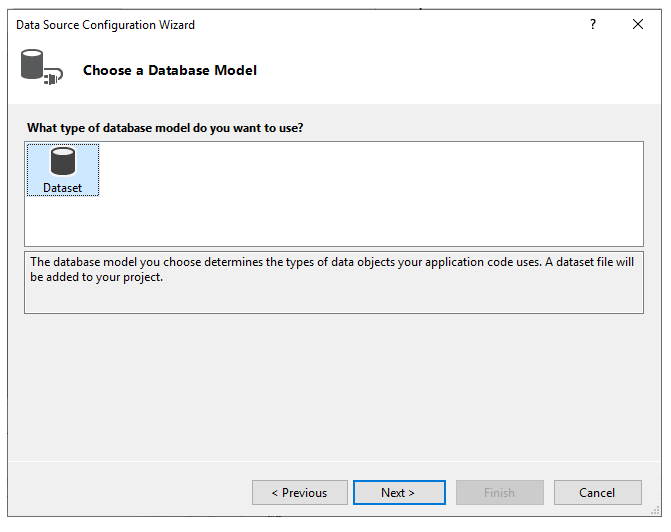
Choose Dataset as the database model in the Data Source Configuration Wizard window and click Next.
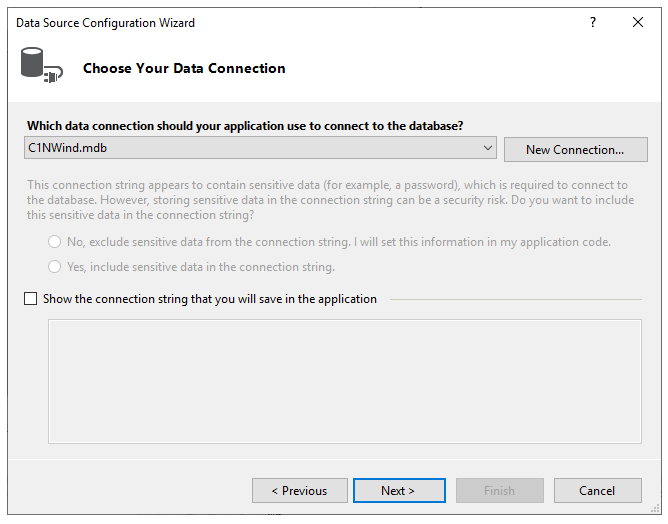
Choose data connection string for your application to connect to the database and click Next. In this example, we are using C1NWind.mdb file as the data source. This file is kept at Documents\ComponentOne Samples\Common\C1NWind.mdb location on your system.
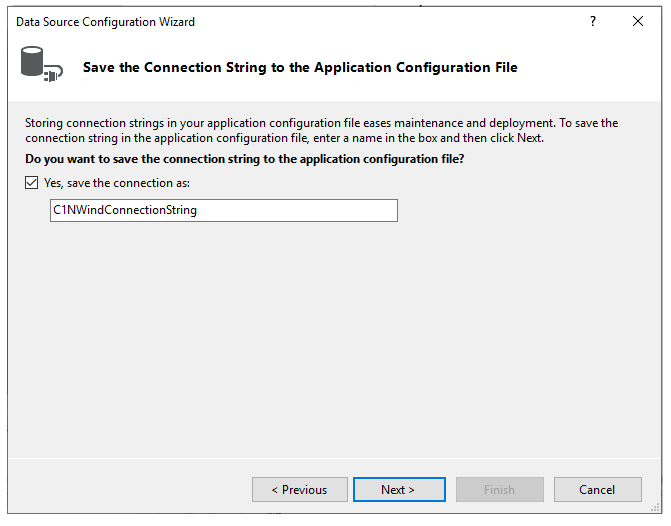
- Save the connection string by selecting the checkbox and click Next.
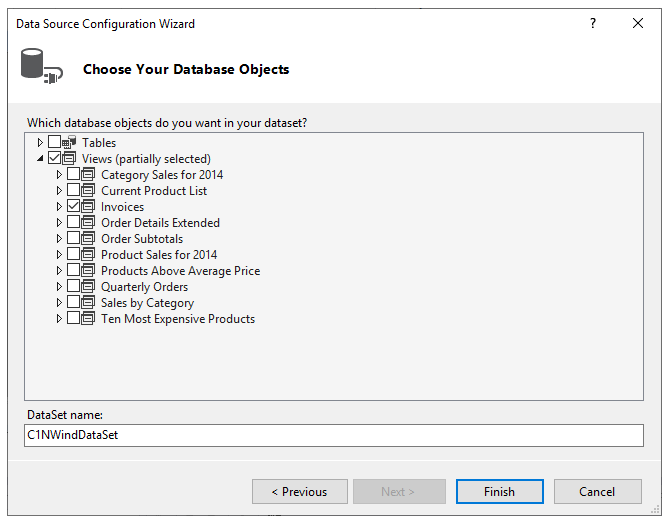
- Choose database objects from the Data Source Configuration Wizard window that you want in your dataset. In this example, we are selecting Invoices view for data binding as shown in the image. Click Finish to complete the data binding.
- Press F5 to run the application. FlexPivotPage control is now connected to the C1NWind.mdb file and you can see that the control appears with various data fields available in the FlexPivotPanel.
You can now create different views by dragging the data fields to Rows, Columns and Values list for data analysis. Click here to know how to create different views.
type=note
Note: WinForms .NET Edition does not include rich design-time support yet. We will enhance it in future releases.