
- SpreadJS Overview
- Getting Started
- JavaScript Frameworks
- Best Practices
-
Features
- Workbook
- Worksheet
- Rows and Columns
- Headers
- Cells
- Data Binding
- TableSheet
- GanttSheet
- ReportSheet
- Data Charts
- JSON Schema with SpreadJS
- SpreadJS File Format
- Data Validation
- Conditional Formatting
- Sort
- Group
- Formulas
- Serialization
- Keyboard Actions
- Shapes
- Floating Objects
- Barcodes
- Charts
- Sparklines
- Tables
- Pivot Table
- Slicer
- Theme
- Culture
- AI Assistant
- SpreadJS Designer
- Tutorials
- SpreadJS Designer Component
- SpreadJS Collaboration Server
- Touch Support
- Formula Reference
- Import and Export Reference
- Frequently Used Events
- API Documentation
- Release Notes
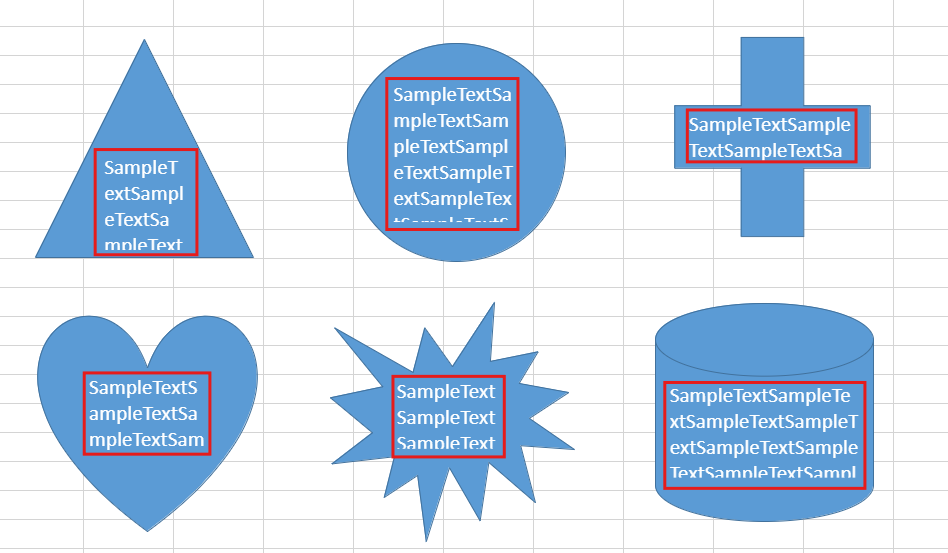
Text on Shapes
SpreadJS allows you to add and edit the text in shapes by using one of the following ways:
When the isTextBox is set to false (default value), then you need to "double click the shape" or "press Enter key".
When the isTextBox is set to true, then you need to select the shape or single click the shape.
Right-clicking the shape and selecting 'Edit Text' from the context menu.
As you add or edit text in a shape, the text editor disappears when you click anywhere outside the shape. However, shapes do not support selection of text when not in editing state. Moreover, while dragging a shape’s corners for resizing, only the horizontal changes are reflected.

You can also add and edit the text in shapes by clicking or selecting the shape, when the isTextBox property is set to 'true'.
//To add text to the shape isTextBox property is set to true.
shape.isTextBox(true);
When a shape is double-clicked, the text formatting options appear along with the text editor. It includes all the simple text formatting features, alignment, and other text options. However, rich text is not supported.
Use Case Scenario
This use case considers a scenario of a boardroom seating plan for a meeting. The meeting is to be attended by some important group of people and hence their seating arrangement is planned well in advance. The seats are represented by using auto shapes and the names of members are mentioned by using text on shapes. In case of any changes, these names can be added, edited, or removed as well.
Behavior of Shape Text
The text editor and text follow the behavior of shape. For example, when the zoom action is performed on a sheet, the text editor and the text is resized and relocated as well.

With frozen rows or columns, the shape is folded over when scrolled. However, the text is not affected and remains in the same place.
Note: This behavior is different from Excel where the text and text editor both fold with the shape.
The text editor and text are rotated when a shape is rotated.
The text editor also allows you to set the height of the shape according to the height of its content.
You can also resize the height of textbox shape as per its content by setting resizeToFitText property to ‘true’.
// set resizeToFitText to true for autofitting the shape's height while
editing the text box
var oldStyle = shape.style();
oldStyle.textFrame.resizeToFitText = true;
shape.style(oldStyle);
Note: In SpreadJS, Shape Textbox does not support vertical text and rich text.
Behavior of Text Editor
The text editor auto-breaks the lines and auto-lengthens the text area while submitting the input.
All the text present inside a shape is selected when a shape is selected and the enter key is pressed. The 'Esc' key submits the shape text and finishes editing.
IME input is also supported as shape text.
The shape text editor is enabled or disabled as explained below:
If a sheet is protected and 'edit object' (option in Protect Sheet dialog) is enabled and the shape is locked, the text editor is enabled.
If a sheet is protected and the 'edit object' (option in Protect Sheet dialog) is disabled and the shape is locked, the text editor is disabled.
If a sheet is protected and the shape is unlocked, the text editor is enabled.
Text Direction
SpreadJS allows you to control the orientation and flow of text within shapes in your document or report. By adjusting the text direction, you can display text horizontally, vertically, or in stacked formats.
This feature is particularly effective in enhancing the visual presentation of diagrams and reports, and is critical for accommodating the layout conventions of East Asian languages (such as Chinese, Japanese, and Korean), which traditionally utilize vertical text.
The following table outlines all text direction configurations supported by SpreadJS.
Note:
The following samples all adopt horizontal left alignment and vertical top alignment.
Direction | Description | Sample |
|---|---|---|
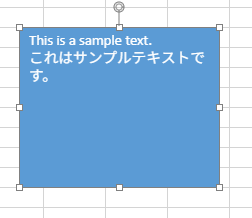
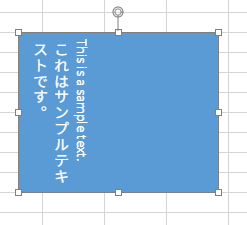
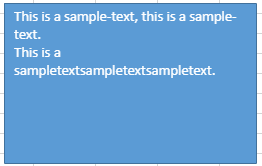
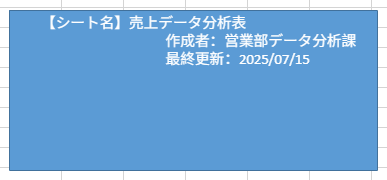
Horizontal (default) | Text flows from left to right (for LTR languages) or right to left (for RTL languages) in horizontal lines. |
|
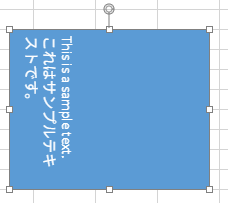
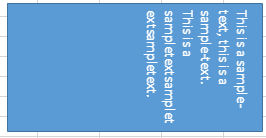
Rotate all text 90° | Each line of text is rotated 90 degrees clockwise, flowing from top to bottom. Subsequent lines appear to the left of the previous line. |
|
Rotate all text 270° | Each line of text is rotated 270 degrees clockwise (or 90 degrees counter-clockwise), flowing from bottom to top. Subsequent lines appear to the right of the previous line. |
|
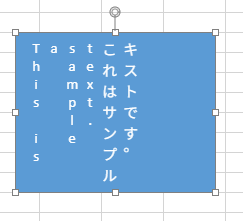
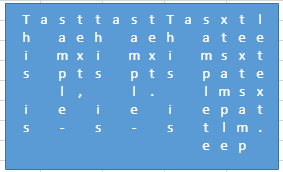
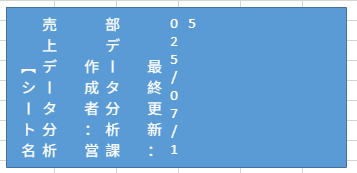
Stacked | Text characters are stacked vertically, one letter on top of another, with lines flowing from left to right. This is often used for creating vertical text effects. |
|
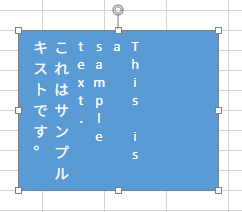
Stacked (RTL) | Text characters are stacked vertically, one letter on top of another, with lines flowing from right to left. |
|
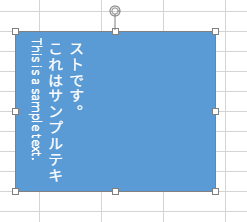
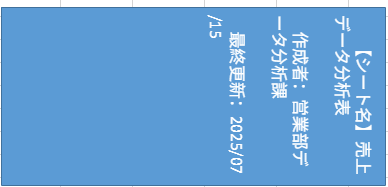
Vertical | A special mode primarily for East Asian languages. While some fonts may appear rotated 90 degrees, most East Asian fonts are displayed vertically, with lines flowing from top to bottom, then right to left. |
|
Vertical (LTR) | Similar to "Vertical," but the text flows from top to bottom, then left to right. |
|

Usage Instructions
SpreadJS supports both API-driven programming and designer UI operations to configure text orientation within shapes.
Using API
GC.Spread.Sheets.Shapes.TextDirection provides 7 enumeration values representing distinct text directions. To set the text direction for a shape, simply assign the desired TextDirection enum value to the textDirection property within the shape's style.textFrame.
Follow the code below to create a rectangle shape with text direction set to wordArtVertRtl.
 var rectangleShape = sheet.shapes.add("Shape1", GC.Spread.Sheets.Shapes.AutoShapeType.rectangle, 100, 60, 200, 160);
 var style = rectangleShape.style();
 style.textFrame.textDirection = GC.Spread.Sheets.Shapes.TextDirection.wordArtVertRtl;
 rectangleShape.style(style);
 rectangleShape.text('Rectangle');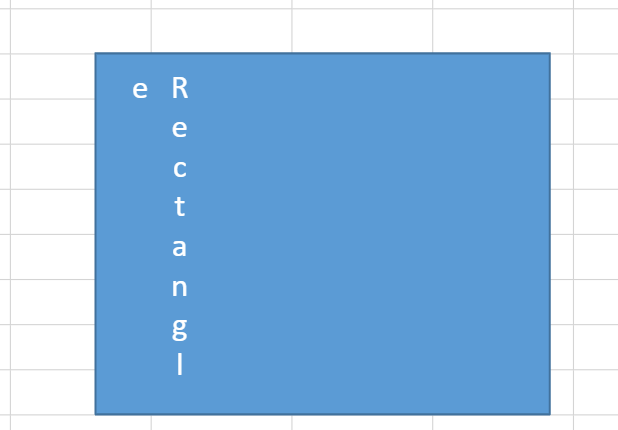
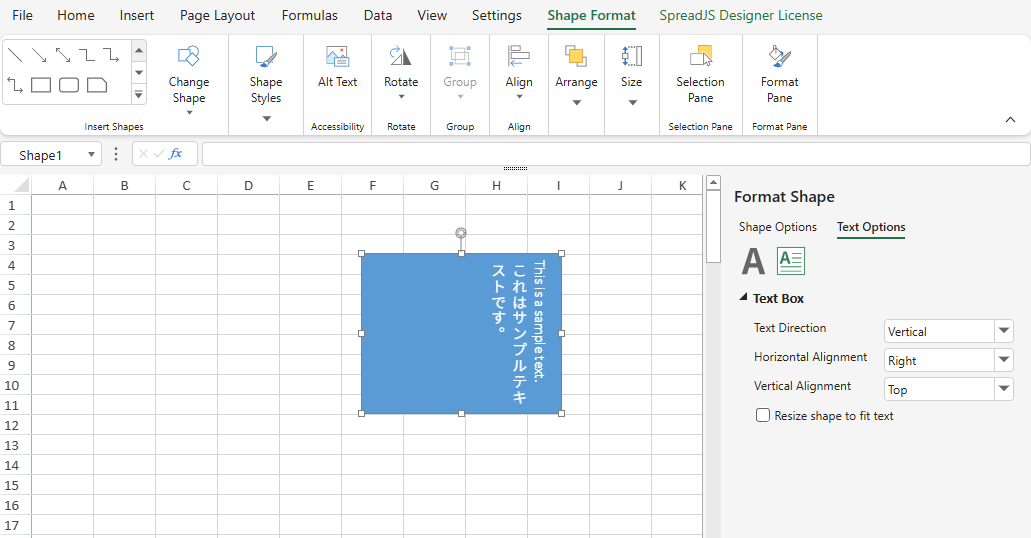
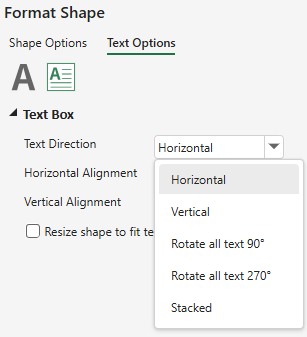
Using Designer
Select Target Shape: Click the shape containing the text you wish to modify. This activates the Shape Format tab in the ribbon.
Access Format Pane: Click the Format Pane button to launch the formatting sidebar.

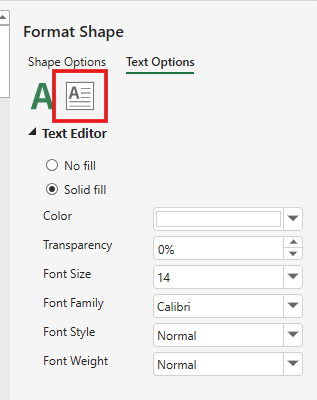
Navigate Text Settings
Select Text Options to access text formatting categories
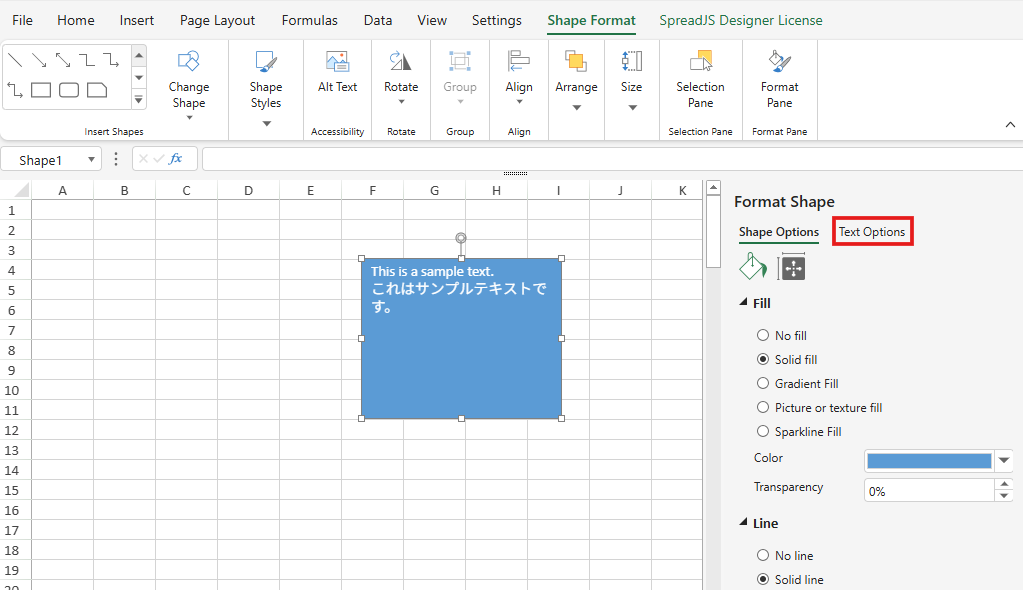
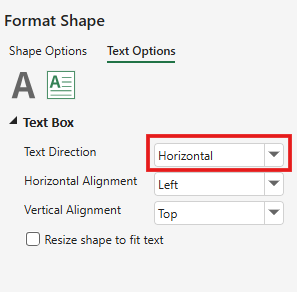
Choose Text Box to view advanced text properties
Modify Text Direction
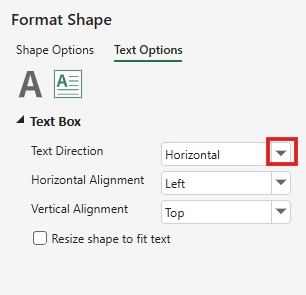
Locate the Text Direction property
Click the dropdown arrow next to the current orientation value
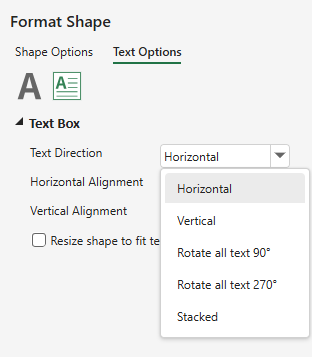
Select from these standardized options:
Notes:
> To align with Excel, the dropdown offers 5 orientation options—Vertical and Stacked may exhibit cultural variations in behavior. For specifics, refer to the cultural strategies section that follows.
Choose the desired text direction from the available options. The text within the shape will update to reflect the selected direction.
Important policies
Text Wrap and Word Break
Text within a shape automatically wraps to the next line based on the shape's boundaries and the set text direction.
Languages | Policies | Samples |
|---|---|---|
English and other Western languages |
|
|
East Asian Languages (CJK) |
|
|
These wrapping and word break rules are consistent with how text behaves in regular cells within the application.
Edit Shape Text
When editing text within a shape that has a non-horizontal text direction, the text is always presented and edited in a standard horizontal format. The vertical or stacked orientation is only applied for display purposes after you finish editing.
Auto Fit Shape Size
The text layout within a shape automatically adapts when you manually resize the shape, based on the current text direction.
If the text direction is horizontal, changing the shape's width will cause the text to reflow to fit the new width.
If the text direction is vertical, changing the shape's height will cause the text to adapt to the new height.
If you resize the shape to be smaller than the text requires, any text that falls outside the shape's boundaries will be automatically hidden and will not be visible.
Text Direction in Irregular Shapes
For shapes that are not simple rectangles, the text content is contained and placed within a rectangular area that encloses the shape's text region.
Direction Options for Different Cultural in Designer
To align with Excel, the Designer tool offers five text direction options—including Horizontal, Vertical, Rotate all text 90°, Rotate all text 270° and Stacked—where the Stacked configuration will exhibit different behaviors based on the current culture in use.
The table below shows the specific support details.
Designer Option | Enumeration(EN) | Enumeration(CN/JP/KO) |
|---|---|---|
Horizontal |
|
|
Vertical |
|
|
Rotate all text 90° |
|
|
Rotate all text 270° |
|
|
Stacked |
|
|