Step 4 of 4: Running Your Application
In This Topic
In this step, you'll run your application.
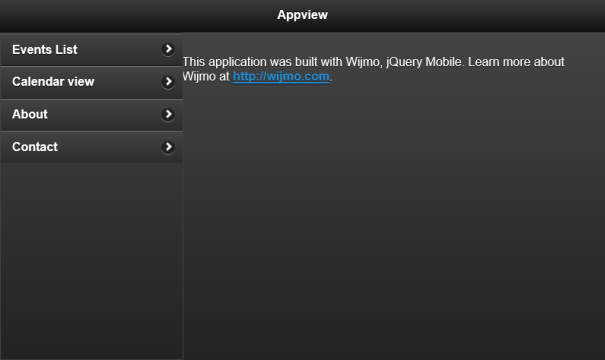
- Press F5 or start debugging to run your application. Initially, your application should resemble the following image:

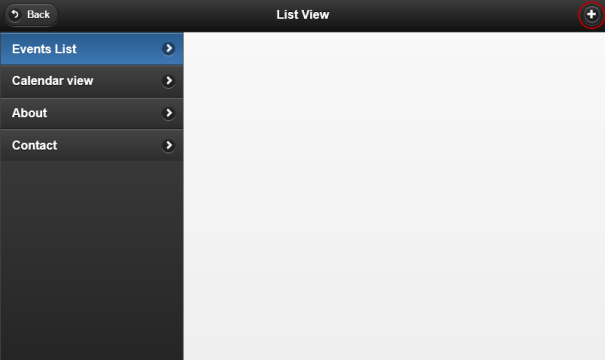
- When you click or tap the Events List C1AppViewItem for the first time, there will be no events listed. To create an event, click or tap the Add button in the top right of the application. The Add button is circled in the following image:

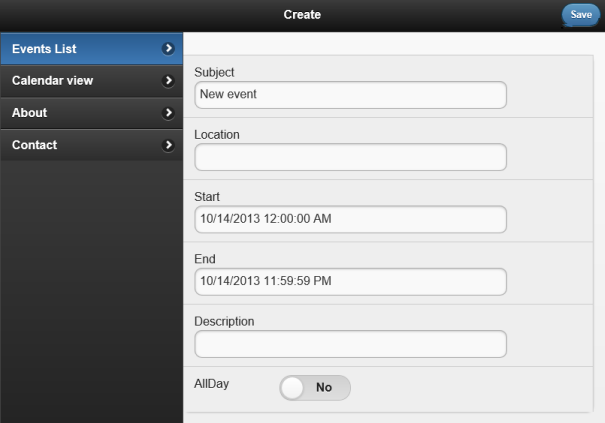
- When you've clicked or tapped the Add button, your application will load the Create form:

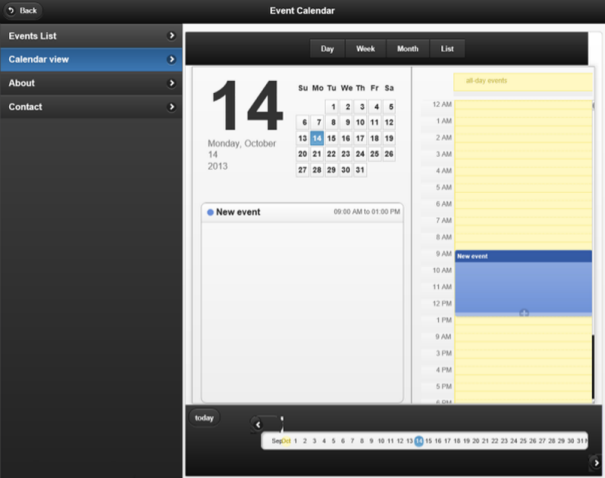
- Once you've entered information into the event form and clicked or tapped Save, the event will be saved to both the list that you see when you select Events List, and the Calendar that you see when you select Calendar View:

 Congratulations! You have completed the Creating an Event Planning Application Tutorial. In this tutorial, you built an application using the C1AppView, C1ListView, and C1Calendar controls that allows you to create, save, and display events. Using this application, you can either display the events in a list, or you can display the events in the C1Calendar control. Displaying events in a calendar, while it makes the application more complex, also makes it easier to see where and when your events occur, giving both you and users a way to make sure there's no conflict.


![]() Congratulations! You have completed the Creating an Event Planning Application Tutorial. In this tutorial, you built an application using the C1AppView, C1ListView, and C1Calendar controls that allows you to create, save, and display events. Using this application, you can either display the events in a list, or you can display the events in the C1Calendar control. Displaying events in a calendar, while it makes the application more complex, also makes it easier to see where and when your events occur, giving both you and users a way to make sure there's no conflict.
Congratulations! You have completed the Creating an Event Planning Application Tutorial. In this tutorial, you built an application using the C1AppView, C1ListView, and C1Calendar controls that allows you to create, save, and display events. Using this application, you can either display the events in a list, or you can display the events in the C1Calendar control. Displaying events in a calendar, while it makes the application more complex, also makes it easier to see where and when your events occur, giving both you and users a way to make sure there's no conflict.