Using Standard Visual Studio Web API Template
Complete the following steps to configure FlexReport Web API using standard Visual Studio Template for Web API:
Step 1: Configure Web API Project
Complete the following steps to configure Web API project:
Create a new ASP.NET Web API Project.
Add the FlexReport Web API package from NuGet.
If you have installed MVC Edition, the NuGet source path gets already set inside Visual Studio.

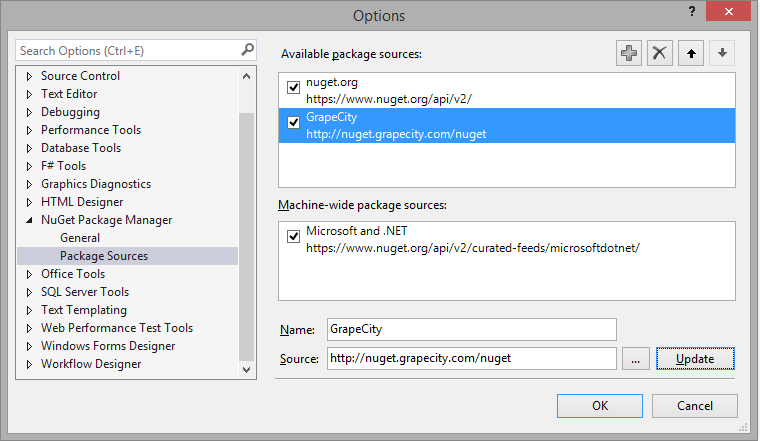
Alternatively, you can manually add the source path from NuGet Package Manager | Package Sources option available in Options dialog box, which appears on selecting Tool | NuGet Package Manager | Package Manager Settings.
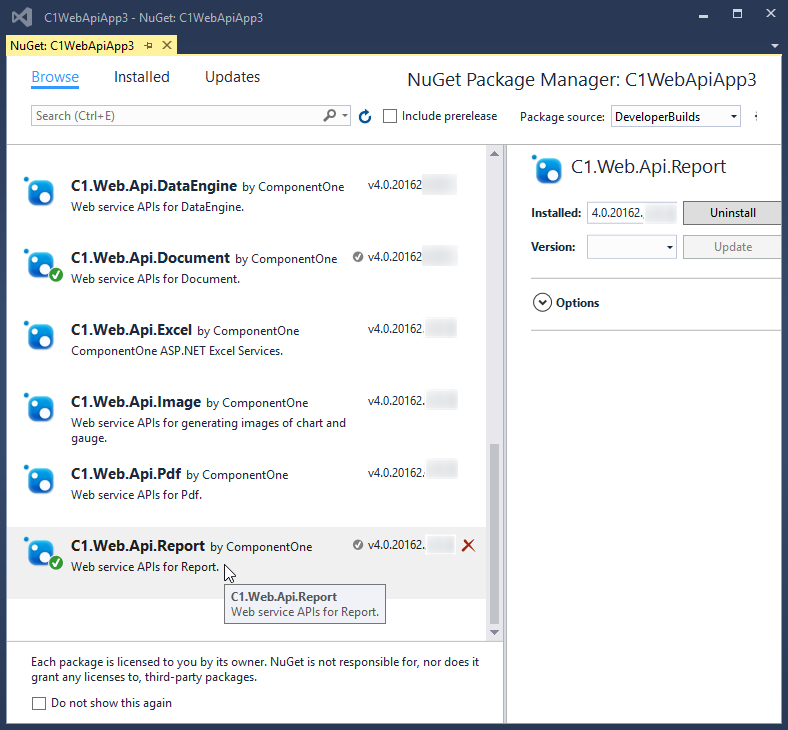
In the NuGet package manager the Report Service is listed as shown in the following image:

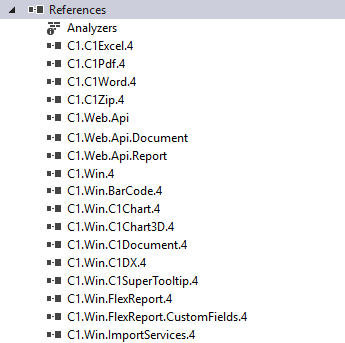
FlexReport Web API adds the following references to the project:

License your Web API application. Create a licenses.licx file within Properties folder of your application and add the following code in it:
C1.Web.Api.LicenseDetector, C1.Web.Api
C1.Web.Api.Report.LicenseDetector, C1.Web.Api.Report
Step 2: Add Report files to the Project
Create a folder named Files in your application.
Add the FlexReport Definition file to it.
If the report is using any local database (such as MDB or MDF files), then add the database file to the App_Data folder of your project. However, make sure that the connection string of the reports are pointing to the App_Data folder accordingly.

Step 3: Set Report's Root Location and Use C1 Web APIs
Open the Startup.cs file and add the following code to Configuration method:
public void Configuration(IAppBuilder app)
{
    app.UseCors(CorsOptions.AllowAll);
    var folder = GetFullRoot("Files");
    app.AddDiskStorage("root", folder);
    ConfigureAuth(app);
}
Note: Make sure you add Microsoft.Owin.Cors Nuget package in your application, for app.UseCors();
Add the following GetFullRoot function in the startup class.
private static string GetFullRoot(string root) {
var applicationBase = AppDomain.CurrentDomain.SetupInformation.ApplicationBase;
var fullRoot = Path.GetFullPath(Path.Combine(applicationBase, root));
if (!fullRoot.EndsWith(Path.DirectorySeparatorChar.ToString(), StringComparison.Ordinal)) {
    fullRoot += Path.DirectorySeparatorChar;
  }
  return fullRoot;
}
Open Web.Config and add the following entry under handlers inside system.webServer Node.
<add name="ExtensionlessUrlHandler-Integrated-4.0" path="api/*" verb="*" type="System.Web.Handlers.TransferRequestHandler" preCondition="integratedMode,runtimeVersionv4.0" />In the Web.config file, ensure that the WebDAVModule and the WebDAV handler are removed from <system.webServer> as shown below:
<system.webServer>
<modules>
      <remove name="WebDAVModule" />
    </modules>
<handlers>
      <remove name="WebDAV" />
      .........
    </handlers>
</system.webServer>
Step 4: Deploy Report Web API Service
Compile the project.
Deploy the project to IIS.
The Web API URL, for service will be hosted on local IIS.
Note: Once you have successfully created Web API URL for Report Services, you can access and view reports stored in the service using FlexViewer for MVC and Wijmo Viewer. For more information on how to view reports, see Viewing Reports in FlexViewer.


