
Blazor WebAssembly
The Blazor WebAssembly App template is used to create a client-side Blazor application that works by downloading and running a small .NET runtime to the client and then executing the code in the browser’s UI thread. In this application, there is no dependency on the server-side and it can be hosted from multiple environments. WebAssembly or WASM serves as an alternative to JavaScript.
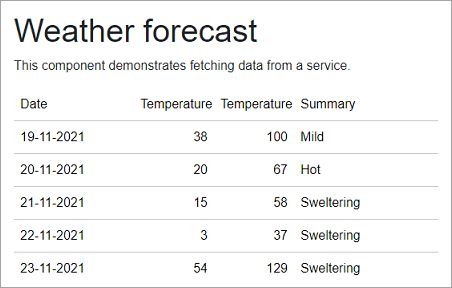
In the upcoming section, we will learn how to use the Blazor WebAssembly template in a Blazor application. The Quick Start will guide you through the steps of creating a client-side Blazor application, adding the FlexGrid control, fetching and displaying data in the control. In this example, we are using WeatherForecast class for fetching data to the FlexGrid control. This displays date & time, temperatures and summary in the control.
Create a Blazor App
- In Visual Studio, select Create a new project from the Get started pane.
- In the Create a new project dialog, select Blazor WebAssembly App, and click Next.
- In the Configure your new project dialog, provide name of the project you want to create in the Project name field, say BlazorIntro, and location for the project in the Location field. Click Next.
- In the Additional information dialog, select the target framework from the Framework dropdown, if required and click Create. By default, the selected framework is .NET 8.0.
A new client-side Blazor app is created.
Configure References and Data Source
Now, rebuild the project to restore basic dependencies. After completion of the steps above.
From the Project menu, select Manage NuGet Packages.
In the NuGet Package Manager window, select nuget.org as the Package source.
Search for C1.Blazor.Grid package, select it and click Install.
Navigate to the wwwroot, open index.html file and register the client resources by adding the following lines of code.
Add the following code to the <head> tag.
<link rel="stylesheet" href="/_content/C1.Blazor.Core/styles.css" />
<link rel="stylesheet" href="/_content/C1.Blazor.Grid/styles.css" />
<link rel="stylesheet" href="/_content/C1.Blazor.ListView/styles.css" />
<link rel="stylesheet" href="/_content/C1.Blazor.Input/styles.css" />
<link rel="stylesheet" href="/_content/C1.Blazor.Menu/styles.css" />
<link rel="stylesheet" href="/_content/C1.Blazor.DataFilter/styles.css" />
<link rel="stylesheet" href="/_content/C1.Blazor.Calendar/styles.css" />
<link rel="stylesheet" href="/_content/C1.Blazor.DateTimeEditors/styles.css" />
Add the following code to the <body> tag.
<script src="/_content/C1.Blazor.Core/scripts.js"></script>
<script src="/_content/C1.Blazor.Input/scripts.js"></script>
<script src="/_content/C1.Blazor.Grid/scripts.js"></script>
<script src="/_content/C1.Blazor.Menu/scripts.js"></script>
<script src="/_content/C1.Blazor.Calendar/scripts.js"></script>
Bind FlexGrid to Data
Open FetchData.razor page from the Pages folder of a client-side or WebAssembly App. In the FetchData.razor page, you can find that the WeatherForecast class is already added in the @code section as shown in the following code.
@code {
    private WeatherForecast[]? forecasts;
    protected override async Task OnInitializedAsync()
    {
        forecasts = await Http.GetFromJsonAsync<WeatherForecast[]>("sample-data/weather.json");
    }
    public class WeatherForecast
    {
        public DateTime Date { get; set; }
        public int TemperatureC { get; set; }
        public int TemperatureF => 32 + (int)(TemperatureC / 0.5556);
        public string? Summary { get; set; }
    }
}
It fetches static values from a weather.json file in the wwwroot/sample-data folder, and loads an array of type WeatherForecast.
In the FetchData.razor page, add the following directive.
@using C1.Blazor.GridReplace the existing static HTML table available in the if else loop with FlexGrid declaration. For this, initialize the FlexGrid control and bind the fetched data to FlexGrid by setting the ItemsSource property to WeatherForecast type array (forecasts).
<FlexGrid ItemsSource="forecasts"></FlexGrid>
Build and Run the Project
- Click Build | Build Solution to build the project.
- Press F5 to run the project.