Get Started With the Standalone Report Designer
The Standalone Report Designer is a cross-platform desktop application that is the primary tool for creating new or modifying report templates.
Installation
To install the Standalone Report Designer, download the package for your operating system, extract the downloaded archive, locate the installer file in the designer folder, make it executable, if necessary, and run.
Operating System | Download link | Installer file | Installer Type |
|---|---|---|---|
Windows | ActiveReportsJS-Designer.exe | ||
macOS | ActiveReportsJS-Designer.dmg | ||
Desktop Linux | ActiveReportsJS-Designer.AppImage |
Configuration
When creating reports for your application, it is important to ensure consistent report output across the standalone report designer, browsers on report readers' machines, and exported PDF documents. The best way to achieve that is to establish the proper Font Configuration.
You might also want to turn on the standalone report designer's debug mode if something goes wrong. Check the Troubleshooting page for detailed information.
In addition, you can configure the report item templates for the standalone report designer application. After the first run, the app creates the Defaults folder within the app files directory:
Windows :
%AppData%\ActiveReportsJS DesignermacOS:
~/Library/Application Support/ActiveReportsJS DesignerLinux:
~/.config/ActiveReportsJS Designer
The Defaults folder contains the following report item templates:
cplImperialTemplates.rdlx-json: Continuous Page Layout Report Items Template with imperial unitsfplImperialTemplates.rdlx-json: Fixed Page Layout Report Items Template with imperial unitscplMetricTemplates.rdlx-json: Continuous Page Layout Report Items Template with metric unitsfplMetricTemplates.rdlx-json: Fixed Page Layout Report Items Template with metric units
AI Assistance Configuration
The standalone report designer can generate report items — tables, tablixes, and charts — directly from your data using AI. Only the structure of your data — the dataset's field names and types — is sent to the AI provider; the actual data values never leave your machine. This capability is off by default and requires connecting the designer to an AI provider.
To enable it, add an ai-config.json file to the same app files directory described above:
Windows:
%AppData%\ActiveReportsJS DesignermacOS:
~/Library/Application Support/ActiveReportsJS DesignerLinux:
~/.config/ActiveReportsJS Designer
The file must contain a provider property along with the connection settings required by that provider. Supported providers are openAI, azureOpenAI, google, and ollama:
OpenAI
{
  "Provider": "OpenAI",
  "ApiKey": "9JwEkCBx...",
  "Model": "gpt-4o",
  "Timeout": "90000",
}
Azure OpenAI
{
  "Provider": "AzureOpenAI",
  "ApiKey": "9JwEkCBx...",
  "Model": "gpt-4o",
  "Timeout": "90000",
  "DeploymentName": "gpt-4o-deployment",
  "Endpoint": "..."
}
Google Gemini
{
  "Provider": "gemini",
  "ApiKey": "AQ.Ab8R...",
  "Model": "gemini-3.7-flash",
  "Timeout": "90000",
}
Ollama (local)
{
  "Provider": "ollama",
  "Model": "qwen2.5",
  "Timeout": "90000",
  "Endpoint": "http://localhost:11434",
}
apiKey and model are specific to the selected provider. Azure OpenAI additionally requires endpoint and deploymentName; Ollama runs against a local server and needs no apiKey, but requires endpoint instead.
Once ai-config.json is in place, restart the standalone report designer, and the AI-assisted actions become available in the report designer interface.
Security tip:
ai-config.jsonstores your AI provider's API key in plain text. Keep it out of source control and any location shared between users.
User Interface
The user interface of the standalone report designer consists of multiple parts.
The report designer interface to create report templates
The report viewer interface to preview report output
The
Main Menuthat includes the following items
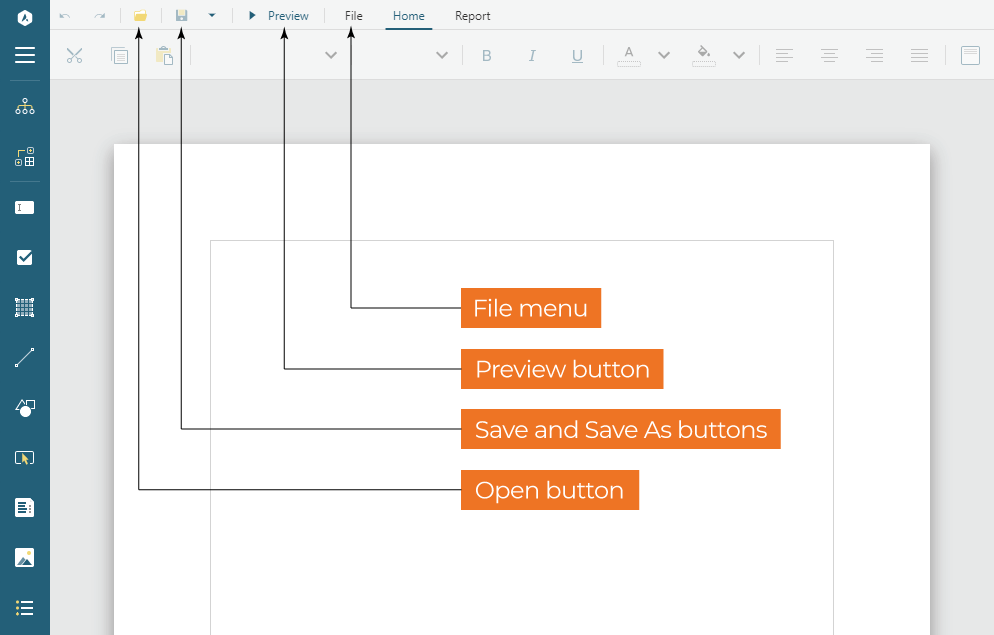
Open, Save, and Save As buttons
These buttons are shortcuts for the standard Open, Save and Save As... commands of the File menu.
Preview button
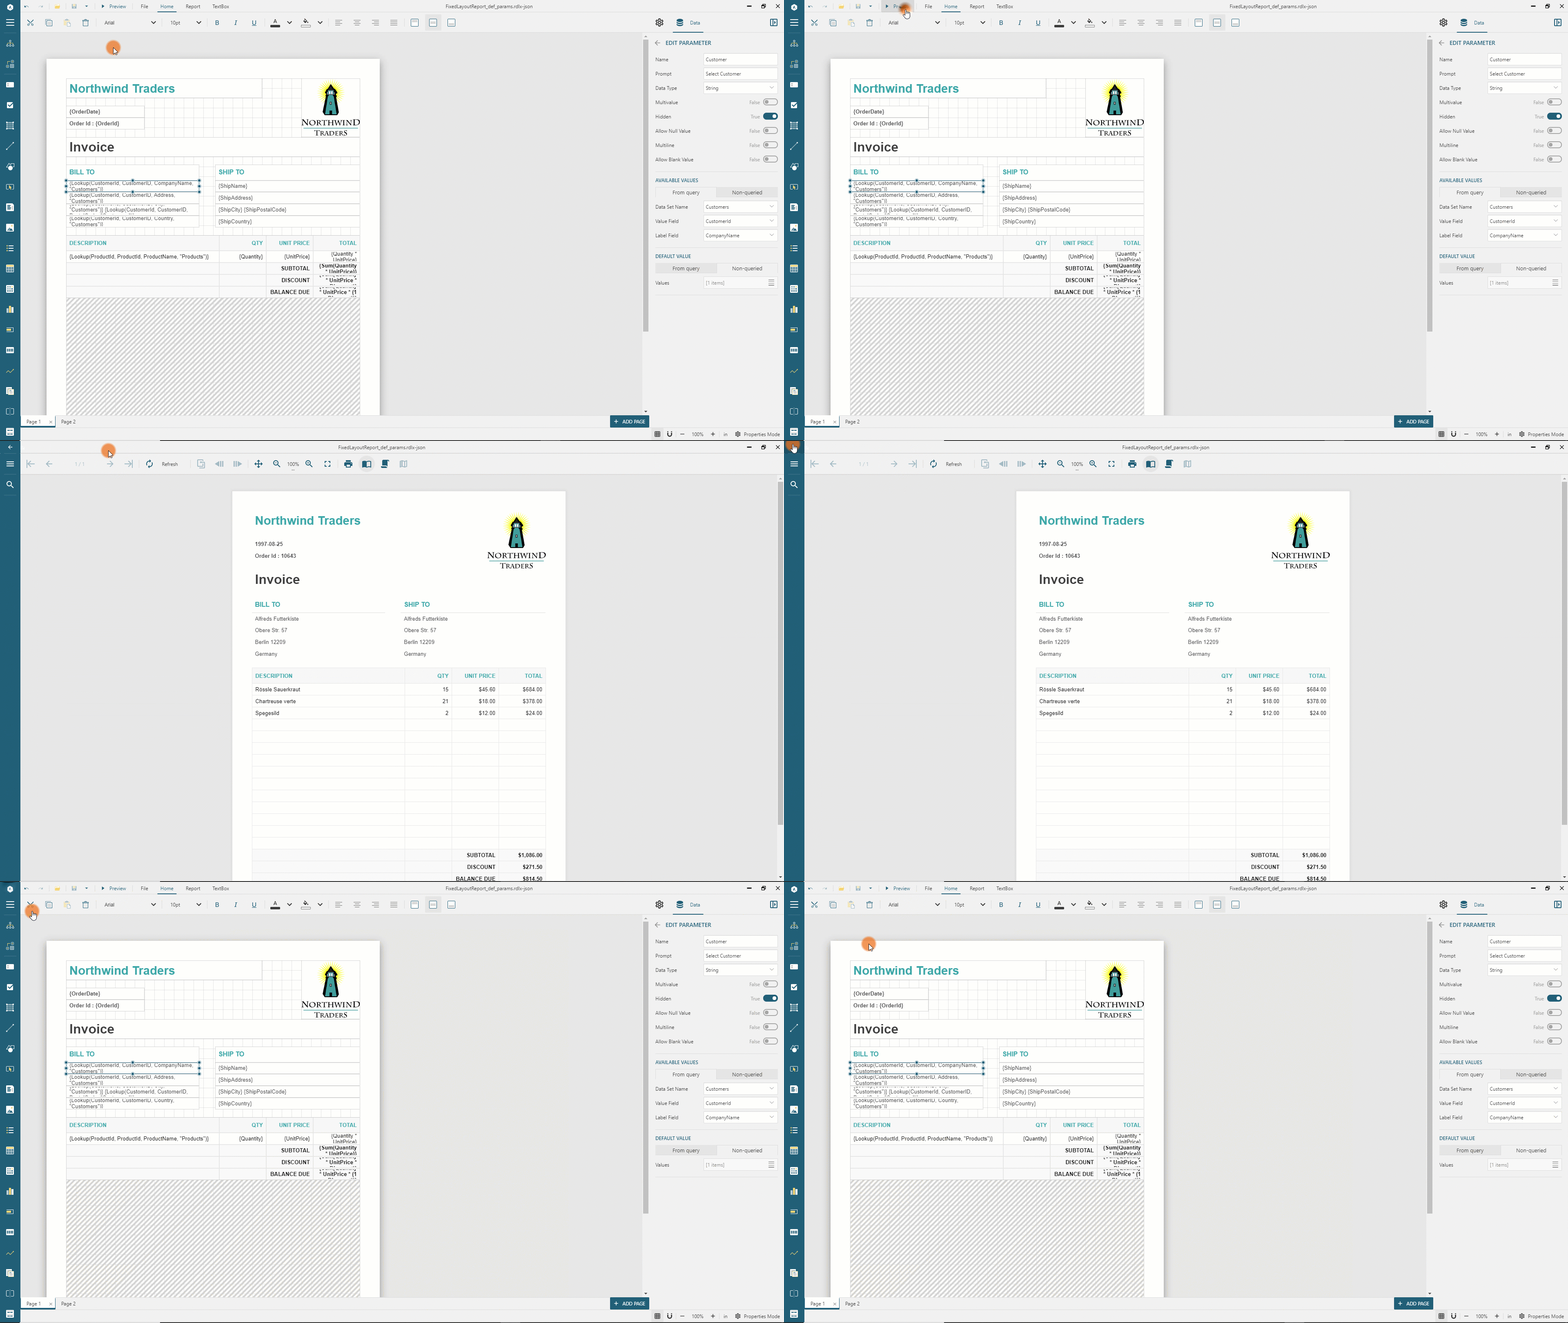
This button switches the standalone report designer to preview mode to read the report output. You can return to the design mode by clicking the Left Arrow icon located in the top-left corner. Check the Report Viewer Interface documentation to learn how to navigate a report output.
Expand to watch switching between design and preview modes in action
File Menu
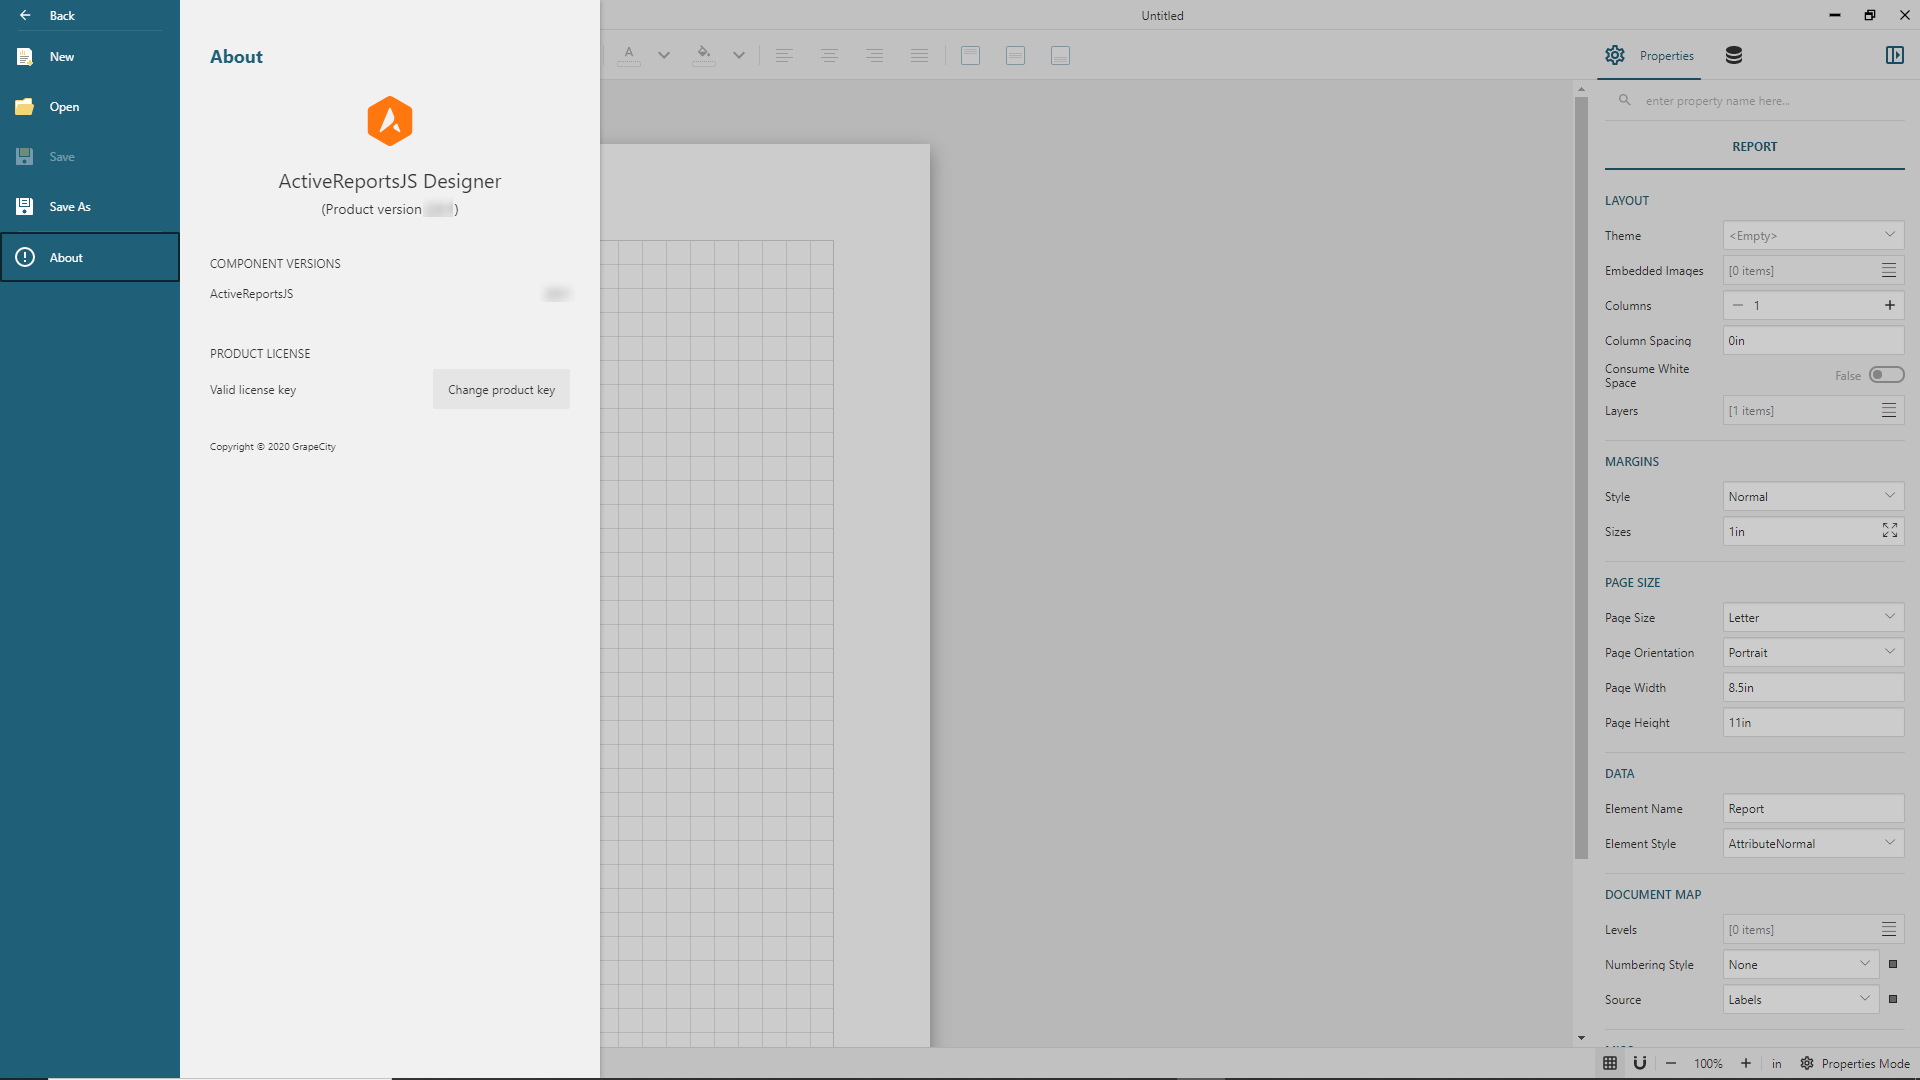
The File Menu opens the sidebar that allows you:
To create a
Newreport selecting from Continuous Layout and Fixed Layout templates.To
Openthe existing report template.To
Save[As...]the current report template.To read the information
Aboutthe product version and set the license key. See the Licensing Page for more information.