-
Spread Windows Forms Product Documentation
- Getting Started
-
Developer's Guide
- Understanding the Product
- Working with the Component
- Spreadsheet Objects
- Ribbon Control
- Sheets
- Rows and Columns
- Headers
-
Cells
- Working with the Active Cell
- Adding Hyperlink in a Cell
- Creating a Range of Cells
- Managing Data on a Sheet
- Displaying Cell Data
- Creating a Span of Cells
- Allowing Cells to Merge Automatically
- Adding a Note to a Cell
- Adding a Tag to a Cell
- Displaying Text Tips in a Cell
- Working with Cell Format Strings
- Working with Pattern and Gradient Fill Effects
- Inserting Cells
- Setting Rich Text in a Cell
- Adding a Comment to a Cell
- Adding Image in a Cell
- Formatting a Cell Value
- Cell Types
- Data Binding
- Customizing the Sheet Appearance
- Customizing Interaction in Cells
- Tables
- Pivot Table
- Understanding the Underlying Models
- Customizing Row or Column Interaction
- Formulas in Cells
- Sparklines
- Keyboard Interaction
- Events from User Actions
- File Operations
- Storing Excel Summary and View
- Printing
- Chart Control
- Enhanced Chart
- Customizing Drawing
- Touch Support with the Component
- Spread Designer Guide
- Assembly Reference
- Import and Export Reference
- Version Comparison Reference
Text to Columns
Text to Columns is used to convert simple text or sentences having multiple words into separate columns. It enables us to get the tabular structure of data using a suitable delimiter or column width option.
For example, when you want to separate a list of full names into first and last names, you can use Text to Columns feature.
Using Code
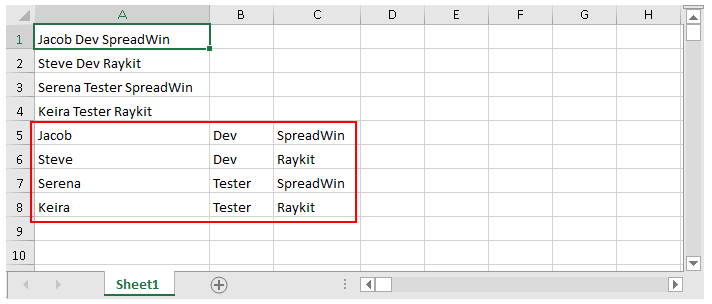
You can set the TextToColumns method from the IRange interface to parse the text from one cell or column into many columns.
IWorksheet TestActiveSheet = fpSpread1.AsWorkbook().ActiveSheet;
TestActiveSheet.Cells["A1"].Value = "Jacob Dev SpreadWin";
TestActiveSheet.Cells["A2"].Value = "Steve Dev Raykit";
TestActiveSheet.Cells["A3"].Value = "Serena Tester SpreadWin";
TestActiveSheet.Cells["A4"].Value = "Keira Tester Raykit";
TestActiveSheet.Cells["A1:A4"].TextToColumns("A5", TextParsingType.Delimited, TextQualifier.None, false, false, false, false, true);
Dim TestActiveSheet As IWorksheet = FpSpread1.AsWorkbook().ActiveSheet
TestActiveSheet.Cells("A1").Value = "Jacob Dev SpreadWin"
TestActiveSheet.Cells("A2").Value = "Steve Dev Raykit"
TestActiveSheet.Cells("A3").Value = "Serena Tester SpreadWin"
TestActiveSheet.Cells("A4").Value = "Keira Tester Raykit"
TestActiveSheet.Cells("A1:A4").TextToColumns("A5", TextParsingType.Delimited, TextQualifier.None, False, False, False, False, True)Using Runtime UI
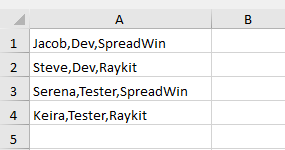
You can enable the built-in TextToColumn dialog box using BuiltInDialogs class at run-time to the end-user with the specified range.
The following code example shows how to use the runtime dialog box in a Spread worksheet:
IWorksheet TestActiveSheet = fpSpread1.AsWorkbook().ActiveSheet;
TestActiveSheet.Cells["A1"].Value = "Red,Blue,Green,Black,White,Yellow";
FarPoint.Win.Spread.Dialogs.BuiltInDialogs.TextToColumns(fpSpread1).Show(fpSpread1);
Dim TestActiveSheet As IWorksheet = FpSpread1.AsWorkbook().ActiveSheet
TestActiveSheet.Cells("A1").Value = "Red,Blue,Green,Black,White,Yellow"
FarPoint.Win.Spread.Dialogs.BuiltInDialogs.TextToColumns(fpSpread1).Show(FpSpread1)Using Spread Designer
Spread for WinForms designer provides the "Text to Columns" ribbon button in the "Data Tools" group of the "Data" tab.

Steps to Convert Text to Columns
Using Delimiters
This method splits the text using the present delimiter in a cell or range. You can define your delimiter as well. Only one character is considered a delimiter.
Follow the steps below to convert the sample text using the comma delimiter.
Select the cell or range containing text.
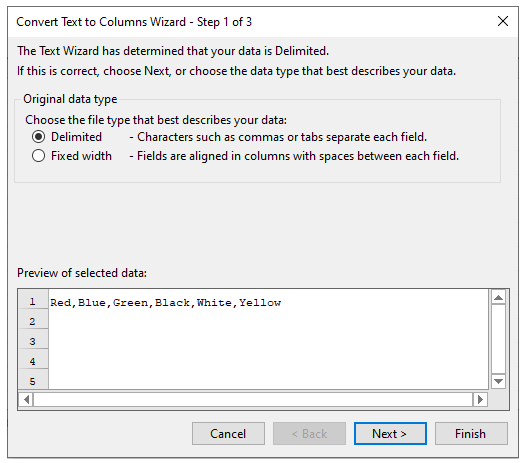
Click "Text to Columns" from the "Data Tools" group in the "Data" tab. The "Convert Text to Columns Wizard" window opens.
Select the Delimited option from the "Original data type" section.
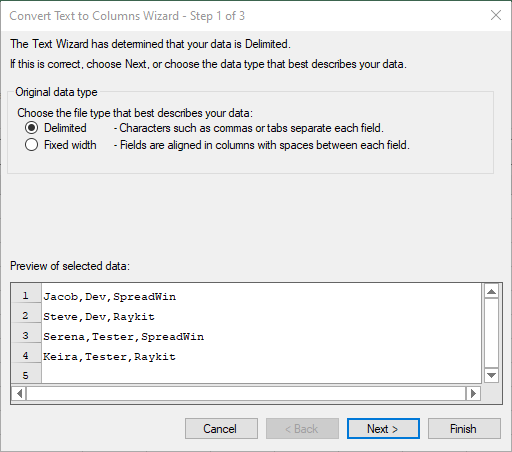
Click Next to open the "Convert Text to Columns Wizard- Step 2 for 3" window.
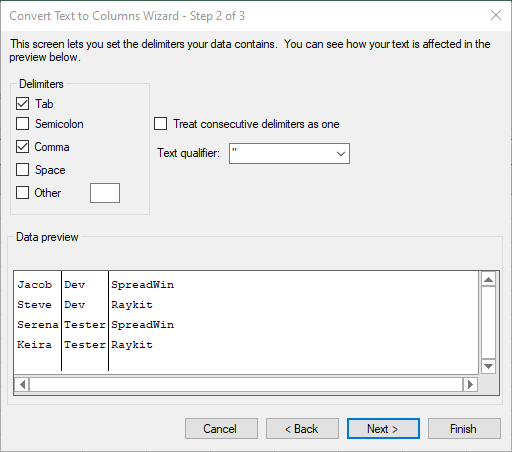
Set the delimiter from the pre defined list of delimiters or you can enter your delimiter by specifying the desired character in the "Other" option.
!type=note
Note:
The delimiter in the "" or '' will be ignored.
Check "Treat consecutive delimiters as one" option to allow if multiple characters ";;;;" are specified, they will be treated as one ";" only.
Click Next to open the "Convert Text to Columns wizard-Step 3 of 3" window. Now, set the Data format for each column.
You can select the Destination for the text. The default destination is the original cell.
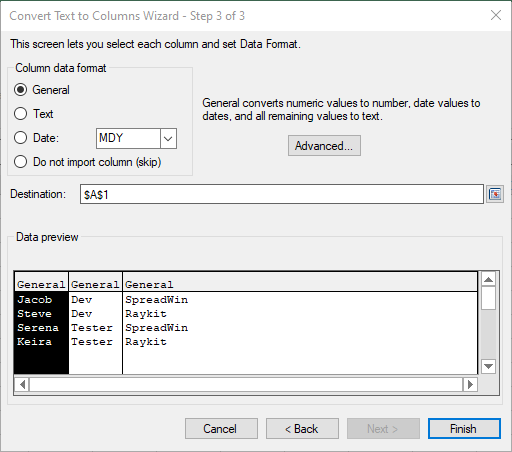
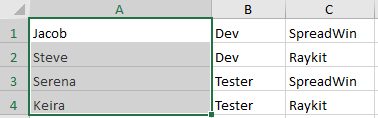
Click Finish to convert the text to the cell into columns.
Using Fixed Widths
This method splits the text using the fixed width between text. You can set column breaks to separate the text into columns.
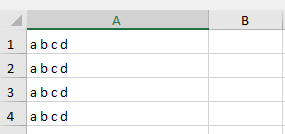
Follow the steps below to convert the sample text using the fixed width:
Select the cell or range where you want to convert the text into columns.
Click "Text to Columns" from the "Data Tools" group in the "Data" tab. The "Convert Text to Columns Wizard" window opens.
Select the Fixed width option from the "Original data type" section.
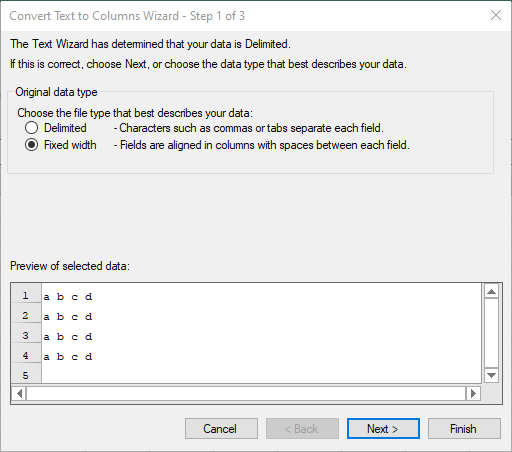
Click Next to open the "Convert Text to Columns Wizard- Step 2 for 3" window.
Create fixed-width column breaks using the instructions mentioned on the window.
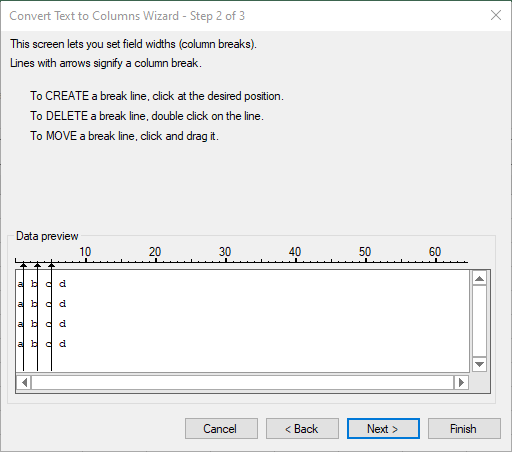
Click Next to open the "Convert Text to Columns wizard-Step 3 of 3" window.
Set the Data format for each column.
You can select the Destination for the text. The default destination is the original cell.
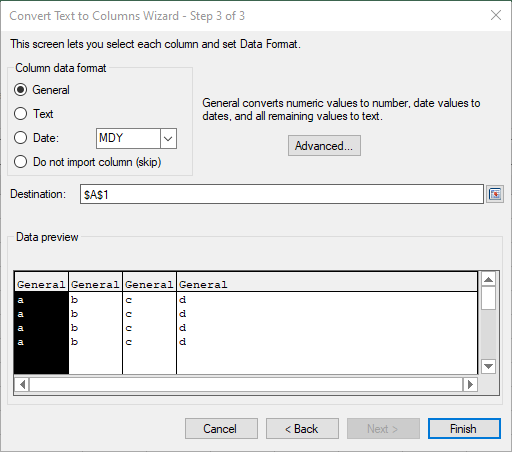
Click Finish to convert the text to the cell into columns.

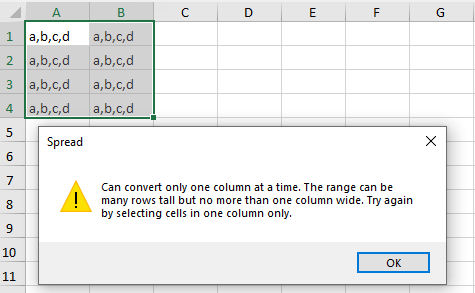
Warnings
A warning is displayed in the following scenarios:
If the selected cell or range has no data.
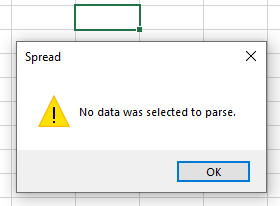
If the selection contains more than one column.