-
Spread Windows Forms Product Documentation
- Getting Started
-
Developer's Guide
- Understanding the Product
- Working with the Component
- Spreadsheet Objects
- Ribbon Control
- Sheets
- Rows and Columns
- Headers
- Cells
- Cell Types
- Data Binding
- Customizing the Sheet Appearance
- Customizing Interaction in Cells
- Tables
- Pivot Table
- Understanding the Underlying Models
- Customizing Row or Column Interaction
- Formulas in Cells
- Sparklines
- Keyboard Interaction
- Events from User Actions
- File Operations
- Storing Excel Summary and View
- Printing
- Chart Control
- Enhanced Chart
- Customizing Drawing
- Touch Support with the Component
- Spread Designer Guide
- Assembly Reference
- Import and Export Reference
- Version Comparison Reference
Saving to an Image File
You can save data in an image file by creating a bitmap instance using the SheetView.SaveImage class method. This method saves all the data in the specified cell range in an image.
Users can provide parameters such as row, column, rowcount, colcount, height, and width. A Bitmap instance is returned as output and it represents the image of the range.
The bitmap instance can be saved to an image file by using the Save method. It can also be utilized in the following ways:
- Paint as a graphic.
- Use as an image source.
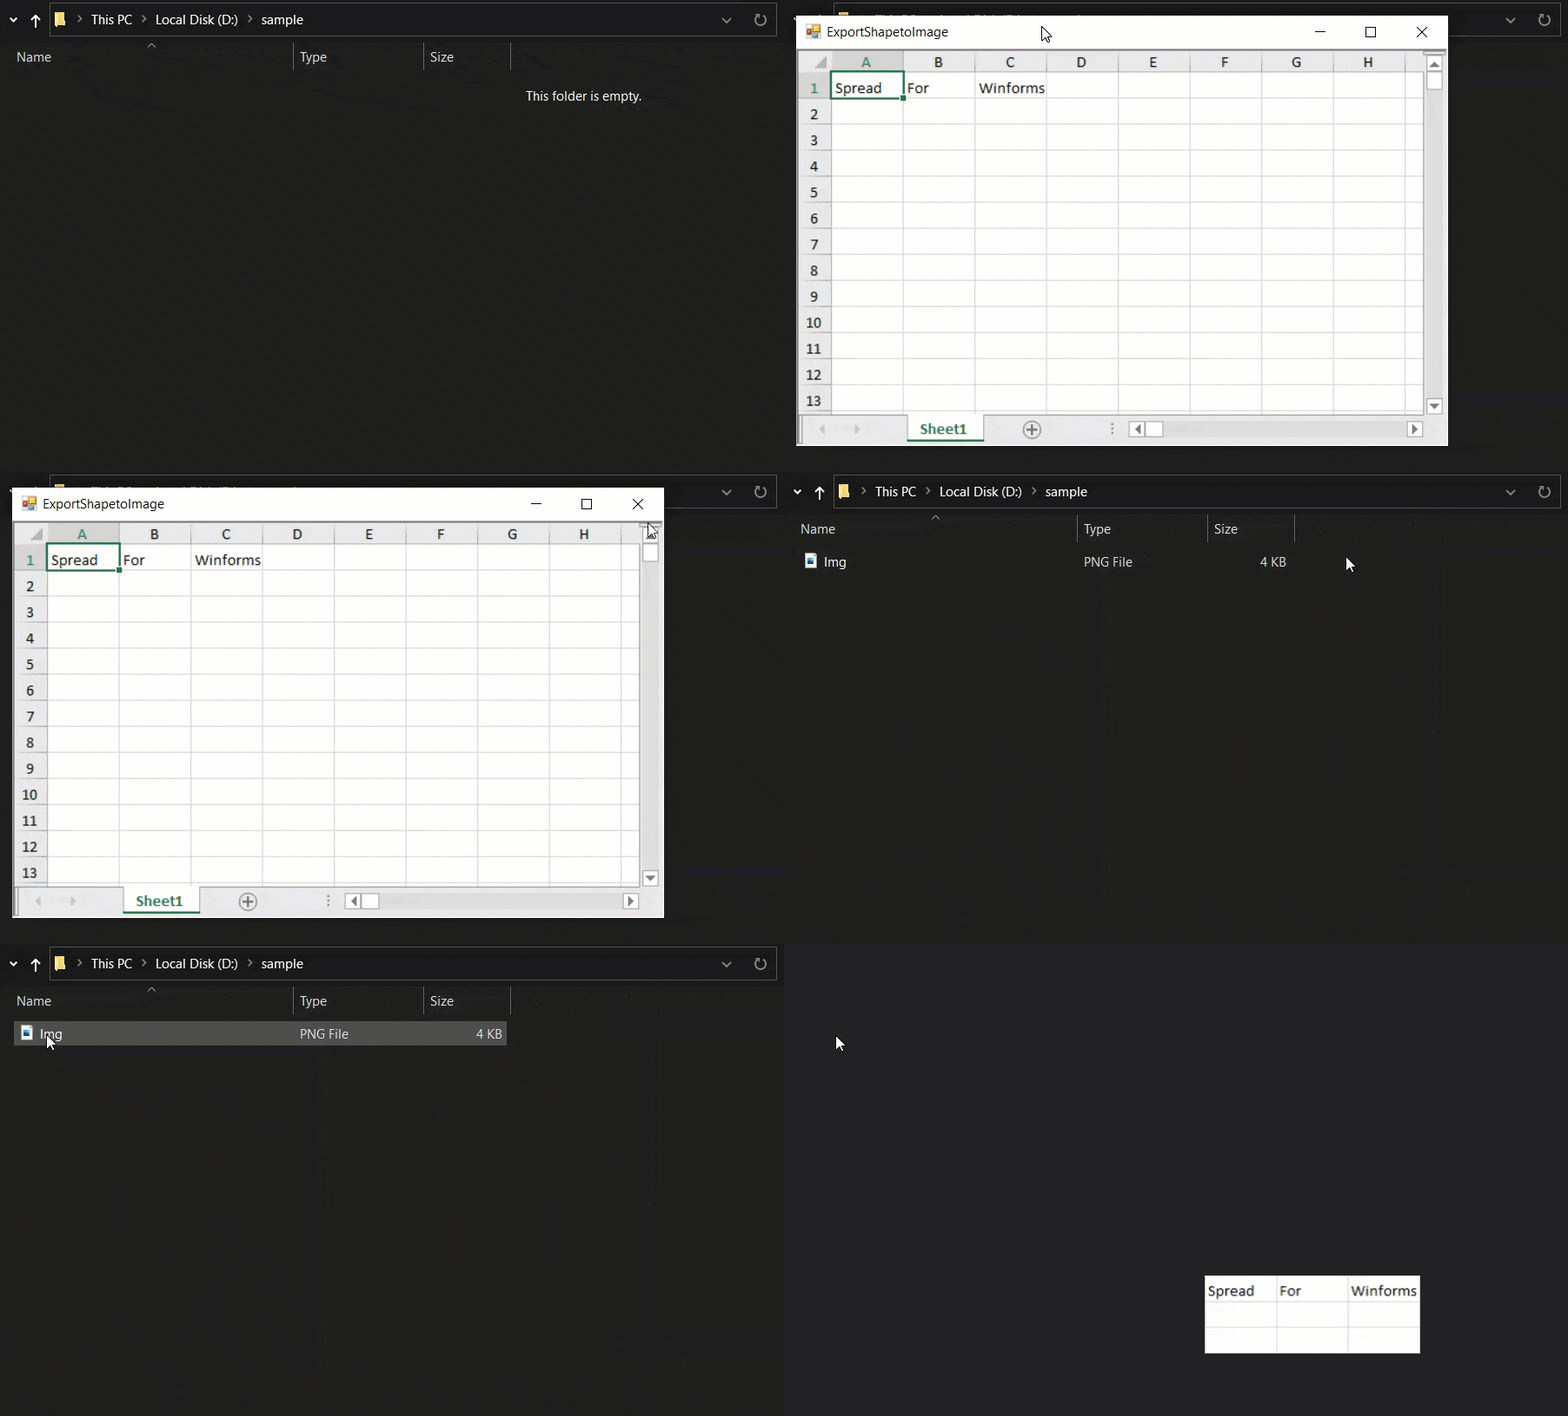
The following GIF illustrates saving a cell range to an image file.

The following code example shows how to create an image using cell ranges in a worksheet and save the image instance in an image format.
// Make sure that fpSpread1.LegacyBehaviors does not contain LegacyBehaviors.Style
fpSpread1.Features.EnhancedShapeEngine = true;

fpSpread1.Sheets[0].Cells[0, 0].Text = "Spread";
fpSpread1.Sheets[0].Cells[0, 1].Text = "For";
fpSpread1.Sheets[0].Cells[0, 2].Text = "Winforms";
fpSpread1.BorderCollapse = FarPoint.Win.Spread.BorderCollapse.Enhanced;

var bitmap = fpSpread1.ActiveSheet.SaveImage(0, 0, 3, 3);
bitmap.Save("D:\\sample\\Img.png", System.Drawing.Imaging.ImageFormat.Png);
' Make sure that fpSpread1.LegacyBehaviors does Not contain LegacyBehaviors.Style
FpSpread1.Features.EnhancedShapeEngine = True

FpSpread1.Sheets(0).Cells(0, 0).Text = "Spread"
FpSpread1.Sheets(0).Cells(0, 1).Text = "For"
FpSpread1.Sheets(0).Cells(0, 2).Text = "Winforms"
FpSpread1.BorderCollapse = FarPoint.Win.Spread.BorderCollapse.Enhanced

Dim bitmap = FpSpread1.ActiveSheet.SaveImage(0, 0, 3, 3)
bitmap.Save("D:\sample\Img.png", Imaging.ImageFormat.Png)


