
Getting Started
This guide introduces the essential Java environment setup and fundamental steps for using DsExcel Java, helping you quickly complete the initial configuration and start working with DsExcel Java.
System Requirements
To get started with DsExcel Java, ensure that your development setup includes the following:
Java Development Kit (JDK) 8.0 or higher.
Any Java Integrated Development Environment (IDE), such as IntelliJ or Eclipse.
A command-line build tool, such as Gradle or Maven.
Note:
To avoid security issues and improve JDK 8 compatibility, in DsExcel Java v6.0.0 release, we have removed support for JDK 7 and earlier versions. In order to upgrade your DsExcel Java application to JDK 8, you must remove dependency of the gcexcel.extension package and delete *.class and *.jar files related to the extension package.
The DsExcel Java version lower than v5.1.1 will not work in JDK 17 or higher.
Setting up an application
Step1: Create a Gradle or Maven project
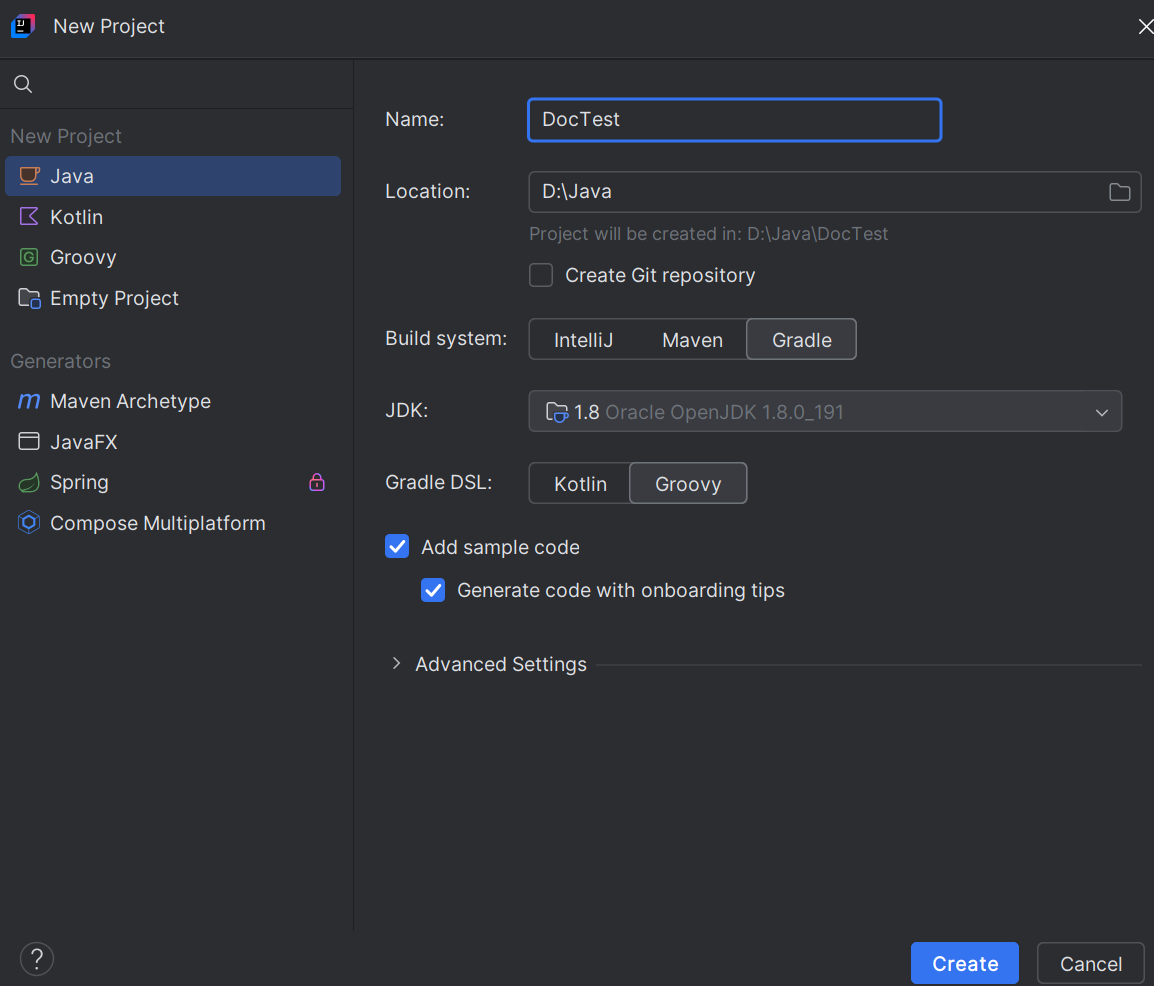
Open IntelliJ IDEA and select File > New > Project from the top menu bar.
In the New Project dialog, set the project name, choose Gradle or Maven as the build system, and then click Create.
Step2: Configure Project Dependencies
Gradle Project
Open the build.gradle file and add the following dependencies to the dependencies block. Replace x.x.x with the version number of DsExcel Java you are using.
implementation 'com.mescius.documents:dsexcel:x.x.x'
implementation 'com.mescius.documents:dsexcel:x.x.x:javadoc'
Maven Project
Open the pom.xml file and add the following dependencies under the <dependencies> section. Replace x.x.x with the version of DsExcel Java you are using.
<dependency>
   <groupId>com.mescius.documents</groupId>
   <artifactId>dsexcel</artifactId>
   <version>x.x.x</version>
</dependency>
<dependency>
    <groupId>com.mescius.documents</groupId>
    <artifactId>dsexcel</artifactId>
    <version>x.x.x</version>
    <classifier>javadoc</classifier>
    <scope>provided</scope>
</dependency>
After completing the configuration, the DsExcel Java JAR file will be automatically included as a dependency. You can then directly use all classes provided by DsExcel Java in your project. For more information about available classes, please refer to the DsExcel Dependencies.
Step3: Implement a Basic Application
Create a new
Main.javafile under your project'ssrc/main/javadirectory, and import the following namespaces.import com.grapecity.documents.excel.*; import com.grapecity.documents.excel.drawing.*;Create a new workbook and access the default worksheet.
// Create a new workbook.
Workbook workbook = new Workbook();

// Get the default worksheet.
IWorksheet worksheet = workbook.getWorksheets().get(0);

// Set the default row height and column width.
worksheet.setStandardHeight(20);
worksheet.setStandardWidth(50);
Specify the file name and path to save the workbook.
workbook.save("DsExcelDemo.xlsx");
Step4: Build and Run the Project
When you finish, build and run your project. You will notice that the DsExcelDemo.xlsx file is created at the specified location on your system.
GcExcel Upgrade to DsExcel
With v7.0.0, gcexcel.jar (GcExcel) package is renamed to dsexcel.jar (DsExcel). The namespaces and classes remain the same, which provide the same functionality and are backwards compatible, ensuring minimal impact on your existing projects. You can upgrade your project's GcExcel package to the DsExcel package as follows:
Download the installation package from the official MESCIUS website and obtain the migration tool (located at:
dsexcel-java-x.x.x/Migration_Tool).Follow the instructions provided in the tool's interface. The migration tool will automatically replace GcExcel dependencies with DsExcel dependencies in your project's
build.gradle(for Gradle) orpom.xml(for Maven).
If you have special dependencies or custom configurations, please make the necessary adjustments manually according to your project’s requirements.