- WPF RichTextBox Overview
- WPF RichTextBox Key Features
- WPF RichTextBox Quick Start
- XAML Quick Reference
- Working with WPF RichTextBox
- Working with the C1Document Object
- Working with C1RichTextBoxToolbar
- Working with C1SimplifiedRichTextBoxToolbar
- Working with RichTextBox Ribbon
- Working with RichTextBox ToolStrip
- Elements Supported in RichTextBox
- C1RichTextBox Appearance
- Spell-Checking
- Template Customization
- C1RichTextBox Samples
- C1RichTextBox Task-Based Help
Step 3: Using the Control at Runtime
In the previous steps, you created a WPF application, added the RichTextBox and RichTextBoxToolbar controls, and added spell-check functionality to the application. Run the application and try out some possible runtime interactions.
Press F5 to run the application.
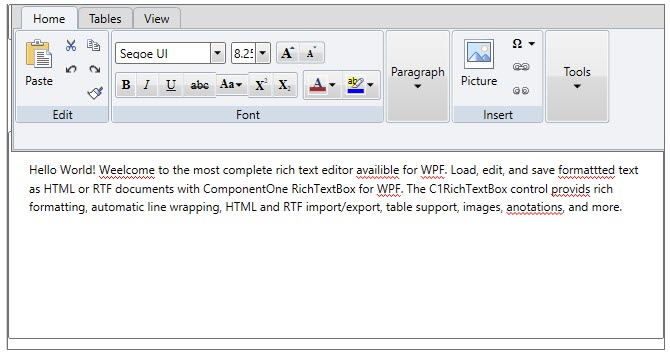
Note that as you type, spell-checking is visibly implemented as indicated by wavy red lines under words not included in the dictionary.
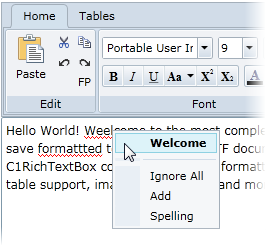
Right-click the first misspelled word, "Welcome", and from the options that appear, choose the correct spelling:
Click the Spell Check button in the Tools group. The Spelling dialog box appears
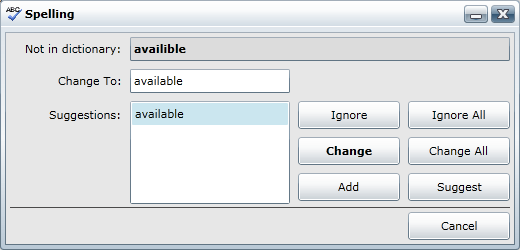
Click Change to accept the suggested spelling. The dialog box moves onto the next word.
Click Add in the Spelling dialog box to add "WPF" to the dictionary.
Click Change for each of the following words to accept the suggested spellings.
Use the mouse to highlight "ComponentOne RichTextBox for WPF" and click the Bold button in the Font group to bold the text.
Highlight "C1RichTextBox" and click the Hyperlink button in the Insert group to open the Insert Hyperlink dialog box.
In the URL box of the Insert Hyperlink dialog box, enter https://developer.mescius.com and click OK to close the dialog box. The link will be added.
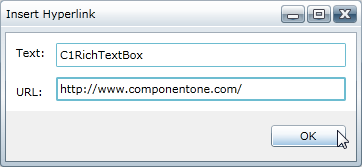
The text gets linked to the ComponentOne website.
Highlight the "Hello World!" text and click the Font Color drop-down box in the Font group and choose Red to turn the text red.
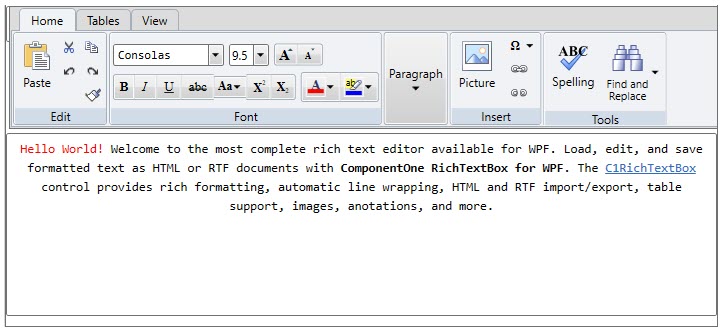
Highlight the entire paragraph and click the Align Text Center button in the Paragraph group to align the text. The application will now appear similar to the following:
What You've Accomplished
Congratulations, you successfully completed this Quick Start tutorial! You learned about using the RichTextBox and RichTextBoxToolbar controls, and also viewed some possible run-time interactions.


