QuickStart
This quick start guide familiarizes you with some of the features of Map control. In this section, you will learn to create a new WinForms application in Visual Studio, add the Map control, add vector data to it and run the application.

Complete the steps given below to see how the Map control appears after data binding and setting the properties.
Create an Application with Map Control
- Create a new Windows Forms Application.
- Add C1.Win.Map assembly package using Manage NuGet Packages option.
- Add the Map control to the form in your application from Toolbox.
- Set the Dock property of Map control to Fill.
Add Vector Data to Map
Add the following namespaces in code view:
using C1.FlexMap;
using C1.Win.Map;
Use the following code to display map in the Map control and add vector layer to it:
//set the source property
c1Map1.TileLayer.TileSource = new VirtualEarthRoadSource();
//create a vector layer and add it to the map
C1.Win.Map.VectorLayer layer = new C1.Win.Map.VectorLayer();
c1Map1.Layers.Add(layer);
type=note
Note: Maps for WinForms also support Bing Rest Api. To use the Api you need to pass Bing Maps key to VirtualEarthSource constructor, as shown below:
c1Map1.TileLayer.TileSource = new VirtualEarthHybridSource("Bing_maps_key");Add a vector placemark element to the layer using VectorPlacemark class and customize the element using the following code:
//Create a vector placemark and add it to the layer
C1.Win.Map.VectorPlacemark vpl = new C1.Win.Map.VectorPlacemark();
layer.Items.Add(vpl);
//customize the vector placemark
vpl.Style.BackColor = Color.Aqua;
vpl.Marker.Shape = MarkerShape.Diamond;
vpl.Marker.Size = new SizeF(10, 10);
//set the geometry shape for vector placemark
vpl.Geometry = new GeoPoint(75, 25);
You can add any other vector elements such as, VectorPolyline and/or VectorPolygon to the map according to your requirements.
Run the Application
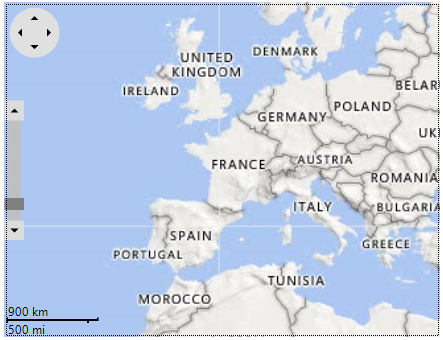
Press F5 to run the application and observe how the Map control appears with the placemark vector added to it.
In addition to adding placemarks, you can add various types of vector data on a map. Map also allows you to add markers on a map, customize them, and add image as markers as well, and add legends. For more information on further information, see Markers.


