View Mode
There are two view modes in FlexReportDesigner application to view reports, namely Design and Preview. Let us discuss these view modes in detail in the following sections.
Preview Mode
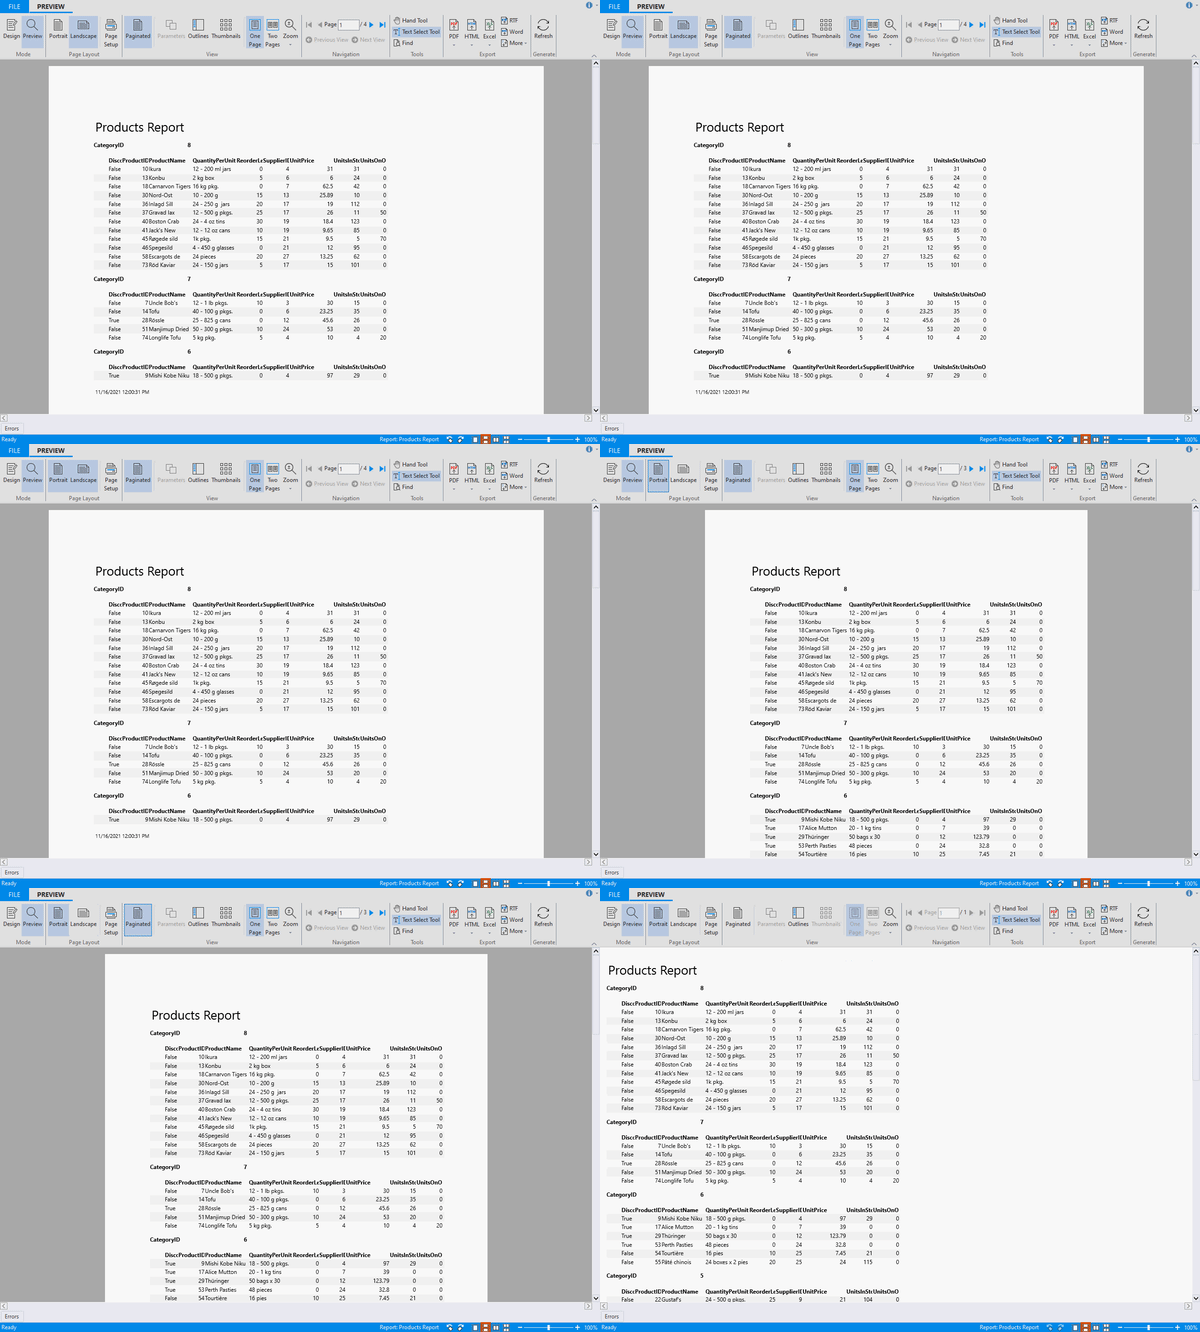
The Preview mode displays the preview of the current report opened in the FlexReportDesigner application. You can switch to preview mode by clicking the Preview toggle button in the Mode group, which is common for all the tabs. The preview mode lets you view the report divided into various pages and richly populated with data. You can scroll up and down the entire report pages using the scrollbars or Hand Tool (which appears in the selected state by default in the preview mode).
The GIF below depicts all the major tasks performed in the Preview mode using the commands in the different groups of Preview tab.

The ribbon on the Preview mode consists of the following items:
Page Layout group: It consists of the following options:
- Portrait: Changes the layout of your report to Portrait view (where the height is longer than the width).
- Landscape: Changes the layout of your report to Landscape view (where the height is shorter than the width).
- Page Setup: Opens the printer's Page Setup dialog box.
View group: It consists of the following options:
- Paginated: Lets you switch between paginated and non-paginated views of the report.
- Parameters: Shows or hides report parameter panel. It is enabled only if the report contains parameters.
- Outlines: Displays a text outline of the document.
- Thumbnails: Lets you switch between normal and thumbnail view.
- One page: Allows you to preview one page at a time.
- Two pages: Allows you to preview two pages at a time.
- Zoom: Zooms the page to a specific percent. The shortcut key for zooming in is Ctrl+Plus and for zooming out is 'Ctrl+Minus'.
Navigation group: It consists of the following options:
- First Page: Navigates to the first page of the preview.
- Previous Page: Navigates to the previous page of the preview.
- Page: Entering a number in this textbox navigates the preview to that page.
- Next Page: Navigates to the next page of the preview.
- Last Page: Navigates to the last page of the preview.
- Previous View: Returns to the last page viewed.
- Next View: Moves to the next page viewed. This is only visible after the Previous View button is clicked.
Tools group: It consists of the following options:
- Hand Tool: The Hand Tool allows you to scroll through the report pages. When you switch from Design to Preview mode, you can see the Hand Tool in the selected state by default.
- Text Select Tool: The Text Select Tool allows you to select text through a drag-and-drop operation. You can then copy and paste this text to another application.
- Find: Clicking the Find option opens a textbox at the bottom where you can search for text in the document.
Export group: Each item in the Export group opens the Export Report to File dialog box where you can choose a location for your exported file. The Export group consists of the following options:
- PDF: Exports the report to a PDF file. The drop-down arrow includes options for PDF with non-embedded (linked) fonts and PDF /A (embedded fonts) to choose if you want to use system fronts or embed your chosen fonts in the PDF file.
- HTML: Exports the report to an HTML file. You can then copy and paste this text to another application. The drop-down arrow includes options for Plain HTML, Paged HTML, and Drilldown HTML, and Table-based HTML allowing you to choose if you want to export to a plain HTML file, multiple HTML files that can be paged using included arrow links.
- Excel: Exports the report to a Microsoft Excel file. The drop-down arrow includes options for Microsoft Excel 97 and Microsoft Excel 2007 - OpenXML allowing you to choose if you want to save the document as an XLS or XLSX file.
- RTF: Exports the report to a Rich Text File (RTF).
- Word: Exports the report to Open XML Word (DOCX) format.
- More: Clicking the More drop-down arrow includes additional options to export the report including: Tagged Image File Format (export as TIFF), Compressed Metafiles (export as ZIP), BMP (Bitmap Images), PNG(Portable Network Graphic), JPEG or GIF.
Generate group:
It consists of the Refresh button. Clicking Refresh regenerates the current report. This button changes to Stop while the report is regenerating, so you can also stop regenerating the report.
Design Mode
In Design mode, sections and fields of the selected report are displayed. This is the main working area of the designer where reports can be created or modified. The ribbon on the Design mode consists of the following tabs:
- Home tab: Provides shortcuts to the Edit, Text, Border, Format, Data, and View menu functions. See Home Tab for more information.
- Insert tab: Provides shortcuts to various fields such as Arrow, Calculated, and Chart. See Insert Tab for more information.
- Arrange tab: Provides shortcuts to Grid, Alignment, Position, and Size menu functions. See Arrange Tab for more information.
- Page Setup tab: Provides shortcuts to Page Layout menu functions. See Page Setup Tab for more information.


