
Customization
The ActiveReportsJS API allows you to fully customize the default user interface of the Report Viewer’s toolbar and sidebar. This page describes several approaches for tailoring these components to fit your specific application requirements.
Setting the toolbar layout
The ActiveReportsJS Report Viewer provides three built-in toolbar layouts, which automatically switch based on the Viewer state or device type:
Layout | Description |
|---|---|
default | Default toolbar layout used in standard view |
fullscreen | Displayed when the Report Viewer is in full-screen mode |
mobile | Activated on narrow screens (for mobile devices) |
Each layout contains a predefined set of toolbar items:
Internal ID | Description |
|---|---|
$navigation | Navigation controls: go to first page, previous page, page number/total, next page, and last page |
$split | Separator line |
$refresh | Refresh report |
$history | Navigation history controls: go to parent report, back, forward |
$zoom | Zoom mode drop-down |
$fullscreen | Toggle full-screen mode |
Print report | |
$singlepagemode | Switch to single-page view |
$continuousmode | Switch to continuous page view |
$galleymode | Switch to galley (unpaginated) view |
$theme | Theme selection drop-down |
You can use the updateLayout method to redefine which items are displayed in each layout mode.
For example, the following React sample configures the toolbar to:
Default layout– show Zoom, Full-Screen Toggle, and Print buttonsFullscreen layout– show Full-Screen Toggle and Print buttonsMobile layout– show only Navigation controls
import { Viewer } from "@mescius/activereportsjs-react";

const ViewerApp: React.FC = () => {
  const viewerRef = React.useRef < Viewer > null;

  React.useEffect(() => {
    const viewerInstance = viewerRef.current?.Viewer;
    viewerInstance?.toolbar.updateLayout({
      default: ["$zoom", "$split", "$fullscreen", "$split", "$print"],
      fullscreen: ["$fullscreen", "$split", "$print"],
      mobile: ["$navigation"],
    });
  }, []);
  return (
    <div id="viewer-host">
      <Viewer
        ref={viewerRef}
        report={{ Uri: "/reports/Customers.rdlx-json" }}
      />
    </div>
  );
};
You can explore complete examples for React, Angular, Vue, and pure JavaScript applications in the online demo
Adding, removing, and updating toolbar items
You can use the addItem to add new buttons or drop-downs to the toolbar items collection. Code samples for both item types are available in this online demo.
Note: After adding new items, make sure to call the updateLayout method to define where these new elements appear in the toolbar.
You can remove items using the removeItem method. This method can also remove the following pre-built items: $print, $singlepagemode, $continuousmode, $galleymode.
To modify the behavior or appearance of an existing item, use the updateItem. This method works for custom items added in your application’s code and for the following built-in items: $print, $singlepagemode, $continuousmode, $galleymode.
The example below updates the behavior of the Print button so that it sends a Google Analytics event when clicked:
import { Viewer } from "@mescius/activereportsjs-react";

const ViewerApp: React.FC = () => {
  const viewerRef = React.useRef < Viewer > null;

  React.useEffect(() => {
    const viewerInstance = viewerRef.current?.Viewer;
    viewerInstance?.toolbar.updateItem("$print", {
      action: function () {
        ga("send", {
          hitType: "event",
          eventCategory: "action",
          eventAction: "print",
          eventLabel: "report",
        });
        viewerInstance.print();
      },
    });
  }, []);
  return (
    <div id="viewer-host">
      <Viewer
        ref={viewerRef}
        report={{ Uri: "/reports/Customers.rdlx-json" }}
      />
    </div>
  );
};
Configuring the Panels Layout
The PanelsLayout property — available in the React, Angular, and Vue wrappers, as well as in the options object passed to the Report Viewer constructor, controls the position of the Search, Export, Document Map, and Parameters panels.
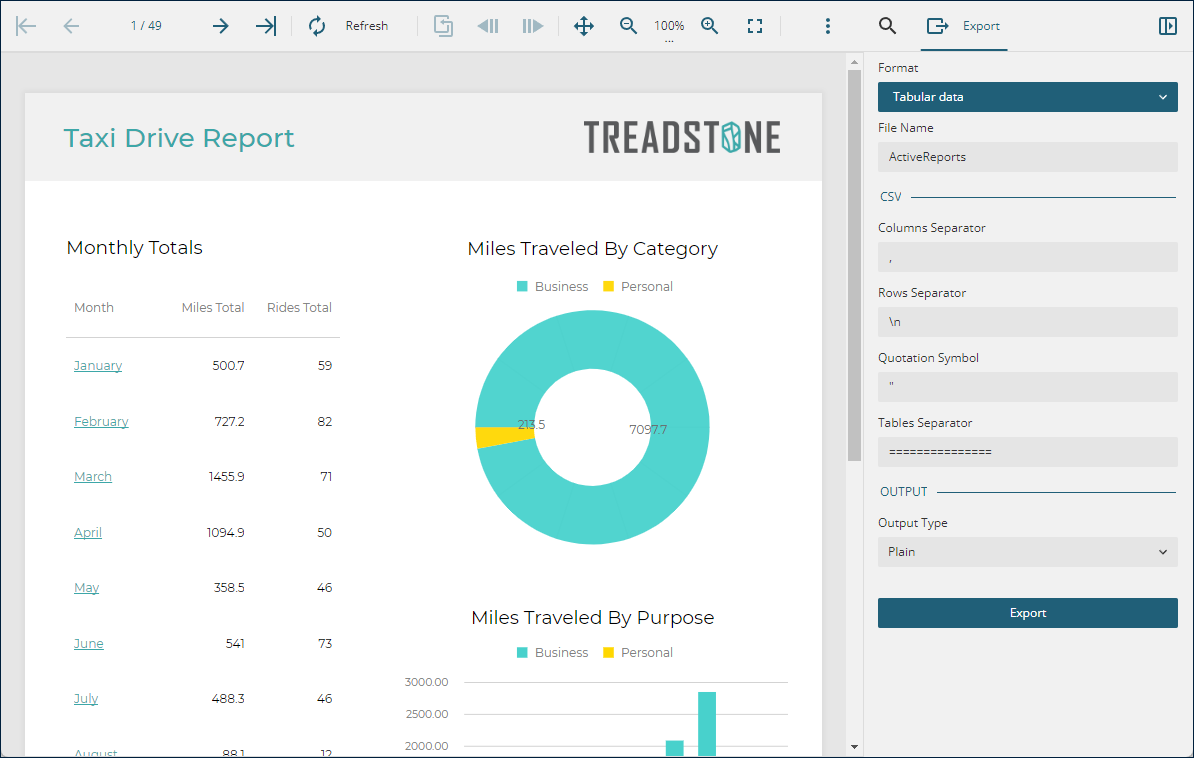
By default, these panels and their corresponding toolbar buttons appear on the left side of the Viewer interface.To move them to the right side, set the PanelsLayout property to "sidebar".This configuration moves both the panels and their open buttons to the right:
Configuring the Parameters Panel Location
You can control the position of the Parameters Panel using the ParameterPanelLocation property.This property is available in the React, Angular, and Vue wrappers.In a pure JavaScript application, you can set it via the options object passed to the Viewer constructor.
The ParameterPanelLocation property accepts the following values:
auto– If the report uses a Custom Parameters View, the Parameters Panel appears at the top of the Viewer. Otherwise, it appears on the left side.default– The Parameters Panel is displayed on either the left or right side of the Viewer, depending on thePanelsLayoutsetting described above.top– The Parameters Panel is fixed at the top of the Viewer.bottom– The Parameters Panel is fixed at the bottom of the Viewer.
Replacing the Toolbar and Sidebar
You can use the toolbarVisible and sidebarVisible properties of the Viewer component to hide the default toolbar and sidebar.These properties are available in the React, Angular, and Vue wrappers.
This approach is useful when you want to replace the built-in Viewer interface with a custom UI that calls Viewer functions through its public API.