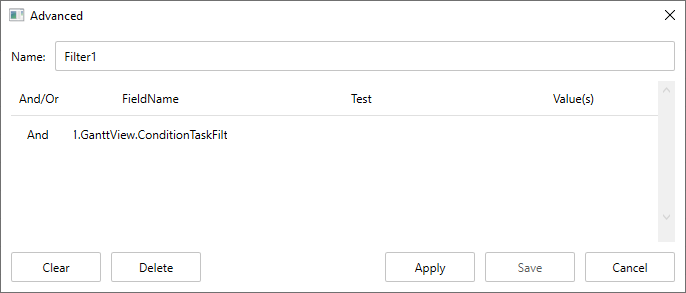
Besides the default filtering options that you get on the toolbar, the GanttView control also enables users create custom filters to suit their business needs. To achieve this, the control provides Advanced filter dialog, which is available under the Filter button on the toolbar. You can create your own filters by specifying fields in the FieldName and test condition in the Test field.
The following image shows how the Advanced filter dialog appears.

The C1GanttView class library includes various classes that can be used to create custom filters in code. For example, you can use the LateTasksFilter class to filter late tasks, or use ConditionTaskFilter and AdvancedFilter classes to filter tasks scheduled within a specific date range. Complete the following steps to create such filters in code. The following code example uses the sample created in the Quick Start section.
| XAML |
Copy Code
|
|---|---|
<Button Content="Filter Tasks by Date" Width="110" /> <Button Content="Filter Late Tasks" Width="114"/> |
|
| XAML |
Copy Code
|
|---|---|
<Button Content="Filter Tasks by Date" Width="110" Click="Button1_Click" /> <Button Content="Filter Late Tasks" Width="114" Click=Button2_Click"/> |
|
The above code filters tasks starting on 8-April-2016 and finishing before or on 10-May-2016.
The above code filters tasks whose start date is 10-May-2016 or beyond.
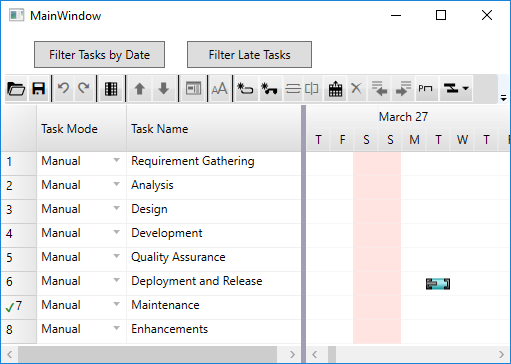
Press F5 to run the application to see how the custom filter buttons get displayed in the output.

On clicking the Filter Tasks by Date button, the GanttView displays tasks starting on 8-April-2016 and finishing before or on 10-May-2016, while on clicking the Filter Late Tasks, tasks with start date 10-May-2016 or beyond get displayed.