
- Gauges for WinForms Overview
- Key Features
- Gauges for WinForms Quick Start
- Gauges for WinForms Components
- Design-Time Support
- Working with Gauges for WinForms
- Gauges for WinForms Appearance
- Gauges for WinForms Samples
- Gauges for WinForms Task-Based Help
Adding Tick Marks
In this example, we'll add tick marks to our gauge.
- Click the ellipsis button next to the Gauges property in the Properties window. The C1Gauge.Gauges Collection Editor dialog box opens.
- Click the ellipsis button next to Decorators. The Decorators Collection Editor opens.
- From the Decorators Collection Editor, drop-down the Add button and select C1GaugeMarks. These will be our major tick marks that display at every 10th interval.
- Set the Interval property to 10. You will notice the tick marks appear.
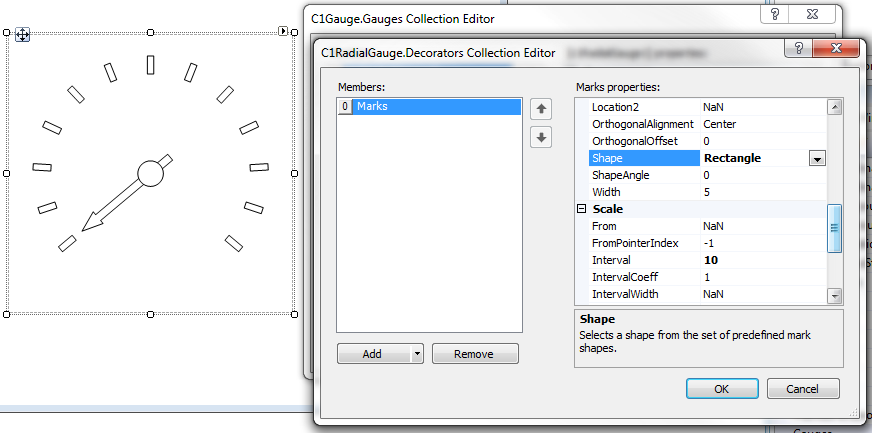
- By default, the marks have a round shape. Let’s make these rectangular by changing the Shape property to Rectangle.
- Under Appearance, expand Filling and set the Color property to DarkGray. Then remove the border by expanding Border and setting the LineStyle property to None.
- To add minor tick marks, add another C1GaugeMarks item in the Decorators Collection Editor. For these, set the Interval to 2.5 so we get three minor ticks between each major mark.
- We’ll keep these marks round in shape, but let’s make them shorter by setting the Length property to 5 (to match the Width property, which is also 5).
- Expand Filling and set the Color property to DarkGray. Then remove the border by expanding Border and setting the LineStyle property to None.
