
Adding a Glass Effect
In addition to the FaceShapes collection, each gauge in C1Gauge has a CoverShapes collection. The only difference is that the CoverShapes items draw on top of all gauge elements.
To create a glassing effect, we will add a semi-transparent segment.
- Click the ellipsis button next to the Gauges property in the Properties window. The C1Gauge.Gauges Collection Editor dialog box opens.
- Click the ellipsis button next to CoverShapes. The CoverShapes Collection Editor opens.
- Click the Add drop-down arrow and select C1GaugeSegment.
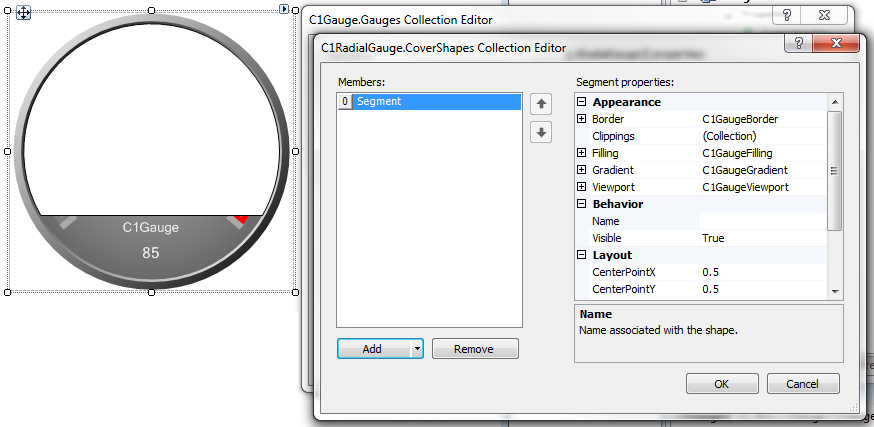
- Remove the border of the Segment by expanding Border and setting LineStyle to None.
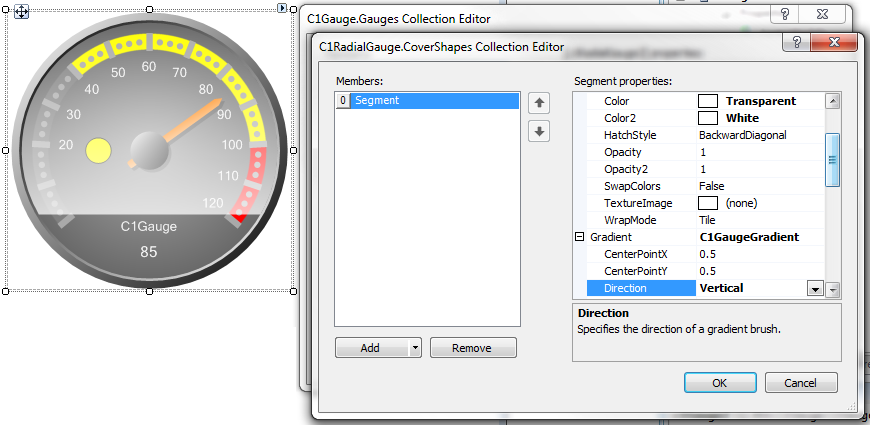
- Expand Filling and set the BrushType property to Gradient. Set Color to Transparent and Color2 to White.
- Expand Gradient and set Direction to Vertical. This will give you a semi-transparent fill on top of the gauge.
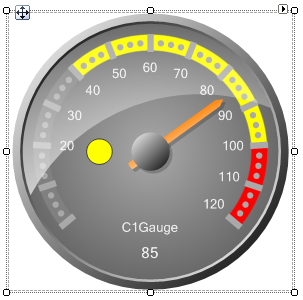
- Finally, to create an arc to simulate a real glass-looking gauge, we need to set a few angle properties. Set the StartAngle to -110, the SweepAngle to 180 and set the InnerRadius property to 150. This will give us the desired glassing effect.
To achieve glassing effects for non-circular shapes, we can take advantage of the Clippings collections.