Using the Alert Dialog Option
In This Topic
To create a Modal Alert dialog box, complete the following:
-
Create an ASP.NET Web application.
-
Add a standard Panel control to the main content of your page.
-
Insert the following markup within the Panel markup to create the dialog window:
<div>
<div id="dialog-message" title="Download complete">
<p>
<span class="ui-icon ui-icon-circle-check"></span>Your files have uploaded successfully!
</p>
</div>
</div>
-
Click the Panel smart tag and select Add Extender from the Tasks menu.
-
In the Extender Wizard, select C1DialogExtender and click OK. A C1DialogExtender control is added to the page and the TargetControlID is set to Panel1.
- Select View | Properties Window in the Visual Studio menu.
- Click the drop-down list at the top of the Properties window and select Panel1_C1DialogExtender.
- Set the C1DialogExtender.Modal property to True.
- Set the C1DialogExtender.Title property to Download complete. Your markup should look similar to this:
<cc1:C1DialogExtender ID="Panel1_C1DialogExtender" runat="server"
CloseOnEscape="False" Show="blind" TargetControlID="Panel1" Modal="True" Title="Download complete">
</cc1:C1DialogExtender>
-
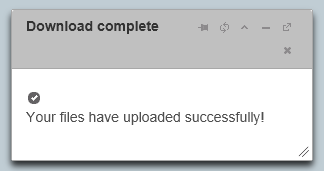
Run your application to see the Alert Window. It should resemble the following image: