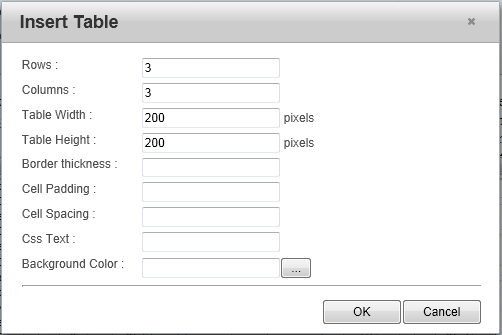
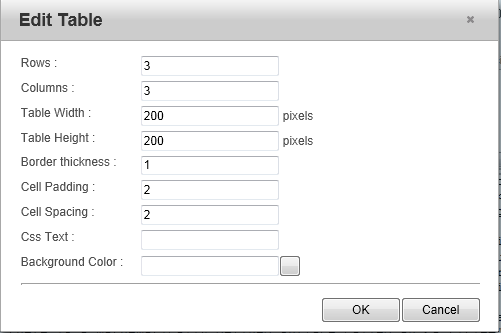
The Insert Table and Edit Table dialog boxes are nearly identical in appearance, but the function of each dialog box is slightly different. The Insert Table dialog box adds a table to a document, whereas the Edit Table dialog box can only be used to edit a pre-existing table. Each dialog box holds the same input fields, each of which provides the ability to adjust the attributes of a table without using code.
To open the Insert Table dialog box, click the Insert tab, click the Table drop-down arrow, and then click Insert. The Insert Table dialog box opens and looks like the following image:

To open the Edit Table dialog box, click the Insert tab, select the table, click the Table drop-down arrow, and then click Edit. The Edit Table dialog box opens with the selected table's current specifications already listed in the input fields, such as in the following image:

The following table outlines the fields of the Insert Table and Edit Table dialog boxes:
| Field | Description |
|---|---|
| Rows | The number of rows in the table. |
| Columns | The number of columns in the table. |
| Table Width | The width of the table in pixels. |
| Table Height | The height of the table in pixels. |
| Border thickness | Specifies the thickness of the table border. |
| Cell Padding | The amount of space, in pixels, between the border of each cell and that cell's content. |
| Cell Spacing | The amount of space, in pixels, between the cells and the table. |
| Css Text | The CSS style associated with the table. |
| Background Color | The background color of the table. This color can be typed in manually or chosen from a dialog box. To open the dialog box, click the ellipsis button. |