# Spread for WinForms Installation
undefined
## Content
## Notes for Users of Previous Versions
* If you are upgrading from previous versions of Spread for WinForms, you have the choice of installing parallel versions of the product.
* If you want to have parallel installations of Spread for WinForms on your system, follow the installation instructions below.
* If you do not want to have parallel installations, before installing this latest version of the product, run the uninstall program for your previous versions of the product, then run the installation for this version of the product.
* For instructions for upgrading your existing projects, see [Upgrading Visual Studio .NET Projects](/spreadnet/docs/latest/readme/installation/installSpWin/upgrade).
## Install Instructions
To install Spread for WinForms,
1. Run the Spread.NET Installer.exe program.
2. Select **Options**.
3. Accept or change the installation location in the **General** tab.
4. Close the **Options** dialog.
5. Read and accept the **End User License Agreement**.
6. Select the components to install and then select **Install**.
## Offline Install Instructions
To install Spread for WinForms in offline mode,
1. Save the downloaded ZIP file to a temporary directory on your system, and then unzip the files to C:\\Users\\your user name\\AppData\\Local\\GcInstaller\\Offline.
2. Run GcInstaller.exe.
3. Select **Options**.
4. If **Offline** is not selected by default, select the **Mode** tab and change the mode to **Offline**.
5. Accept or change the installation location in the **General** tab.
6. Close the **Options** dialog.
7. Read and accept the **End User License Agreement**.
8. Select the components to install and then select **Install**.
>type=note
> **Notes:**
>
> * Near the end of the installation, the help file is installed on your system and registered. This process can take some time, and you might think that your system has stopped, but do not interrupt the installation process.
> * If you experience issues installing under Microsoft Windows Vista, you may need to install as the administrator. If you are still unable to install, try disabling your User Account Control (UAC) and then reactivate after installing.
> * Spread for WinForms: Microsoft has informed component vendors that MSN Messenger can lock the GAC, which stops the installation from removing older assemblies from the GAC. For more information, refer to [Removing Assemblies from the GAC](/spreadnet/docs/latest/readme/installation/installSpWin/removeGAC).
## Install SA3 Client
SA3 provides new client tools to manage licenses for components products. Starting from v19.0, Spread Windows Forms will use the SA3 Client Tool to activate or deactivate the product.
| **Tool Name** | Supported Platforms | Requirements | **How to Get** |
| --------- | ------------------- | ------------ | ---------- |
| sa3client | Windows 10/11, Linux, MacOS | .NET 6, .NET 8, .NET 10 (requires .NET SDK) | - Run `dotnet tool install -g sa3client`
- Download at [sa3client](https://www.nuget.org/packages/sa3client "https://www.nuget.org/packages/sa3client")
|
| sa3client-ui.exe | Windows 10/11 | .NET 6, .NET 8, .NET 10 (requires .NET SDK) | - Run sa3client one time and will be installed at `%ProgramData%\SA3`
|
| sa3client.exe | Windows 7 | .NET Framework 4.6.2 | - Installed at `%ProgramData%\SA3\Desktop` by installer
|
| sa3client-ui.exe | Windows 7 | .NET Framework 4.6.2 | - Installed at `%ProgramData%\SA3\Desktop` by installer
|
#### Installation via Installer
The .NET Framework edition of the SA3 Client tool will be automatically installed to `%ProgramData%\SA3\Desktop` along with the Spread.NET installer.
#### Installation via NuGet.org
The .NET edition of the SA3 Client tool will be automatically installed to `%ProgramData%\SA3` along with the Spread.NET NuGet package.
You can run `sa3client --help` to view the general help, or `sa3client --help` to get help for specific commands.
## Online Activation
### Using MESCIUS License Manager
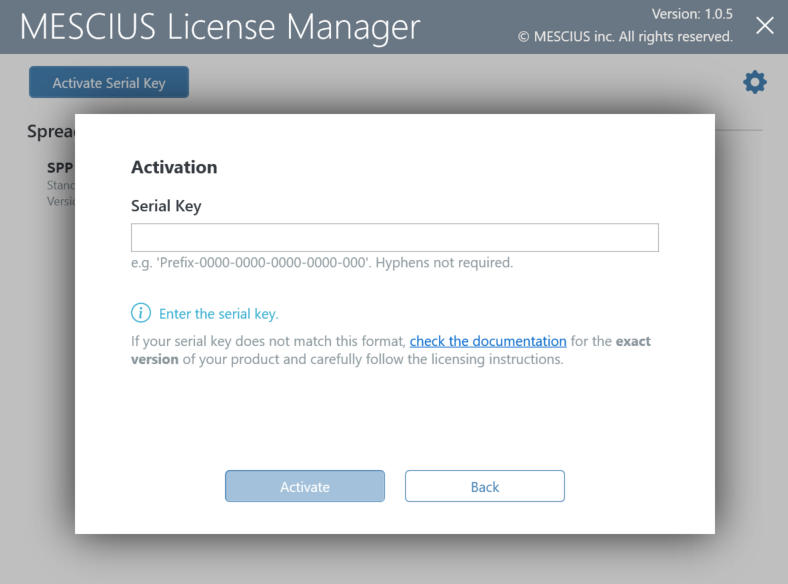
1. After installation, navigate to C:\\ProgramData\\SA3\\Desktop on your machine, double click sa3client-ui.exe, and click **Activate Serial Key**.

2. Enter the license key and click **Activate**.
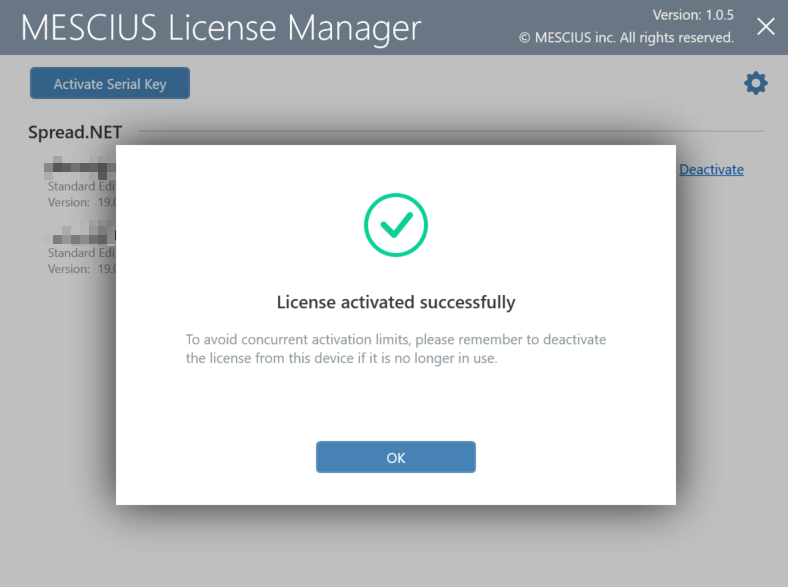
3. Click **OK**.
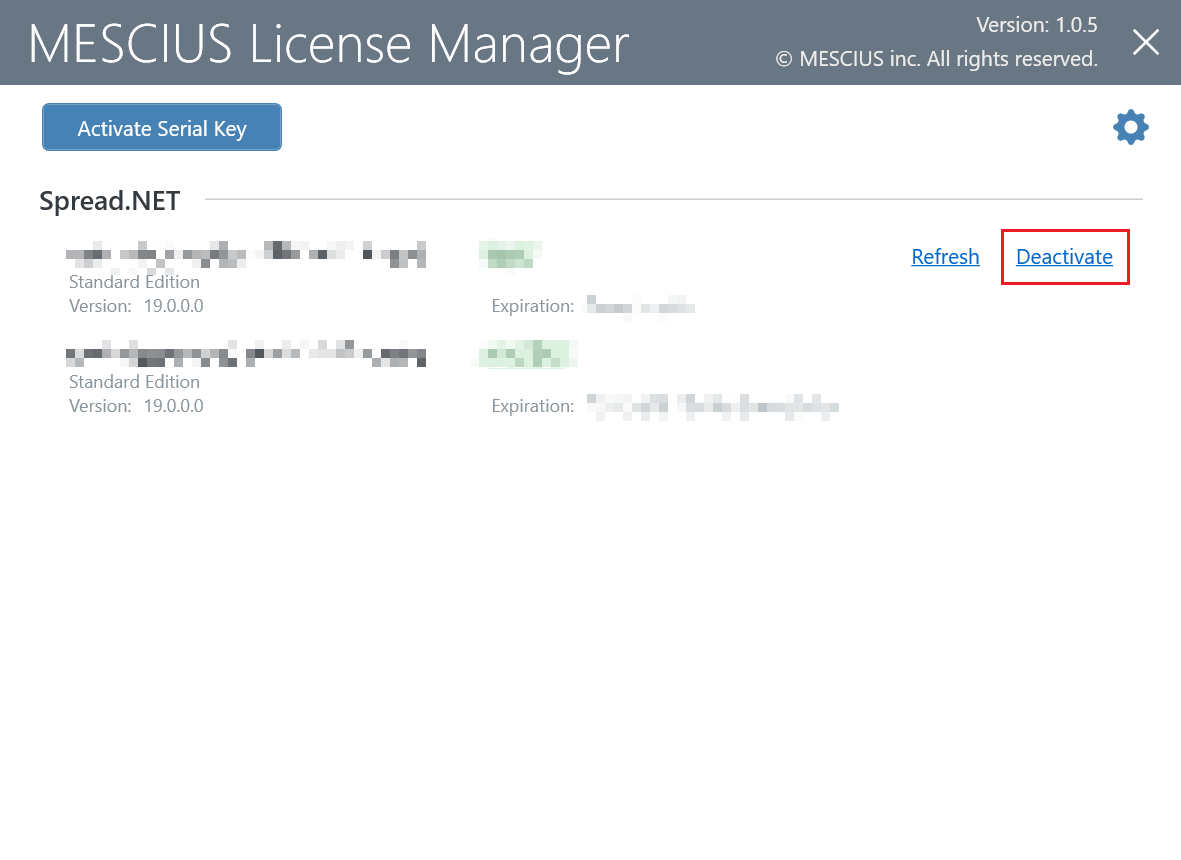
4. Use MESCIUS License Manager to deactivate the license before moving the license to another machine. Click sa3client-ui.exe located in C:\\ProgramData\\SA3\\Desktop and click **Deactivate**.
### Using Visual Studio
If you are trying to activate the product package installed from the NuGet Package Manager in Visual Studio, follow the steps mentioned below:
1. Create a project in Visual Studio.
2. Open NuGet Package Manager and install the product package from [nuget.org](https://www.nuget.org/packages/GrapeCity.Spread.WinForms/).
3. Build the project in Visual Studio. You will see a popup window during build.
4. Click on **Run the License Manager** in the popup window to launch the License Manager app.

5. Click the **Activate Serial Key** for the product in the window, and enter your serial key.
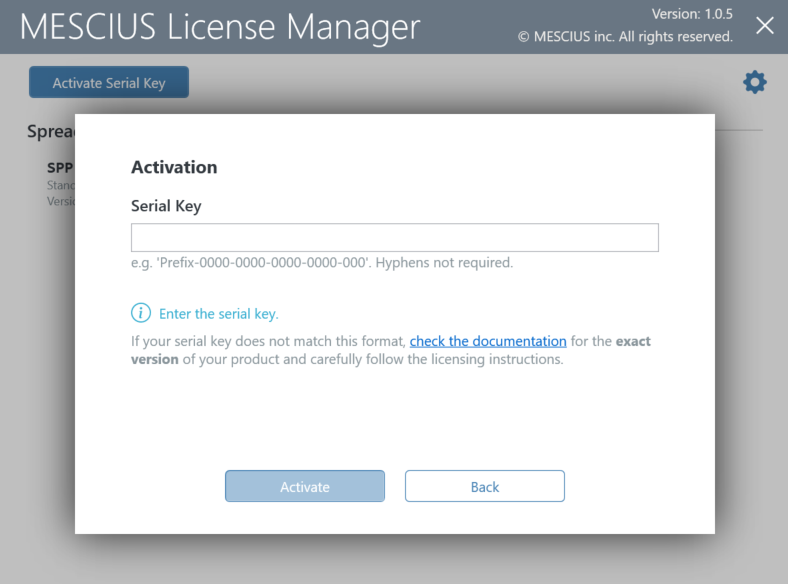
6. After clicking the **Activate** button, License Manager App will connect to our website. If successful, you will see the result:
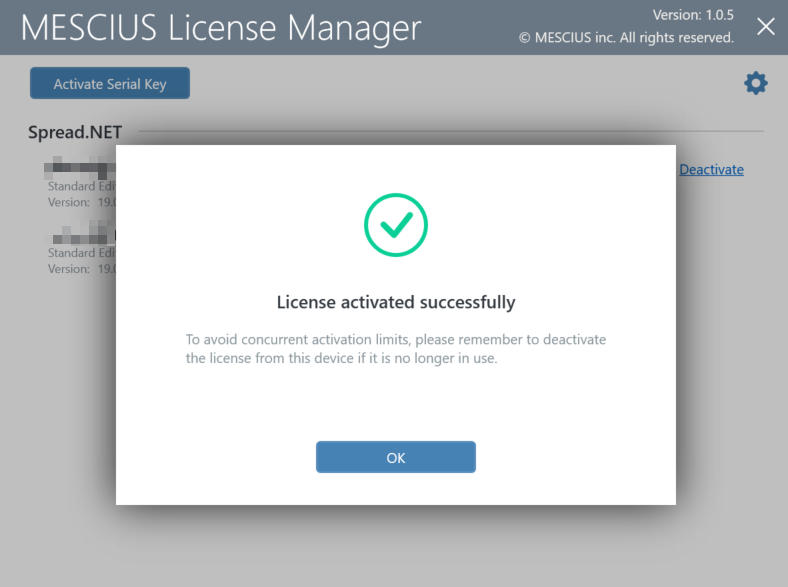
7. After closing the License Manager window, Visual Studio will continue the build.
### Using Command Line Interface
You can activate the product using the command line interface if the graphics UI of the License Manager does not work normally. This is useful, especially for a build machine.
1. After installation, open the command prompt.
2. Use the following commands to activate, deactivate, or refresh the license.
The following command line options are available for MESCIUS License Manager:
| **Command Option** | **Description** |
| -------------- | ----------- |
| **sa3client \( a \| activate \) \** | Activate license for the product.- The `` should be in format “`Prefix-0000-0000-0000-0000-000`”. Different product has the different prefix and hyphens are not required.
|
| **sa3client \( d \| deactivate \) \** | Deactivate license for the product.- Use \ to indicate the license to deactivate. If you have only 1 license starts with a product code, it could be the product code; if you have several keys starts with a same product code, please use the product code and following 8 digits, e.g. `CDP-1234-5678`.
|
| **sa3client \( r \| refresh \) \** | Refresh license for the product.- Refresh command is used to get the latest license of a serial key. If the refresh failed, you can activate the license with your serial key to fix it.
- Use \ to indicate the license to refresh. If you have only 1 license starts with a product code, it could be the product code; if you have several keys starts with a same product code, please use the product code and following 8 digits, e.g. `CDP-1234-5678`.
|
## Offline Activation
Suppose the target machine cannot access the internet, but there is another machine that can access the SA3 website via web browser. In that case, you can activate a normal developer license in offline mode.
### Using MESCIUS License Manager
1. Run the sa3client-ui.exe from C:\\ProgramData\\SA3\\Desktop and try to activate a serial key without network access. Our tool will display the following error on the window.
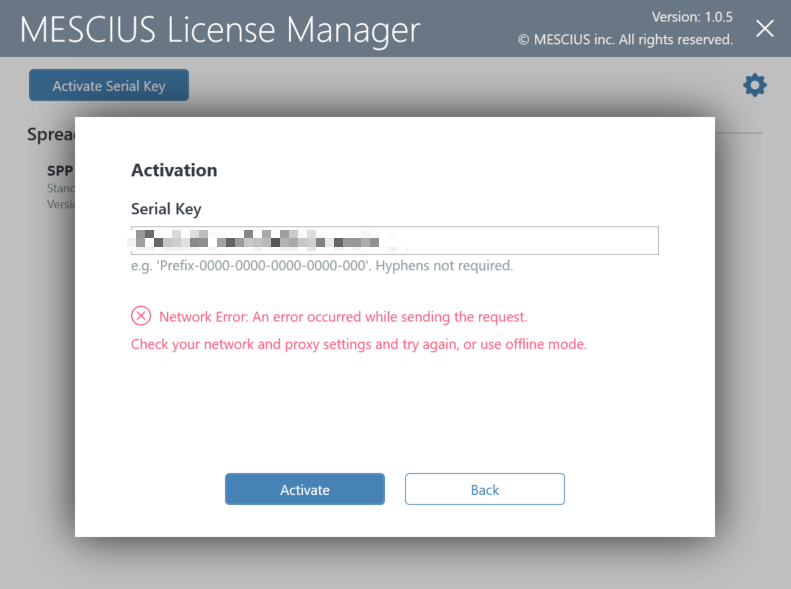
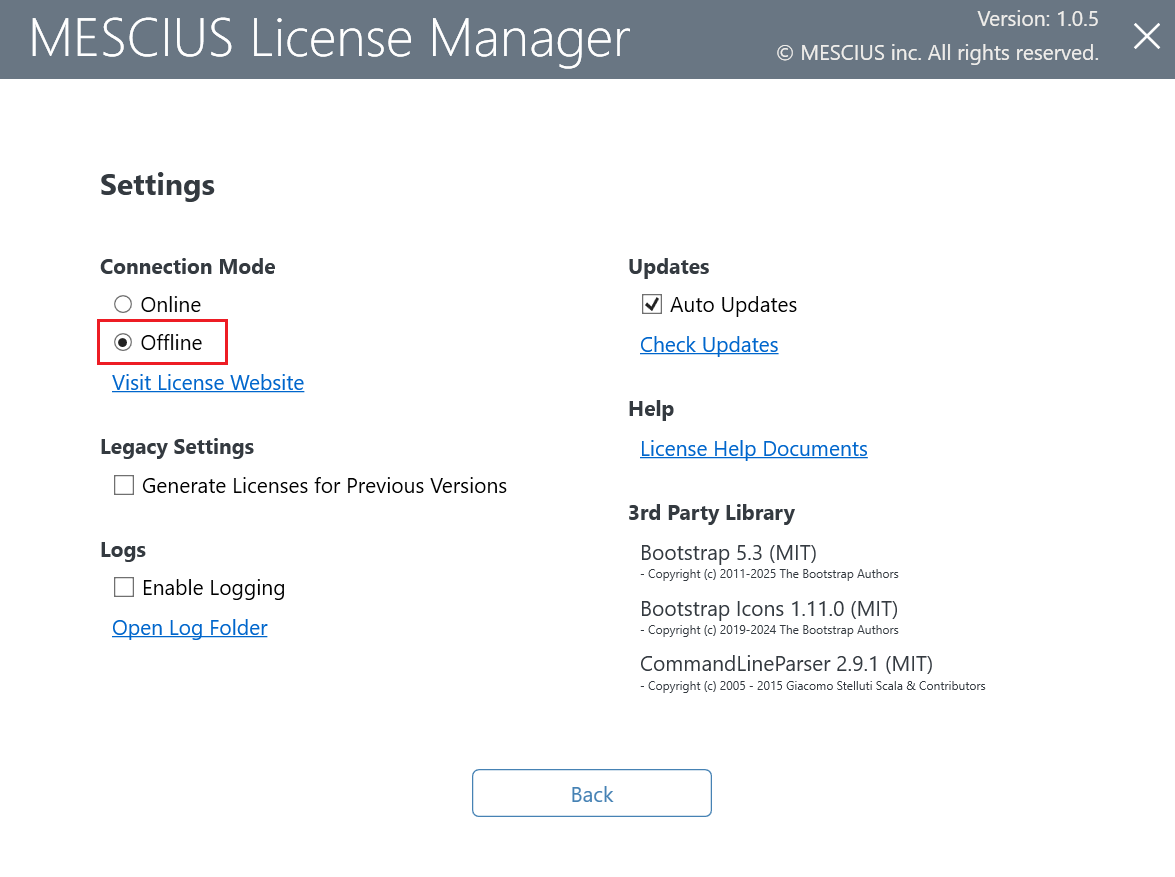
2. Click the  icon at the top right to open the **Settings** page, and set the connection mode to **Offline**, then click **Back**.
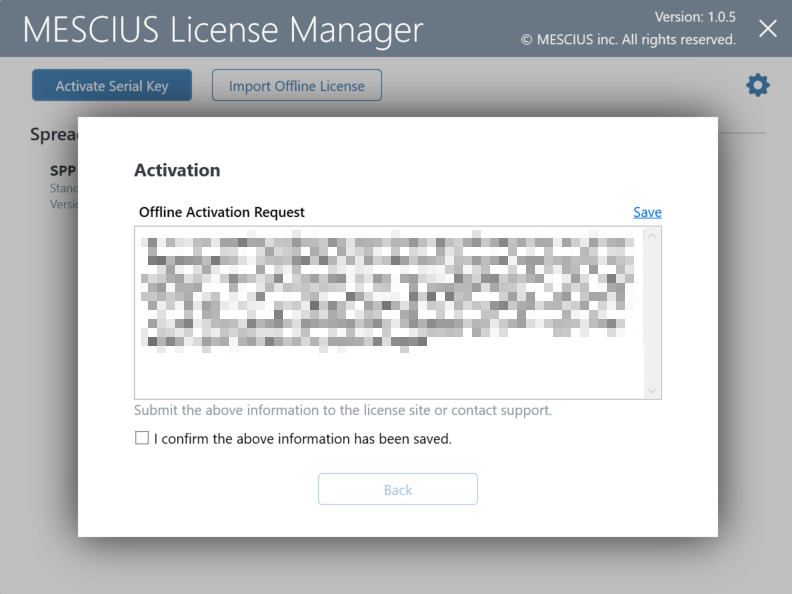
3. Click the **Activate Serial Key** button and enter your serial key. An **Offline Activation Request** dialog will appear, save the content to a local file.
4. Copy the Offline Activation File to another machine which could access the [SA3](https://sa3.mescius.com/) website.
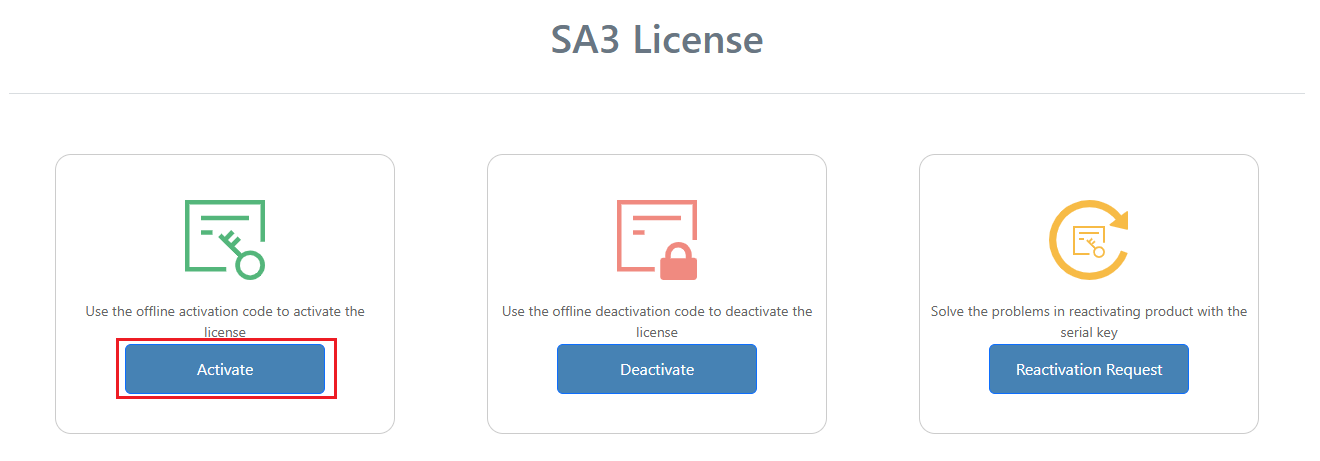
5. On that machine, access [SA3](https://sa3.mescius.com/) website and click **Activate**.
6. Paste the Request Code and click **Activate** button to generate the license data.
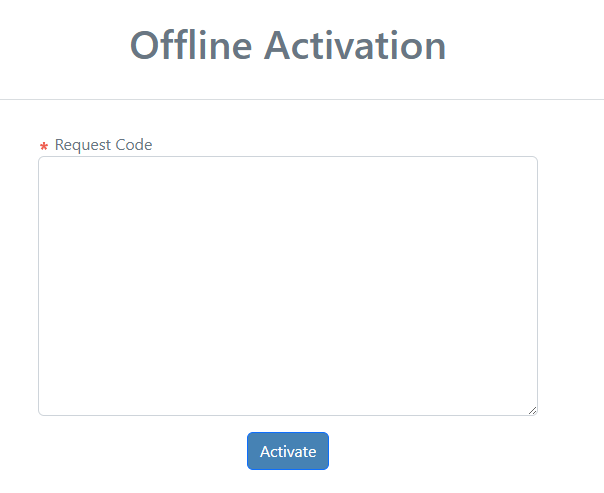
7. Save the license data and copy it back to the original machine.
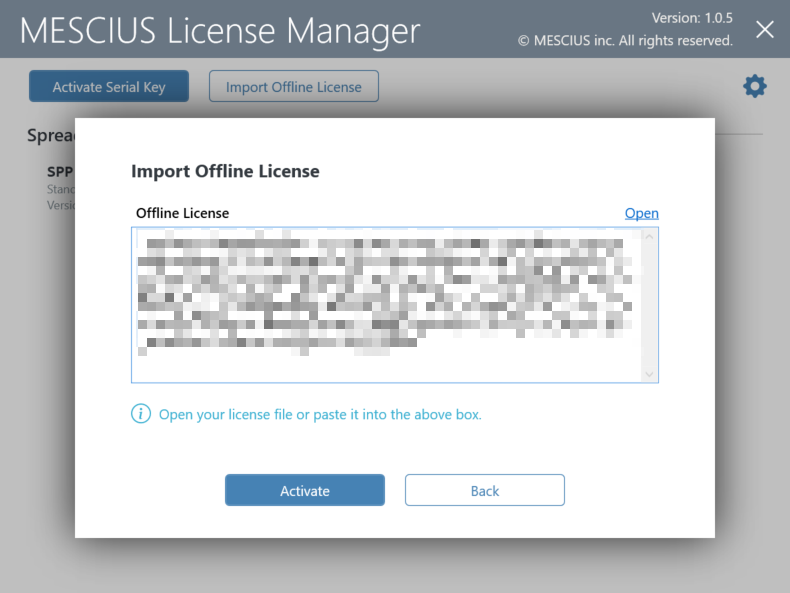
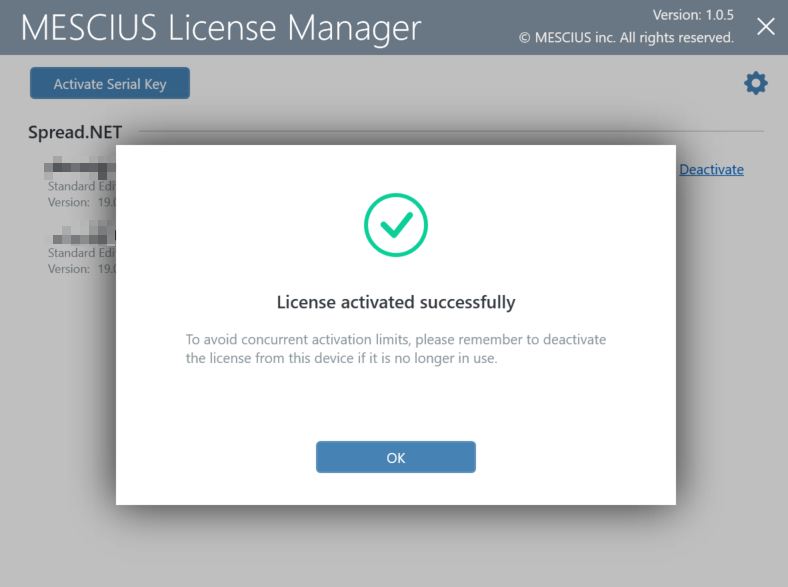
8. In the License Manager, click **Import Offline License**, paste the license data, and click **Activate**. The License is activated.
### Using Command Line Interface
1. Open the command prompt.
2. Use the following commands to activate or deactivate the license.
The following command line options are available for MESCIUS License Manager:
| **Command Option** | **Description** |
| -------------- | ----------- |
| **sa3client \( a \| activate \) \ \[\( \-o \| \-\-output \) \\]** | Activate license for the product.- Use `--output` to perform an offline activation. You need to submit the generated offline activation file (located at the specified path) to the [SA3](https://sa3.mescius.com/) site or send it to our support team. Next, use `sa3client import` to import the license file returned from the [SA3](https://sa3.mescius.com/) site or support team.
|
| **sa3client \( i \| import \) \** | Import the license file from the [SA3](https://sa3.mescius.com/) site or support team.. |
| **sa3client \( d \| deactivate \) \ \[\( \-o \| \-\-output \) \\]** | Deactivae license for the product.- Use `` to indicate the license to deactivate. If you have only 1 license starts with a product code, it could be the product code; if you have several keys starts with a same product code, please use the product code and following 8 digits, e.g. `CDP-1234-5678`.
- Use `--output` to perform an offline deactivation. You need submit the generated offline-deactivation-file at the specified path to [SA3](https://sa3.mescius.com/) site, or send it to support team.
|
>type=note
> **Note:** For both offline methods, the deactivation steps are similar to activation. So, you need to copy the Offline Deactivation File to the [SA3](https://sa3.mescius.com/) site to release the usage of the activation key.
## Adding the Component to the Toolbox
If the Spread component is not displayed in the Toolbox, follow the procedure for [Adding the Component to the Toolbox](/spreadnet/docs/latest/readme/installation/installSpWin/toolbox).